The PlayStation 2 (PS2) needs no introduction, being one of the best selling consoles and the most well regarded thanks to its game library. While the console is over 25 years old, modern mods and accessories allow for improved reliability, video quality, storage, and even online functionality. Whilst it’s nice to revisit the PS2 era of gaming, having to deal with wired controllers, game discs, composite image quality and memory cards with limited storage can be a burden.
Thankfully there are modern enhancements that make it more accessible and bring much needed QOL improvements. Softmodding your PS2 can bring enhancements such as loading and running games directly off the hard drive, which is ideal if you have a large library of games and would prefer not to switch discs when you want to play a different game. Even in 2025 there are new accessories still being produced for the PS2 that bring modern features like wireless controllers.
FreeMcBoot: You will see reference to this throughout the PS2 community, this is best thought of as aftermarket software that allows you to run non-signed or authorised software which we can use to make the most of the PlayStation 2. FreeMCBoot is a softmod, which is software that runs from the memory card when the PS2 starts up. As it runs from the memory card, you can restore the PS2 to an unmodded state by removing the memory card upon startup. This is useful if you encounter any issues with FreeMcBoot.
FreeMcBoot is considered mandatory to take the most of your PS2, and you can purchase pre-modded memory cards that already have FreeMcBoot installed along with a few utilities.

Hard Drive
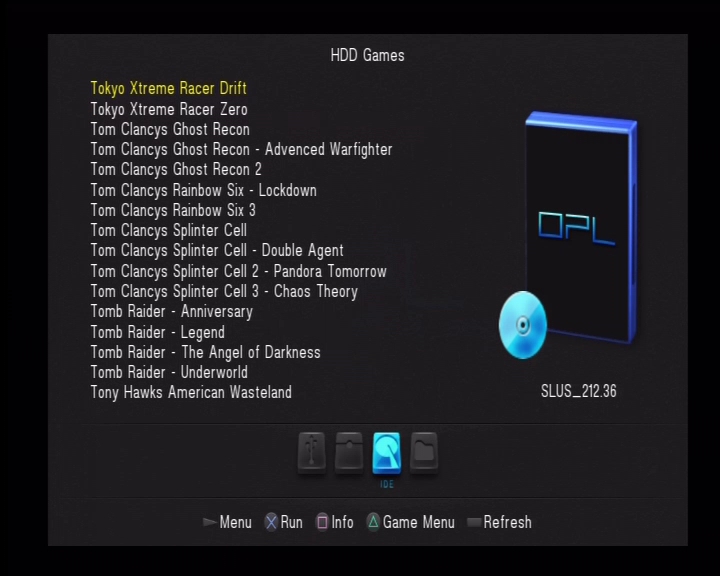
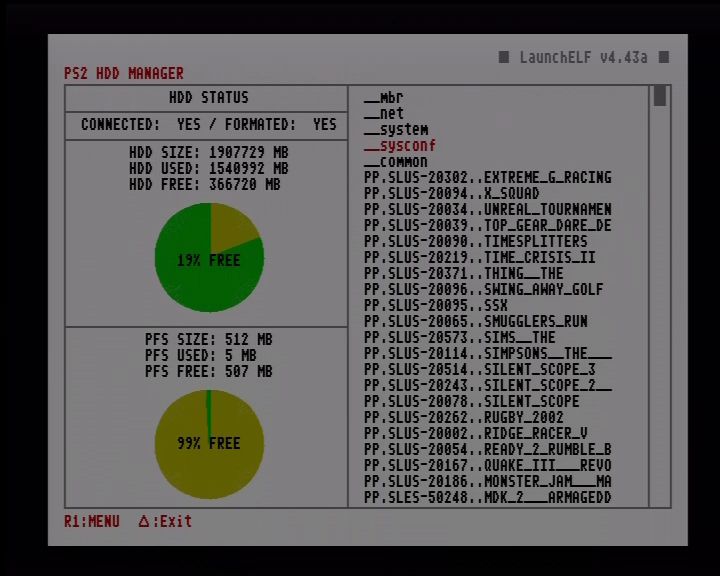
Installing a hard drive (HDD) is one of the most common upgrades for PS2, especially for the original (fat) models, as it bypasses the aging disc drive (which often fails due to laser wear). This setup lets you load games digitally from the HDD, reducing load times, eliminating disc scratches, and allowing storage for hundreds of titles. Sony’s original intention for the hard drive was to speed up the game’s load times by caching data to the hard drive, and to allow for internet downloads since it was interlinked with the Network Adaptor. With the use of home-brew software like openPS2Loader, we can use this to load and run game from the internal HDD itself, removing the need to use the DVD drive.
Original models of the PS2, also known as the ‘fat’ models have a dedicated expansion bay where the drive can be fitted into. But to actually use the drive requires the Network Adapter which included an IDE connector to allow the PS2 to interface with the drive. There are two types of network adapters:
- The Official PS2 network adapter: released by Sony, which features an Ethernet interface for network connectivity, and an IDE interface connector which is what’s used to connect to the hard drive. Some network adapters also came with a 56K modem, although this is of little use or benefit. The original drives used by Sony were IDE, which whilst it was the standard of the time, is no longer commonly used as many hard drives use the SATA interface instead. THis means the connect we use to connect the hard drive has changed. Because of this, it might be more desirable to use the second type of network adapter.
- The Gamestar network adapter: This can be commonly found online on sites such as Amazon, Aliexpress and eBay. It’s a third party unlicensed accessory designed to allow a SATA hard drive to be used with the PS2, meaning we can use modern larger hard drives. These adapters however do not have any network functionality, they are just intended for HDD use.
Whilst the official Sony network adapters used IDE which was the standard at the time, they can be modded to use SATA by replacing the interface board. This is a simple and commonly done upgrade that gives you SATA support along with network functionality. Slim PS2 consoles have a disadvantage when it comes to HDD support as Sony removed the expansion bay to reduce the size of the console. This means its no longer possible to connect a hard drive. Adding to the issue is that later models that have updated firmware (SCPH9000x) remove the ability to load FreeMcBoot from the memory card.
Are these consoles a lost cause? Well not so much if you understand the limitations and the options available for your specific model:
IDE / Internal HDD: Early PS2 slim consoles technically have the IDE interface which is still present on its motherboard, however you will have to manually soldier the connections on the motherboard which is beyond practical use for most gamers. Still it does hint that possibly Sony were looking to integrate an internal HDD solution for the slim models, possibly a 2.5 inch bay for notebook hard drives?
Ethernet: However the better solution is to use the network interface, which comes included as standard in all slim form factor consoles. OpenPS2Loader have support for SMB Ethernet loading, allowing you to connect the SP2 console to a network drive or device to load your game from, This can be a simple PC with a network share enabled for the PS2 to load from, or a network drive such as the Western Digital MyCloud. I recommended connecting the device directly to the ethernet socket of the PS2, and avoid using additional switched or routers if possible, I found the PS2 struggles to use more complicated network topologies
Example use case could be:
- A Windows PC that has a PS2 network share, Windows has built in support for Samba network sharing which is what OpenPS2Loader can also use. If your PC’s ethernet port is already occupied, you can either add an additional Ethernet PCIe card, or connect a USB Ethernet Adaptor to your PC. As the PS2’s network adaptor is limited to 100Mbps, you don’t need anything high end, ‘fast’ or gigabit ethernet is enough. Later versions of Windows disable SMB v1 support, because of vulnerabilities within the protocol but can be re-enabled within the Windows Features section of the Control Panel.
- Some travel routers have SMB file sharing support, like this one. By configuring the network sharing settings, you can then connect an external hard drive through its USB port. Since the travel router supports USB 2.0, bandwidth will not be an issue. Some older routers like the BT HomeHub 1 also supported network sharing through the Ethernet port which can also be used.
- Many NAS (Network Attached Storage) can be configured for this purpose also, since they are intense to be connected to a router, you will need to set its own IP address when connecting directly to the PS2. Some network drives will also automatically sleep after a while of no activity which you may have to change or disable.
I should also mention that network SMB support isn’t just available to the slim consoles, fat models can also take advantage of SMD if they are using the Sony network adapter.
USB: Another solution is to use the USB interface by connecting an external USB external hard drive. I do not recommend this as while this might be the most accessible option, the USB interface used for the PS2 is limited to the 1.1 protocol which maxes out as 12Mbps. This is too slow for use for PS2 games and you will encounter slower loading times, and FMV’s might skip or cut out as the USB interface lacks the required bandwidth to stream the FMV video.
1394 i.LINK: This interface was present in the launch PS2 models, and upto the SCPH3900x models. It was removed the last fat revision of consoles (SCPH5000x) series and was never used in the slim models at all. OpenPS2Loader does support this interface in the latest builds and can be an alternative to using the HDD bay but as external Firewire drives are rare, this interface is rarely used. I would only recommend this interface if you had a very first launch model of the PS2 (SCPH1x00x) which was exclusive to Japan only. These models did not had the standard HDD expansion bay that was present in the later models, instead it uses a PCMCIA card along with an external HDD drive that was custom designed for the interface. Since these might be difficult to find, it will often be easier to source a Firewire drive or enclosure instead.
OWC do sell a 1394b enclosure that is compatible, but you will need an 1394b to 4pin 1394 adapter cable, and a 5V power cable or supply since the enclosure is intended to be bus powered, which the PS2’s 1394 interface wasn’t designed to provide.
Lastly you will often see the 1394 interface referred to as either Firewire or i.Link, these are the brand names that Apple and Sony respectively gave to the 1394 interface and are mostly compatible with each other however Apple typically refers to the 6pin interface that provided power, whilst Sony (i.Link) typically implement the 4pin interface that does not provide power (Some Sony VAIO computers provide both types of ports)
MX4ISO: This is a home-brew accessory that allows you to access an microSD card over the memory card interface, which carries much more bandwidth than the USB interface which makes it desirable for those that have a slim PS2. Whilst capacity is limited and MicroSD are more expensive per Gigabyte, it’s a good alternative comported to running games from Usb or via Ethernet. The latest builds of OpenPS2Loader support this as a block device, however you won’t be able to save games to the memory card. Instead you will have to use the Virtual memory Card (VMC) features as a workaround. I’m unsure if two MX4ISO devices can be used.
SDD?
Whilst it’s tempting to throw in a solid state drive, they have little to no performance advantage to a regular hard drive, and are a poor value proposition from a storage/value ratio. Remember the games in question are designed to run from a DVD drive that reads a 4x speed, the slowest HDD on the market will still be faster. A 5400rpm spinning hard disk is more than enough. A 3.5 inch HDD is advised, wince they will use both the 12V and 5V power rails of the PS2, many 2.5in HDD will only use the 5V rail which might be more stressful on the PS2’s aging power supply.
TLDR: For fat PS2 models go for a SATA network adapter for SATA HDD, unless you really need network support. For the slims go for the Ethernet NAS option or MX4ISO and forget the USB interface.
For storage capacity, 1-2TB is plenty for many PS2 games.
Memory Card
The official Sony memory cards were released in only 8MB of storage, good for around 15-20 game saves. With a larger PS2 library you might wish to consider a larger memory card for additional storage space. I’m not sure if Sony ever released memory cards in larger capabilities, I’ve seen mentions of a 16MB memory card but have yet to locate any and most PS2 software refers to the memory card as an 8MB device. Third parties have produced larger memory cards that range from 16MB to 128MB which appears to be the maximum supported.
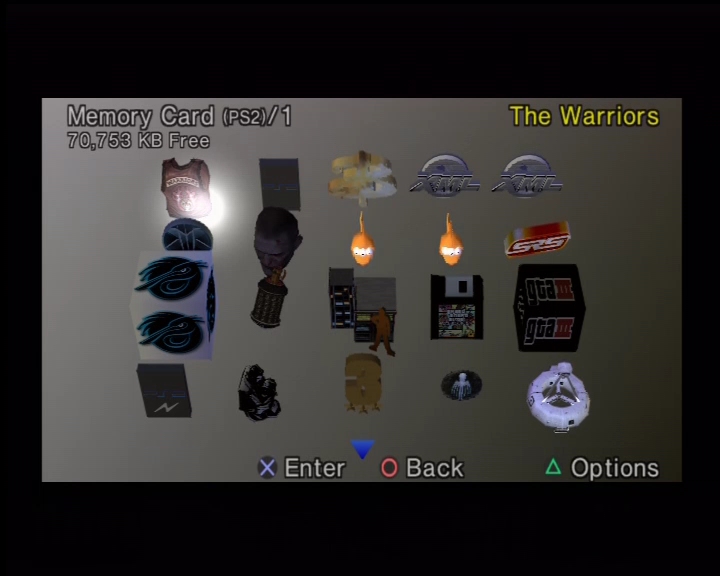
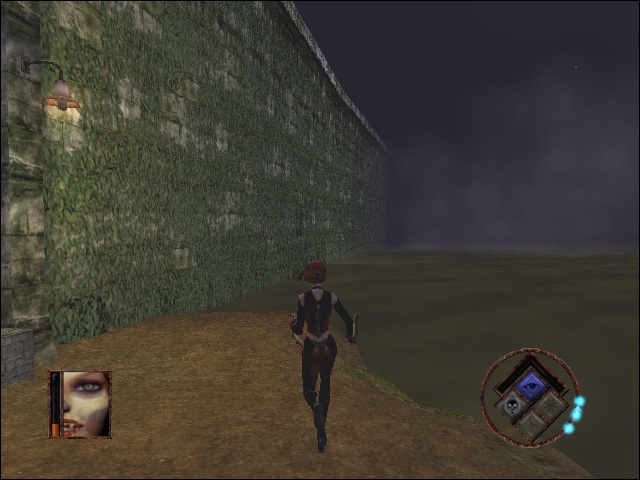
Many games will support the larger memory cards without any issues, but a fair few will have noticeable slower access and save times, sometimes even up to a minute before the game have finished saving. Ridge Racer V and The Simpsons Road Rage will detect and save to the cards correctly, but the access times are very slow. Headhunter is near unplayable as it access the memory card as the game plays it’s introduction sequence, resulting it becoming jittery.
Games that have issues with larger memory cards can be mitigated by using the VMC (Virtual Memory Card) feature in OpenPS2Loader, this will create a virtual memory card that is saved to the hard disk and assignes it to one of the memory card slots. This can help with problematic games that have issues writing and reading to large memory cards
One thing to mention is when using a soft modded PS2, you will need to use an official Sony Memory Card, as the FreeMcBoot exploit relies on the MagicGate signing for it to run, which isn’t supported on many third party memory cards. Softmod exploit’s work on both Memory Card slot 1 and 2. I typically have the softmod installed on Slot 2, and use Slot 1 exclusively for game saves.
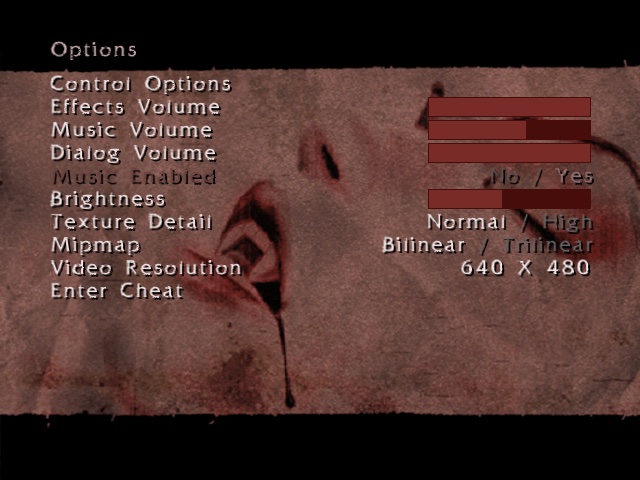
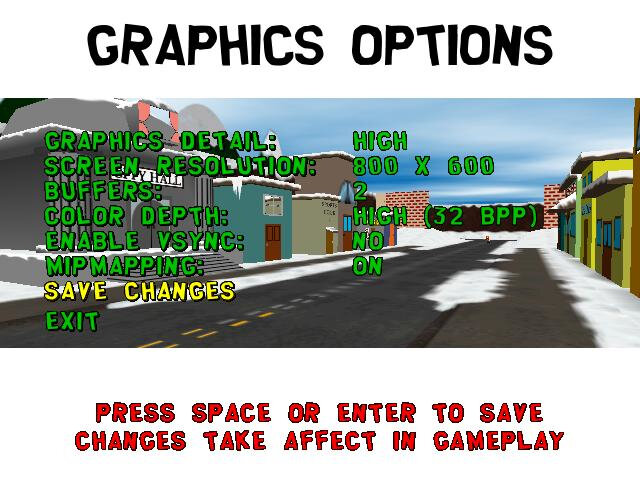
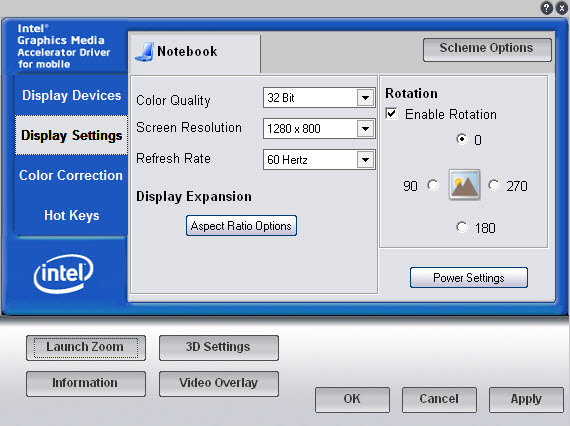
Video Output
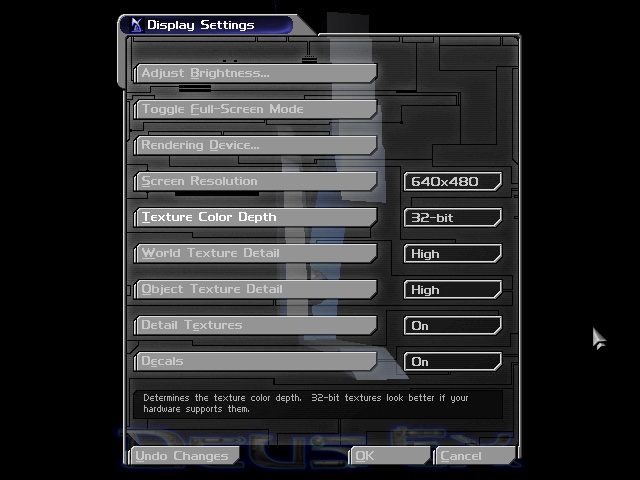
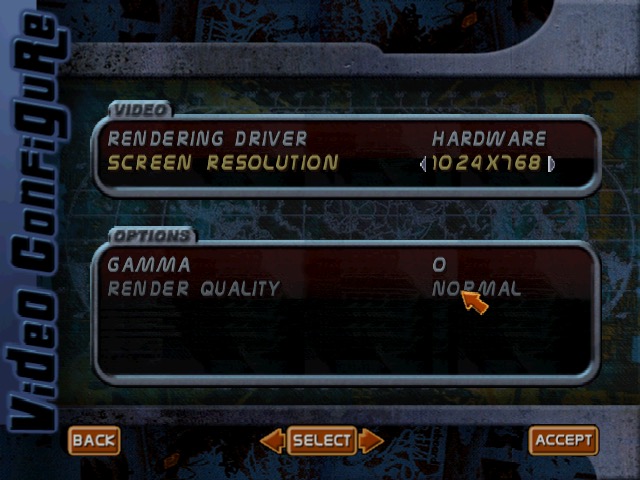
The PS2 supported a variety of video output modes which can enhance the image quality and depending on the game, will provide support for progress and higher resolution modes. Not only is the image more cleaner, it also makes I easier to read the game’s text on screen.
By default the PS2 shipped with the composite video output cable, which gives you three output jacks (yellow/red/white which gives you basic video and stereo sound). Even in Europe where the Start interface was common, Sony insisted on shipping with the composite AV cable.
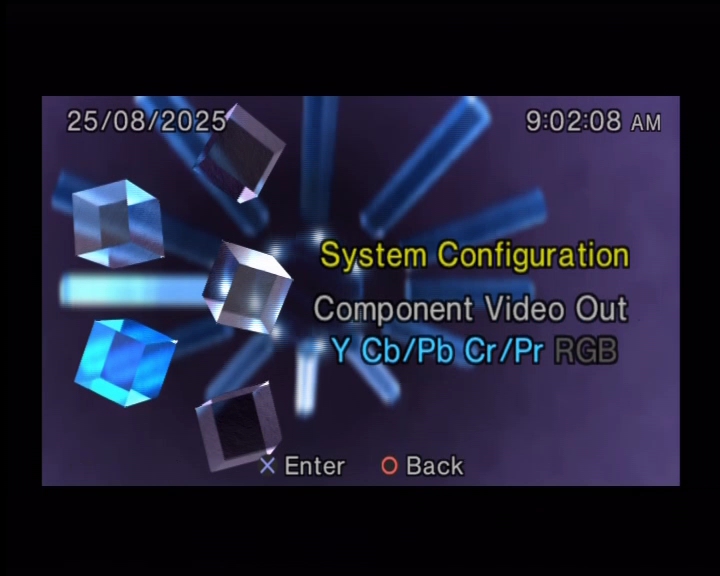
Component cables are readily available and not only provide better image quality than the standard composite AV cable but will allow you to enable progressive scan (also known as 480p) which is much desired for fast motion games. It also makes it easier to connect to HDTVs since many will feature component inputs as standard.
Scart cables are also supported which will provide RGB output and is compatible with nearly all of the PAL PS2 library, but you wont get any progressive scan using the Smart cable. It’s all no longer used on modern TVs, even in Europe. I only recommended this if you are connecting to a CRT TV that isn’t HD capable. The common US alternative to SCART is S-Video which will provide better quality than composite AV, but is still inferior to component.
Although the PS2 predated HDMI support, HDMI adapters do exist from third parties. These will take the component signals from the PS2 and will convert it to HDMI. As this is an active conversion, they will require additional power usually in the form of an USB adaptor. Whilst the quality of these adapters isn’t perfect, they are very accessible and content for those who simply wish to quickly connect their PS2 to a modern HDTV, or to a 4KTV that lacks both composite or component inputs which is becoming more common as these legacy ports are being phased out.
Useful Links
OpenPS2Loader – Software that allows you to run games from a hard drive, it is installed to the memory card
FreeMcBoot – You can also purchase a pre-made memory card from online resellers like eBay or Amazon marketplace