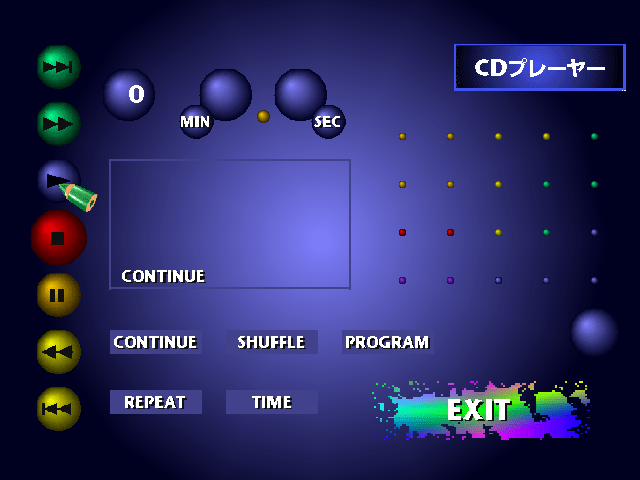
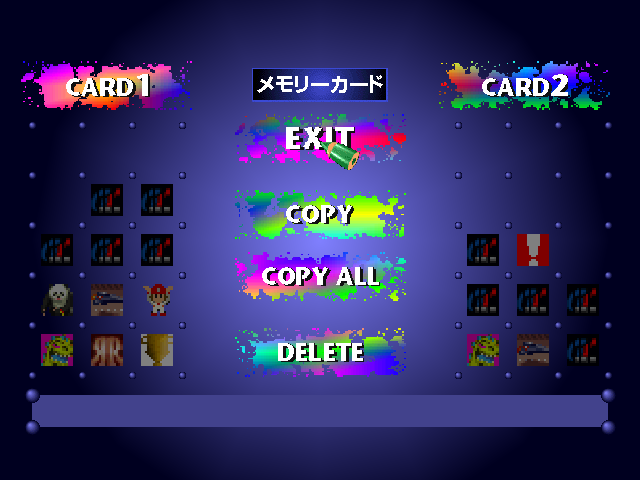
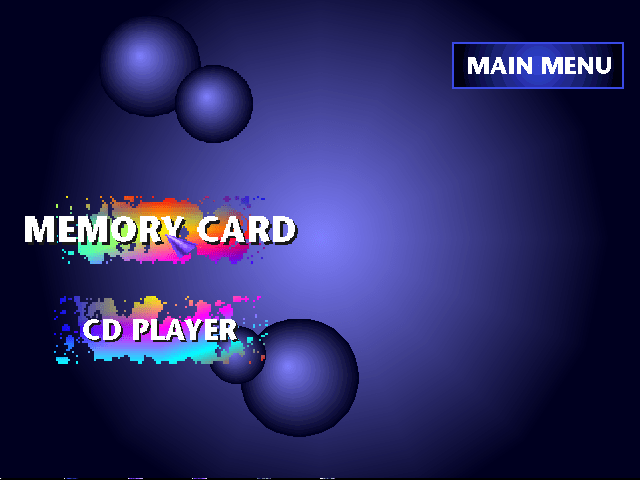
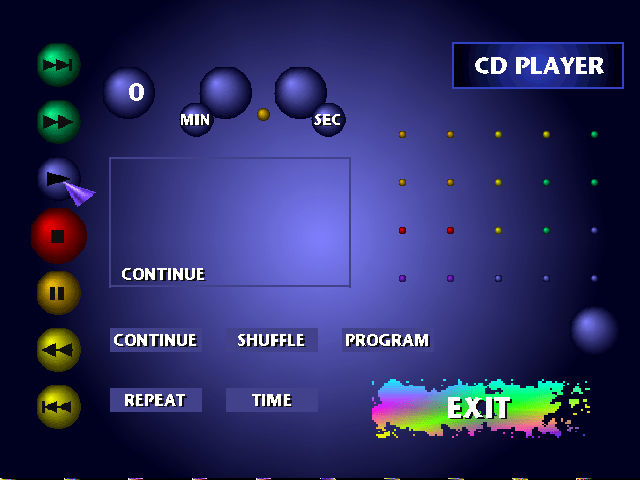
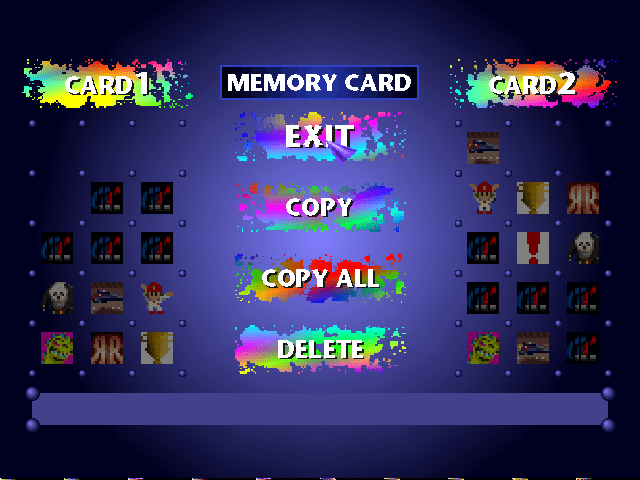
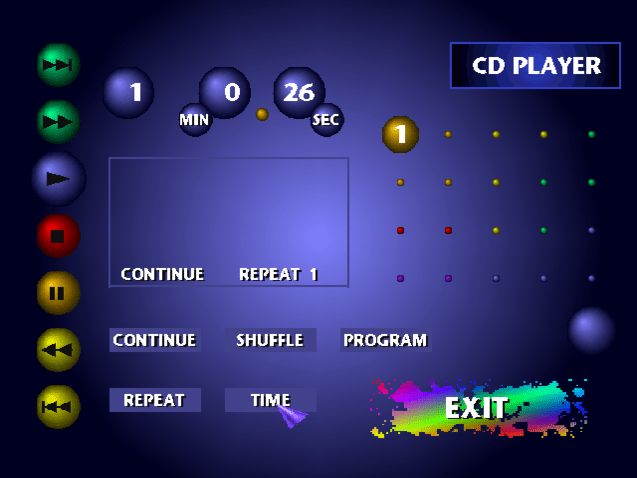
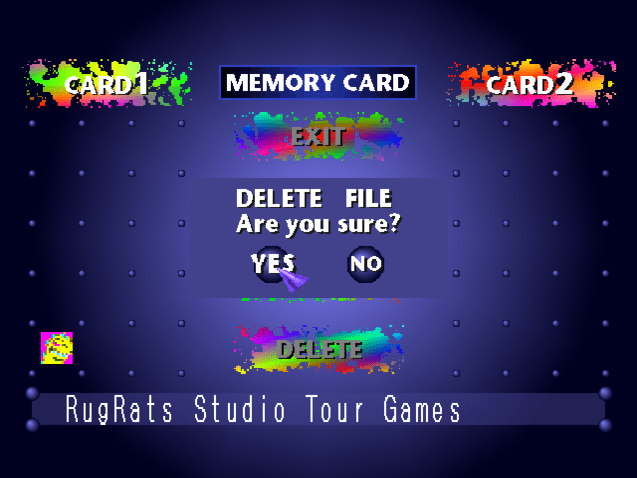
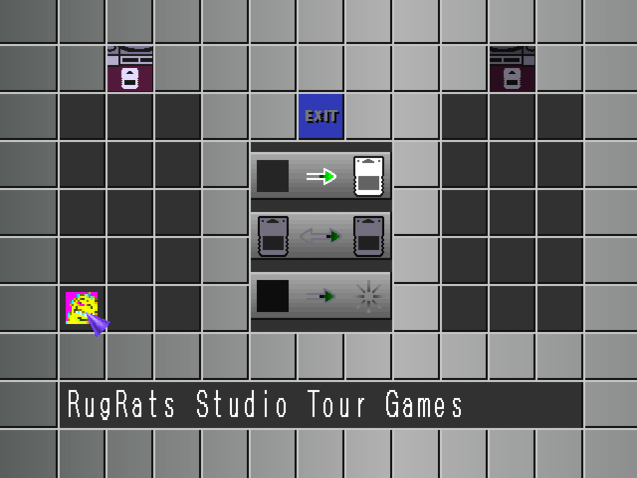
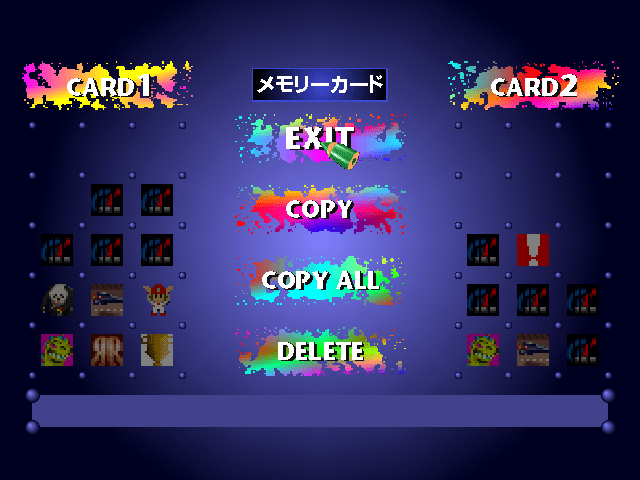
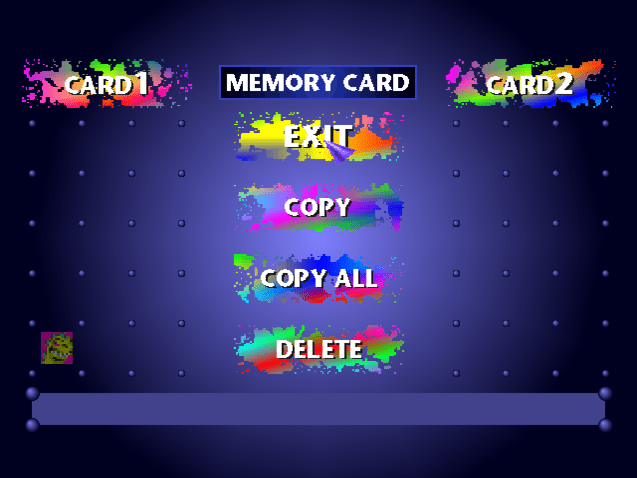
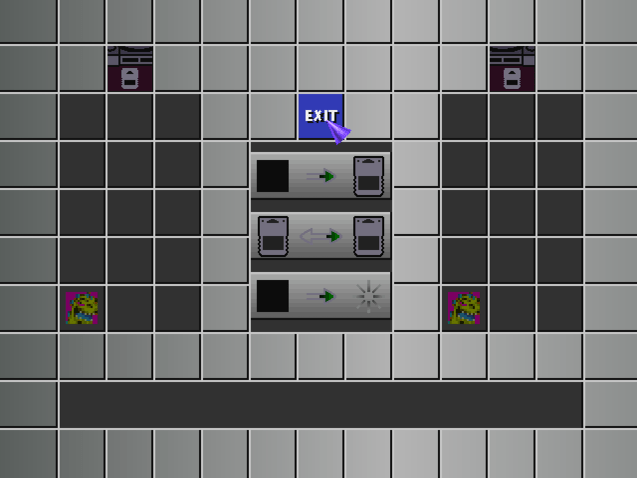
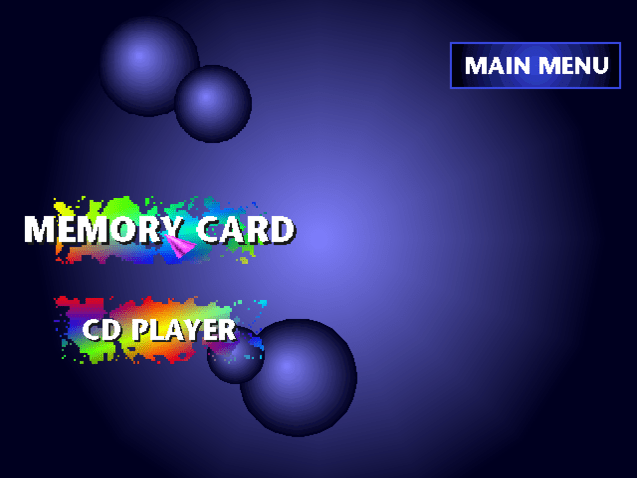
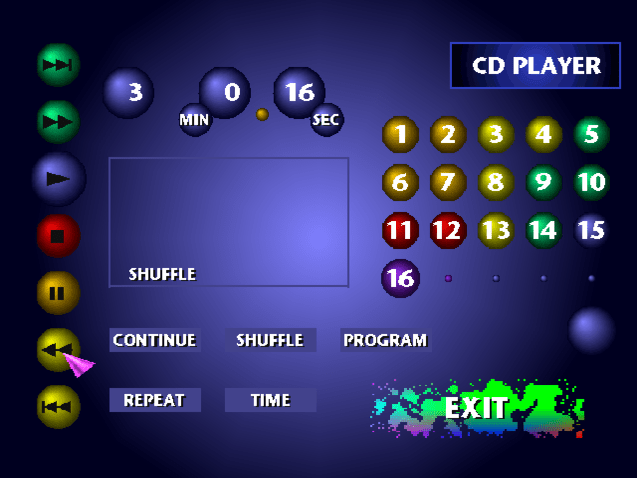
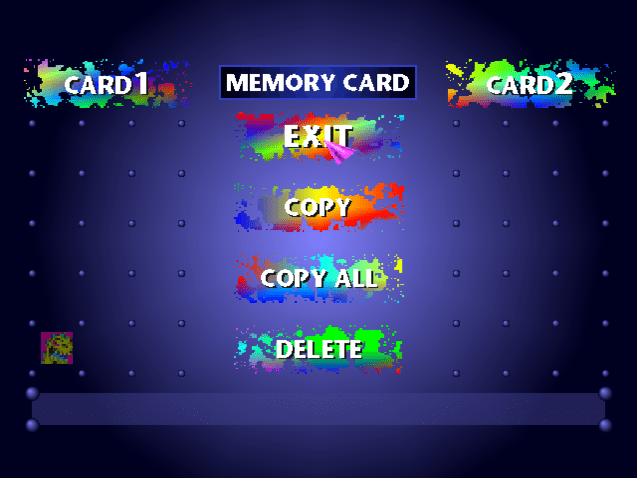
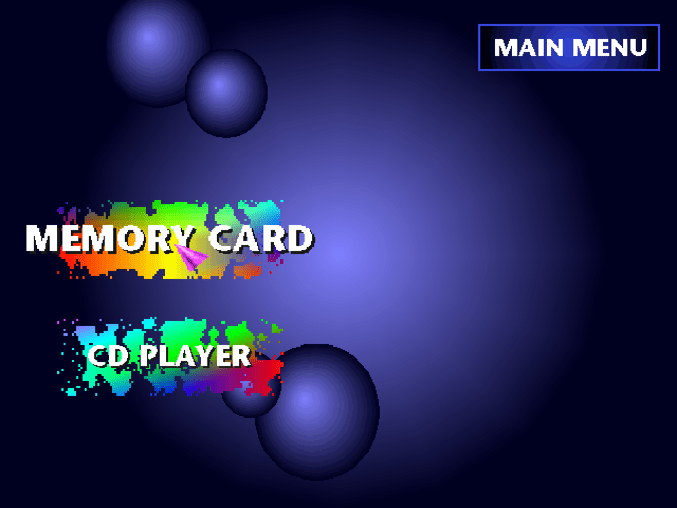
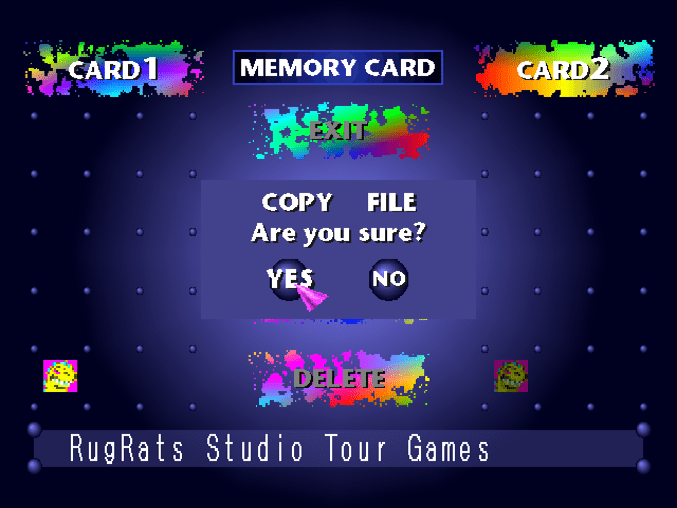
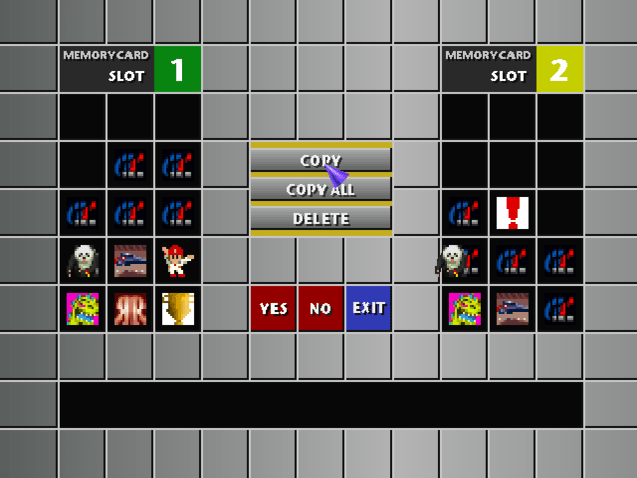
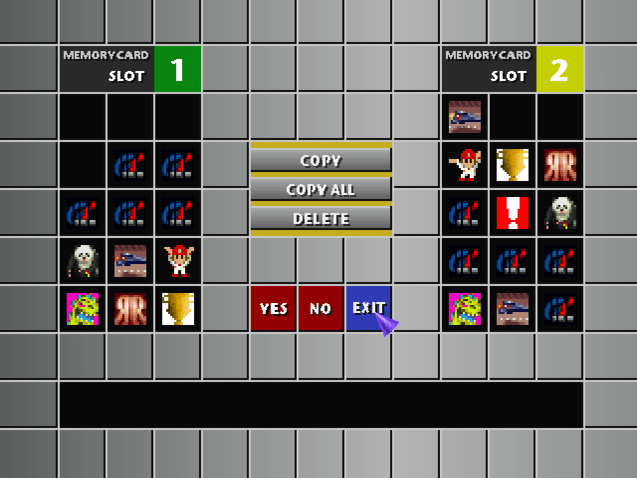
The purpose of the BIOS for the PlayStation was to provide an interface for the end user to manage their memory cards and the option to play an audio CD and was automatically displayed when the console was turned on without a disc inserted. Not all games provided a way to manage the memory card so the BIOS was often used for this purpose. Like the hardware, the BIOS went through various revisions and designs which we will look at.
SCPH1000 (Original Japanese launch)
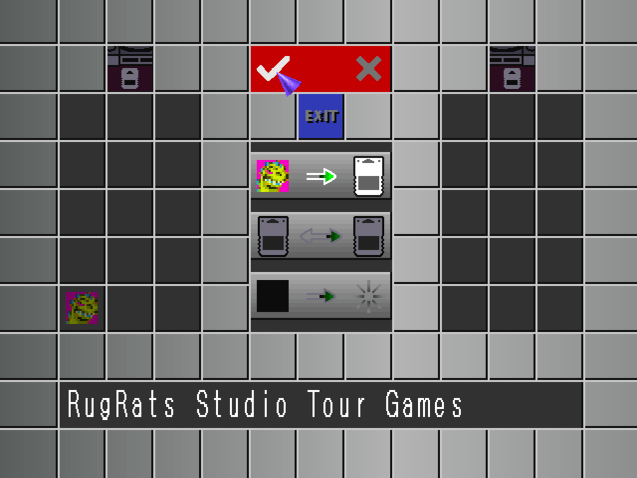
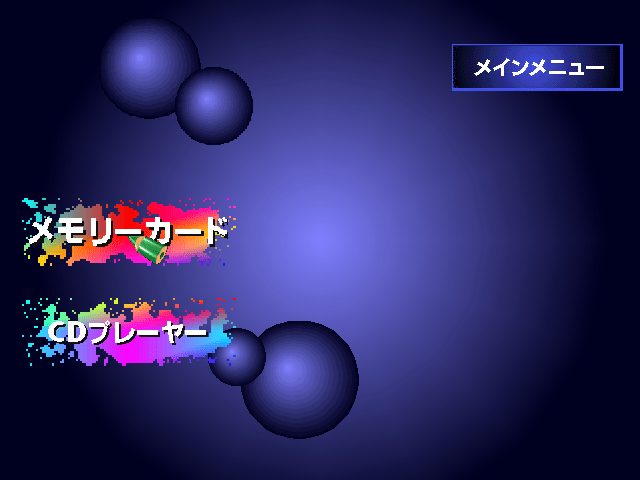
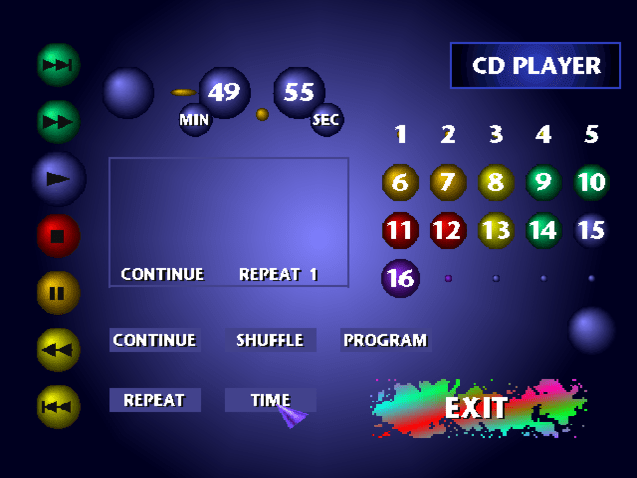
The very first BIOS version, this one has a different cursor appearance and the CD player cannot be accessed unless an audio CD is in the drive.
SCPH1001 (Original US Launch)
Initial BIOS version for the NTSC lands
SCPH1001 (Revised US Model)
A revised version of the US model, the option colour has slightly changed
SCPH1002 (Europe Launch model)
In PAL-land we got this menu instead, using icons and symbols instead of text due to the different languages used in Europe and to reduce the ROM space. This is the BIOS I remember growing up with. Also the Europe Cd player can have different sound effect applied to it, which I couldn’t find in the NTSC BIOS?
SCPH3000 (Japan)
Japans SCPH3000 is equal to our 1001/1002, with their 1000 being a different revision with a buggy GPU. Model numbers would be synchronized with the 500x series.
SCPH5000 (Japan)
SCPH5001 (US)
Sony would continue to revise each hardware
SCPH5002 (Europe)
No visible difference from the 1002?
SCPH7001 (US)
This model introduced SoundScope, this BIOS would remain the same for the SCPH9001 models
SCPH7002 (Europe)
Seems like Sony wanted to unify the BIOS designs worldwide and change Europe to look like the US/Japanese versions
SCPH101 (US PSone redesign)
Or maybe not, since the NTSC versions used the PAL design albeit with different icons, you can briefly see the Soundscope effect in the BIOS before it fades to a black background
SCPH102 (Europe PSone redesign)
Same as the US version
Soundscope
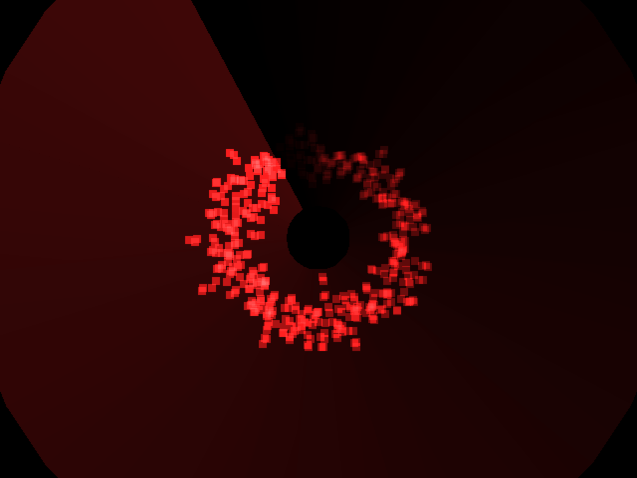
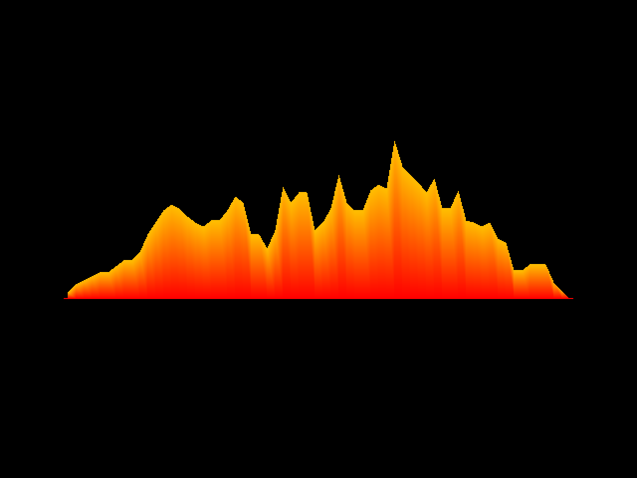
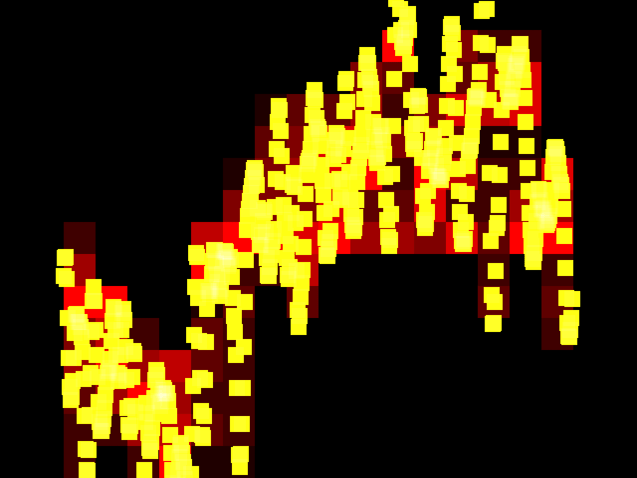
This was a feature from the SCPH7000 models and up, and introduced a visualizer that appeared in time with the music by pressing SELECT on the controller.
Released in 2003, The e616 was one of the first generation of 3G capable phones for the Hutchinson 3 network in the UK.
NEC were not a commonly known manufacturer of handsets in the UK, the market previously dominated by Nokia, Ericsson, Motorola and Siemens at the time, with Samsung and Sony (Who’s mobile division would merge with Ericsson). In Japan they were known for their i-Mode handsets
Introduction
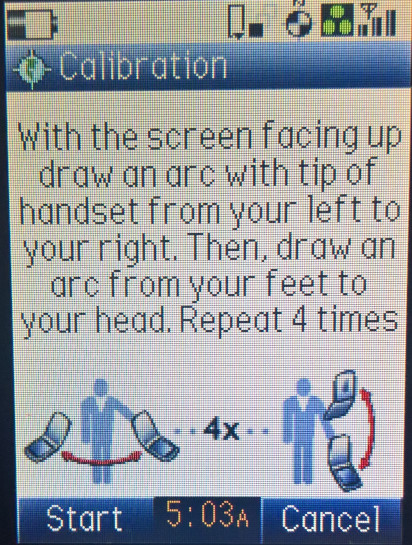
Apologies for the poor image quality on some of these captures, since the only way to capture was using a camera pointed to the phone screen, which can yield in some weird effects on screen.
Bootup screen, there is a lot of 3 branding within the handsets firmware, it seems the handset was produced exclusively for Hutchinson 3G and was used in their international markets also.
Home Screen
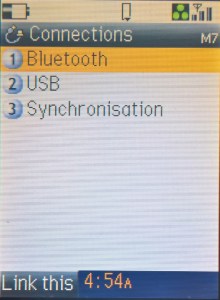
The default home screen, the calendar can be set as the background, or the wallpaper can be displayed instead. The row of icons can be accessed by pressing the middle enter key, which acts as a shortcut bar or dock to access common phone functions. Items can be added here by pressing ‘Link this’ when you are in a menu.
There is also a task manager like function, which gives the impression that this is some sort of smartphone, perhaps Symbian based?
Main Menu
Menu scheme uses a grid like layout, shortcuts can be used by the number keypad. The quick menu is used to quickly access different phone functions without having to trawl through the main menu. Taskbar lets you select and reopen running background applications, a very smartphone like feature.
Messages
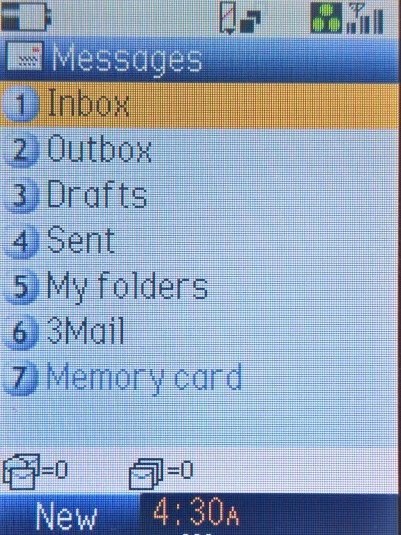
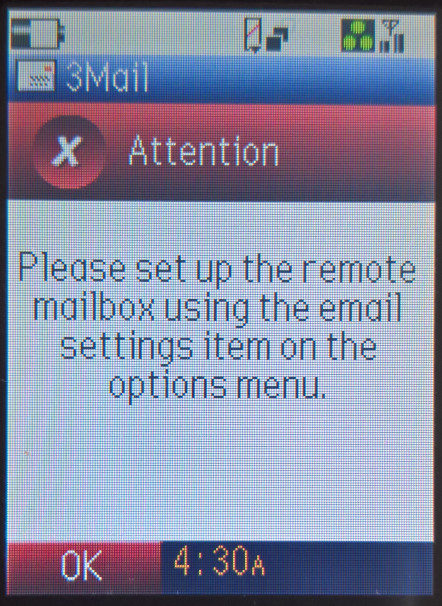
3Mail looks to be a remote email service provided by 3, to be an alternative to Blackberry push email that was offered at the time. Having email on your phone was still a high end feature that many phones were not capable of, and even the ones that did have severe restrictions in what emails could be displayed. Also many webmail email providers did not support third party POP3/IMAP clients, which these phones were classed as, so email would be part of the network provider.
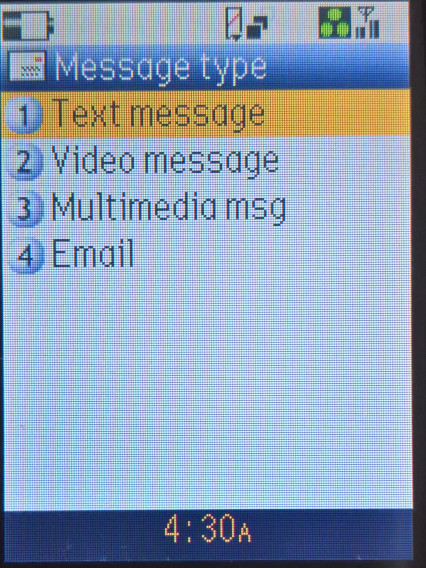
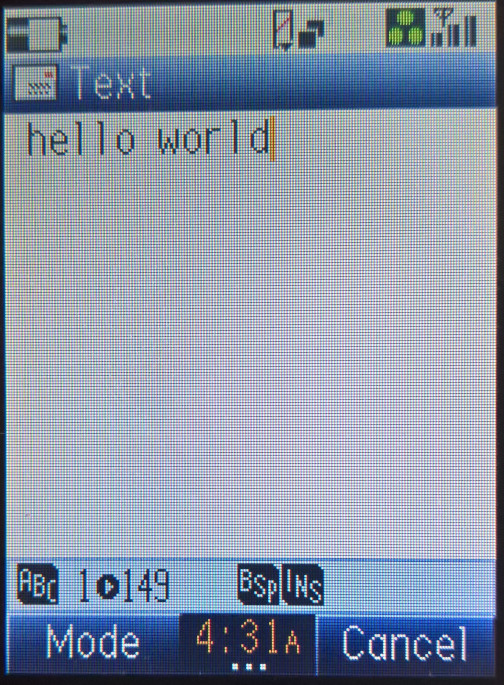
Text messages can be composed and sent from here, the handset supports SMS and MMS Multimedia messages. There’s an option for a video message which is really a vieo clip attached to a multimedia message.
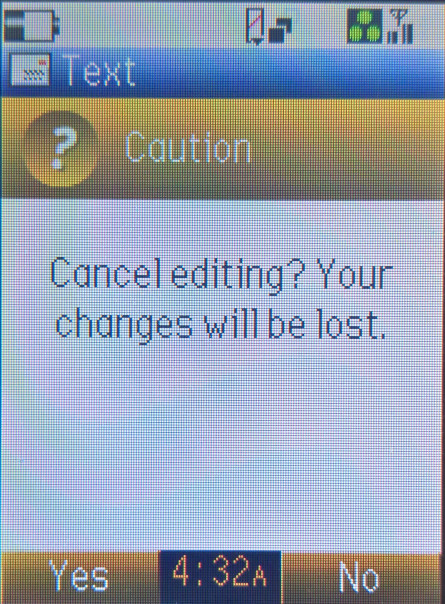
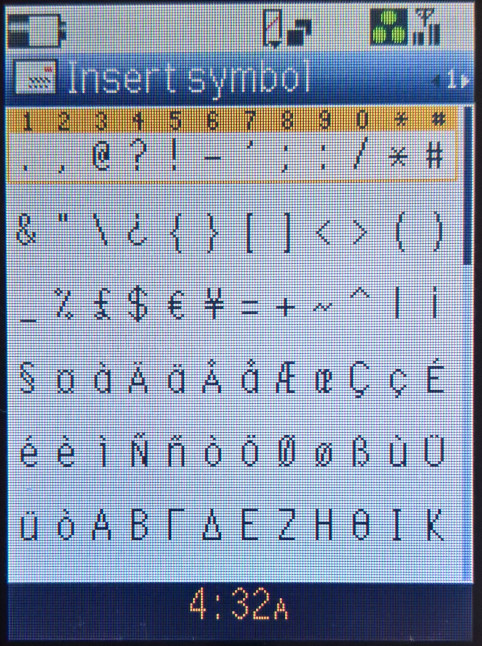
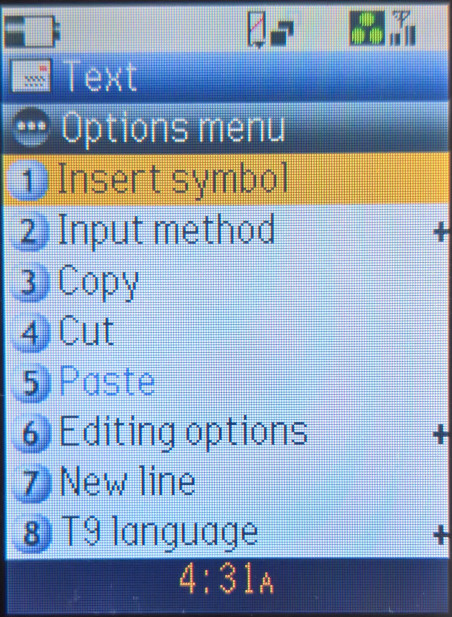
A full text editor is provided, with support for copy and paste and predictive text. An annoying feature is typing a message using the keypad, the phone makes DTMF sounds.
The phone also supports copy and paste, a feature that is rarely seen in feature phones.
Phonebook
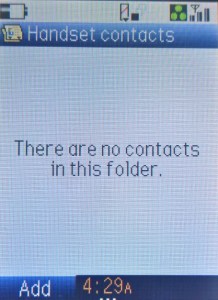
Contacts can be created and saved to the phone memory or the USIM card
Settings
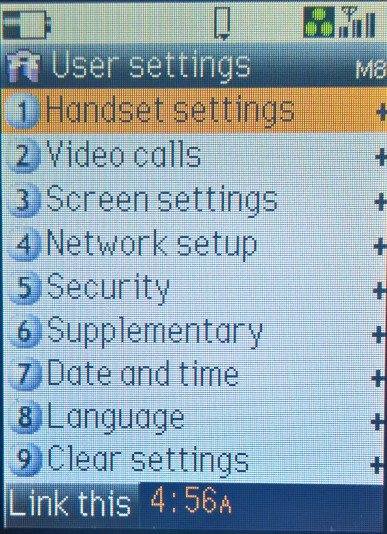
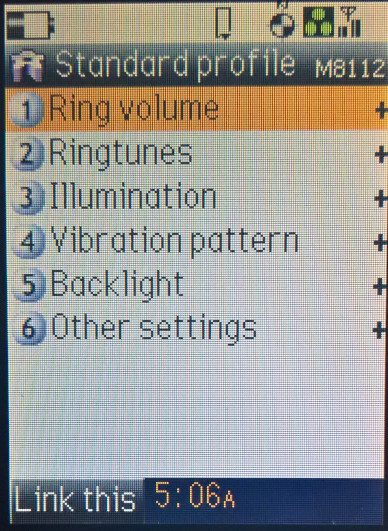
Handset Settings
Video Calls
One of the big appeals of 3G phones was the advent of video calling, where you and the recipient could see and speak to each other in glorious CIF resolution. Here you can change the picture quality and the camera orientation mode
Screen Settings
Set a greeting message and change the power on jingle
Network setup
Here you can change the network selection, choose if you want the device to connect to 3G exclusively, and any access points settings.
Security
Dial Lock – allows you to set a passcode that is entered via the keypad when the device is opened, when enabled you can only make emergency calls unless the code is entered
Side Key lock – prevents the side volume buttons from being pressed when the device is closed
Supplementary
Misc call settings, you can change the caller ID options, divers and waiting options.
Date and Time
Clear Settings
Changes settings back to their default factory values
Multimedia centre
Access to multimedia features of the phone,
Camera
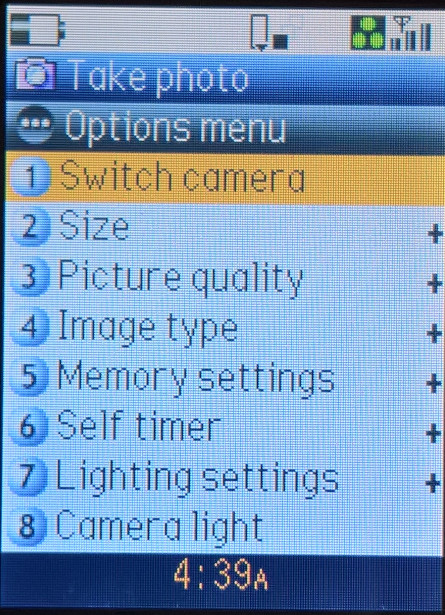
Capturing picture using the external camera. Both the front and rear camera can be used however both are limited to CIF resolution which is a bit low for this class of phone. Typically phones of this era use VGA resolution camera. Different effects can be applied. Both still images and video clips can be captured.
Record Sound
Sound can be recorded, up to 60 seconds in length and saved as an amr file
Image Viewer
View images captured by the camera, or any images downloaded
Video Player
Videos captured by the camera or downloaded videos from three can be played here, Videos are stored in the MPEG4 format.
Music Player
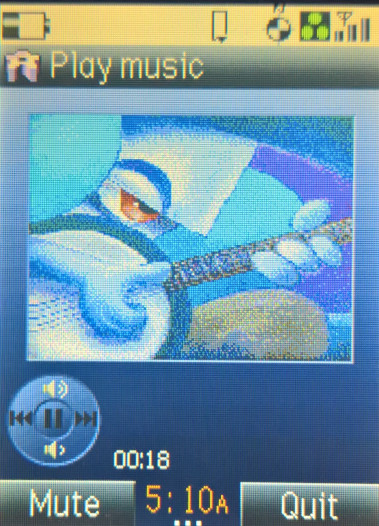
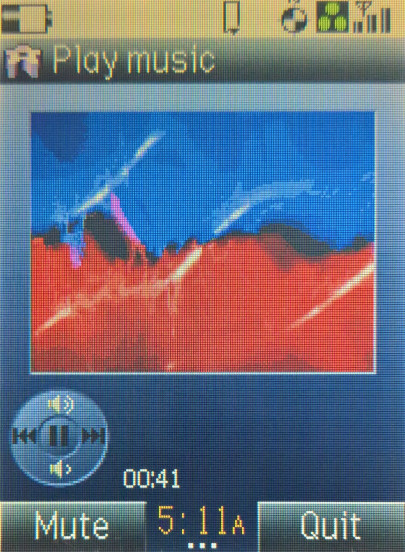
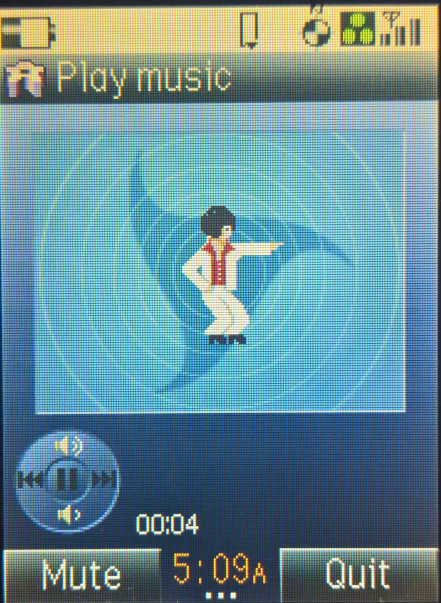
Capable of playing the Midi ringtones, but can also play back MP3 encoded files, either on the built in phone memory or from the memory card, just be mindful of the 5Mb transfer limit. Music can be played though the headphones or through the built in speaker.
Sound Player
Same as the music player, but for the recorder voice clips stored on the device.
Toolbox
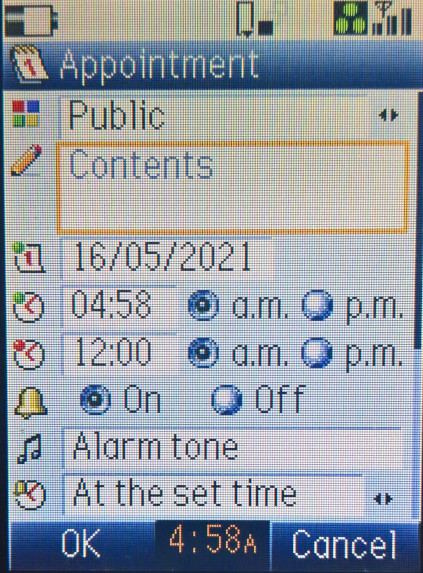
Calendar
To Do
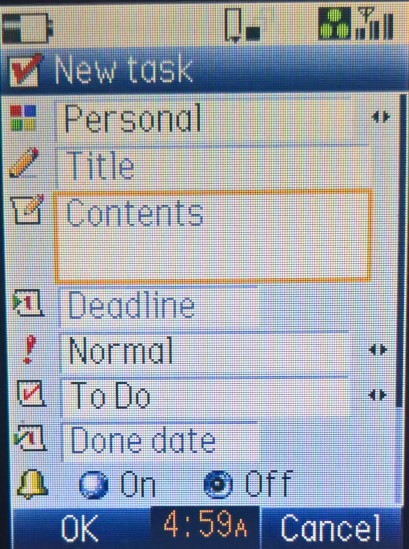
Add, set and remove reminders, and specify when the phone should alert you
Alarm Clock
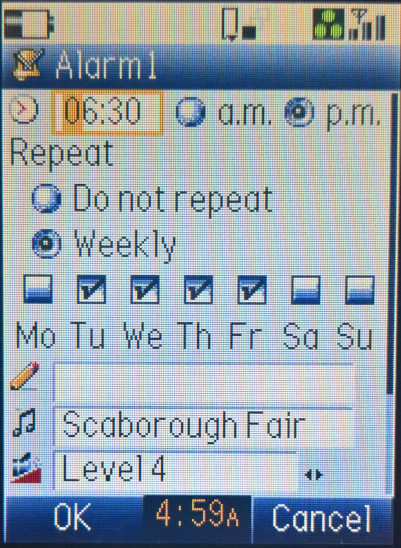
Up to five different alarms can be set, with the option to set the reoccurrence to a selected number of days.
Notes
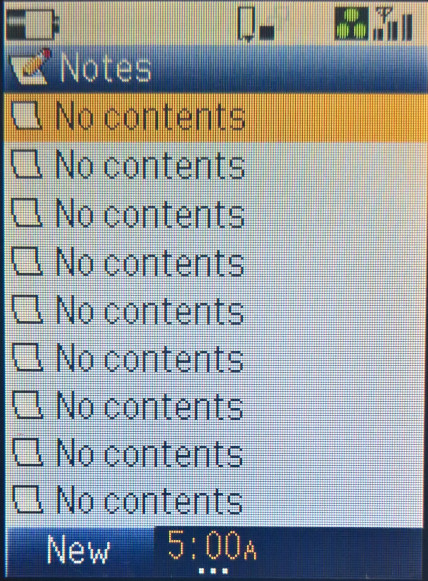
Similar to the Windows notepad, a text editor that lets you save up to 9 separate documents. Text is composed similar to an SMS message.
Calculator
A calculator and a converter, the calculator is capable of simple sums, but scientific operations are not supported. The converter is cable to convert currency only, and has the option to specify the rate manually.
GPS and compass
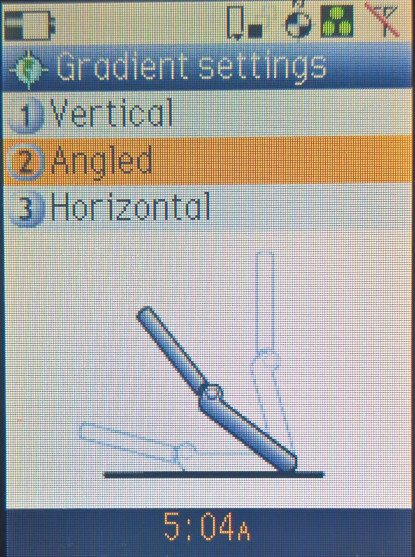
Supposedly comes with a GPS feature built in, but I wasn’t able to get it calibrated, perhaps it’s dependant on the mobile network being functional?
Call Memo
Java
The phone has the ability to run Java J2ME applications that are published and downloaded by 3. Unfortunately there seems to be no way to load the Java applications over USB or Bluetooth using the PC Software, so there’s not much to do here. I tried copying the Jad and Jar files over manually using the USB connection below but it didn’t work, seems the only way is to use the built in browser and download the games via the 3G network
External Connection
Bluetooth
This phone supports Bluetooth however it is very limited compared to other handsets, there’s no file transfer, only dial up networking and audio headset is supported.
USB
The phone can connect to a Windows PC using a USB adaptor cable, and with the appropriate software installed. Here files can be transferred to and from the phone, and contacts can be synchronised using an external application
Synchronisation
You can Sync contacts, calendar and To do lists from an external server, similar to how you can sync with Outlook or Gmail, only back in these days you had to use the Three server.
File Manager
You can explore both the phone memory and the external memory card. Internally the device has 19Mb of available memory for use, and can support up to 128Mb of external memory, using the Sony Memory Stick Duo standard. You can also format the memory card, check its filesystem for errors and view the amount of space free for use.
Files can be copied or moved, or sent via the MMS if the file size is small enough, Bluetooth cannot be used to send or receive files.
Web browser?
When Three launched their 3G service in the UK, it was designed to be a walled garden where only 3 service could be accessed using the phones internal browser, and external web access was not supported. This meant it was not possible to browse WAP sites on the handset, the browser that ships with the phone is locked down to work with Three’s services only, and from the article below was supposed to be the Netfront browser.
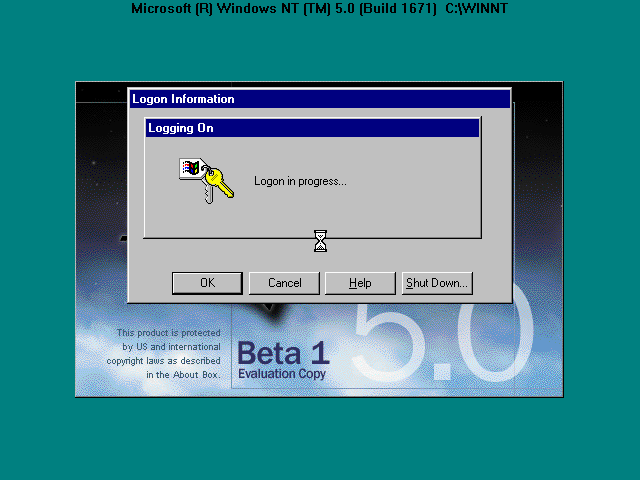
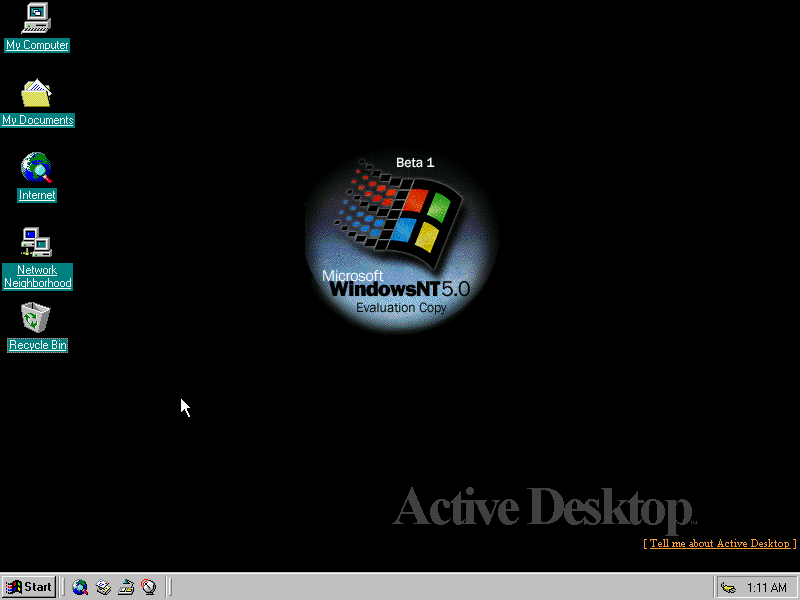
One of the Beta 3 builds, closer to the final release build.
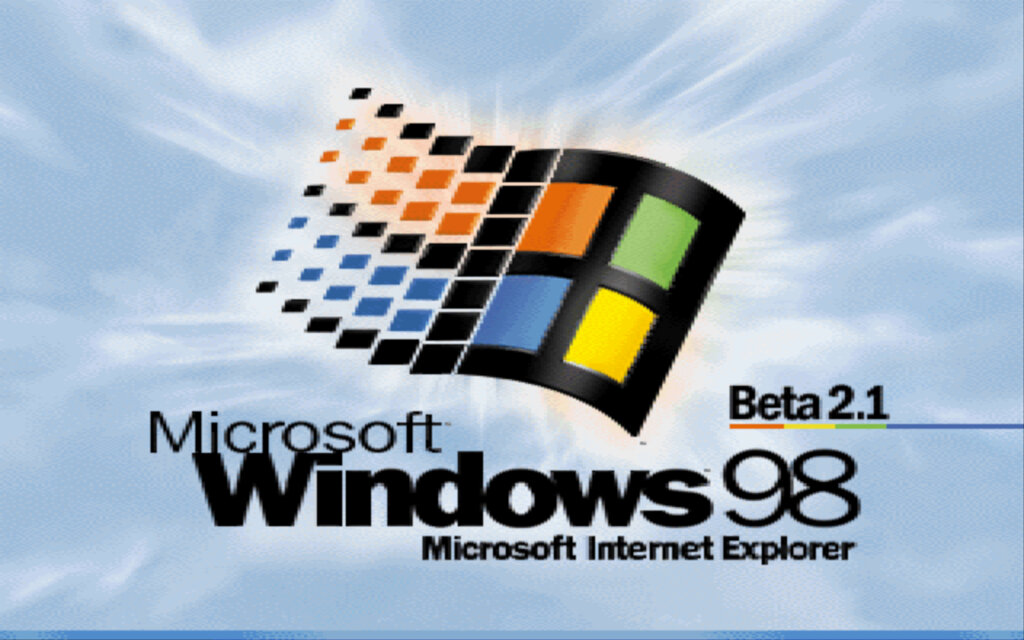
Despite being a beta 3 build, the boot screen used is from Beta 2.1
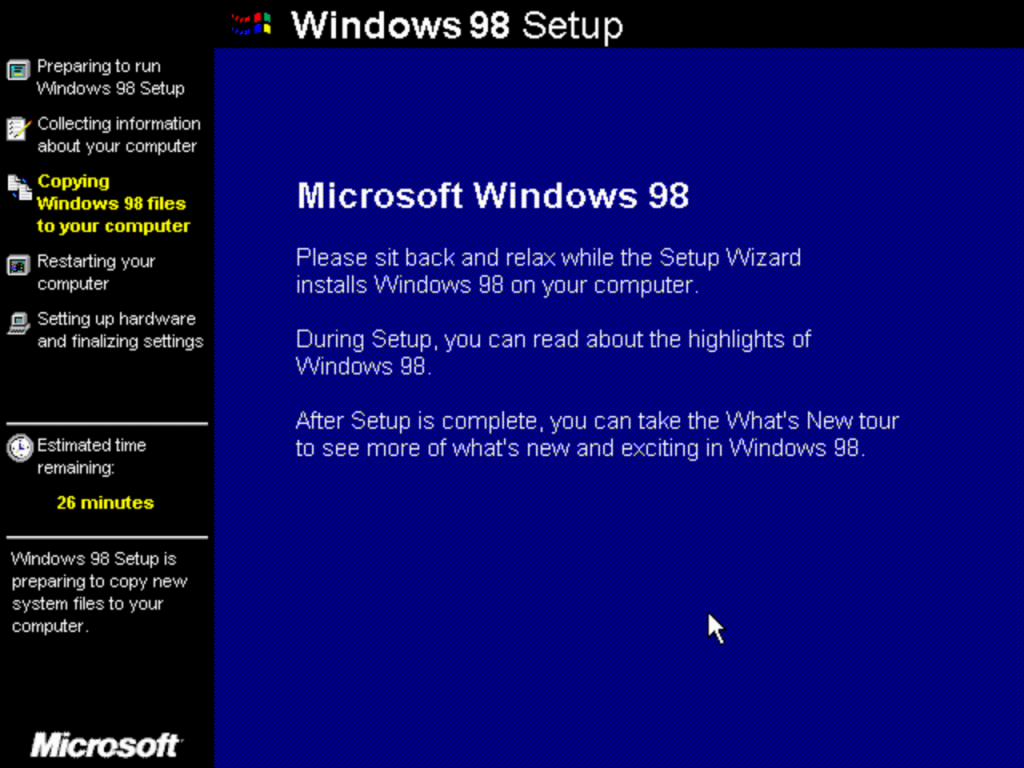
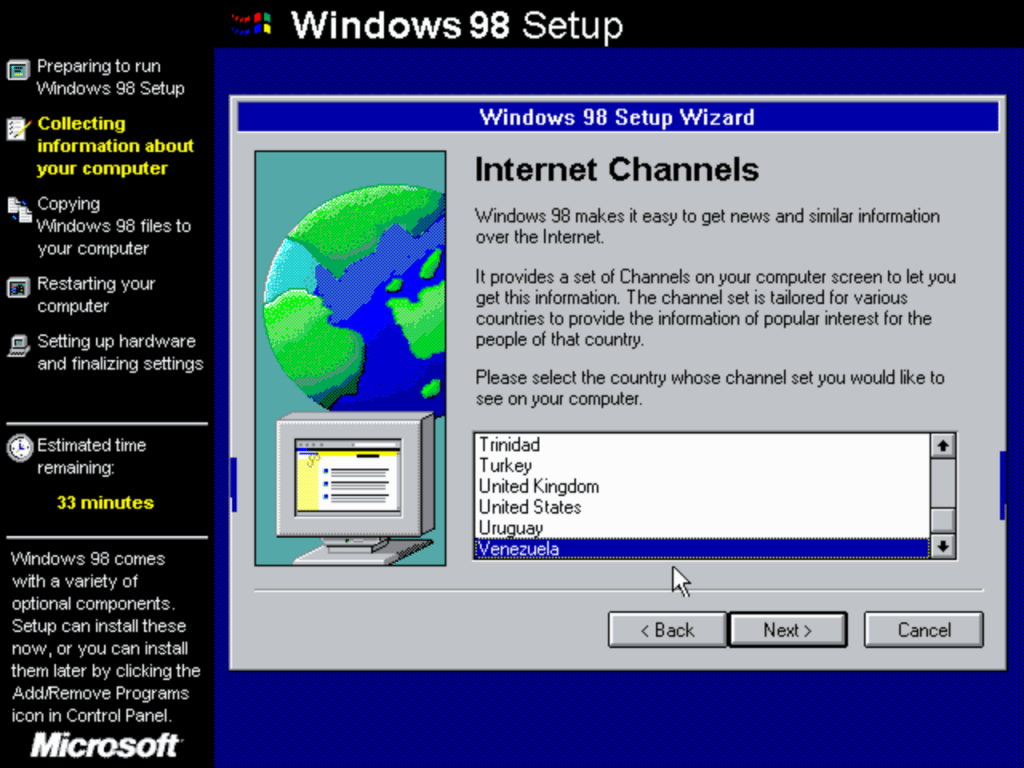
Install
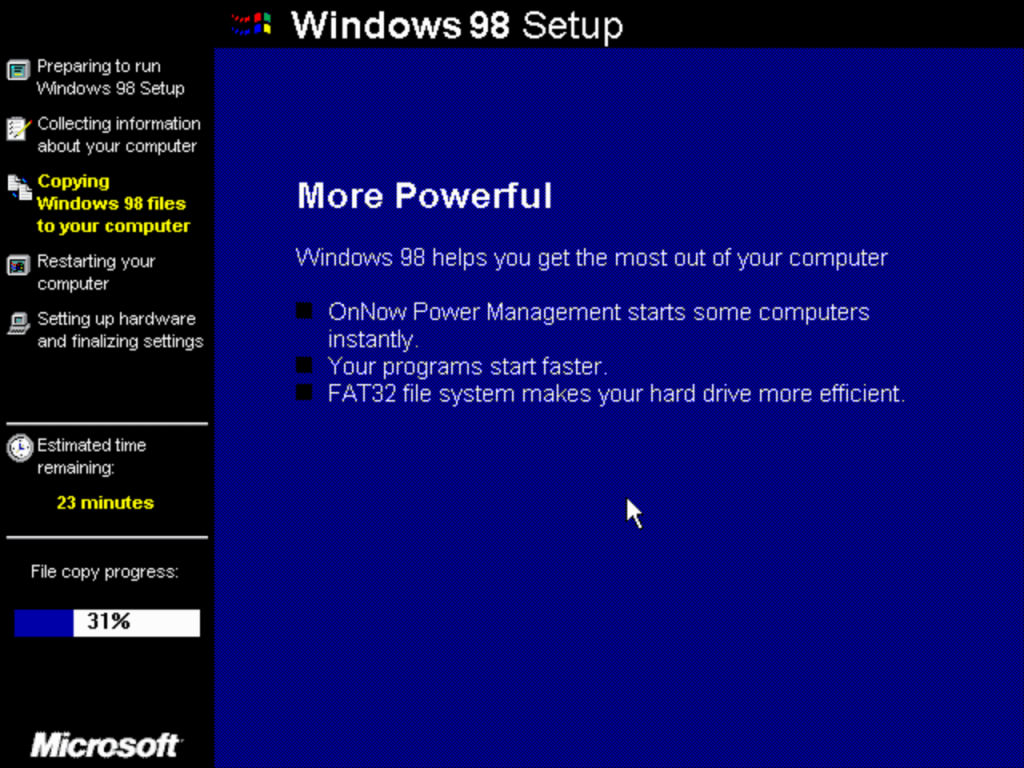
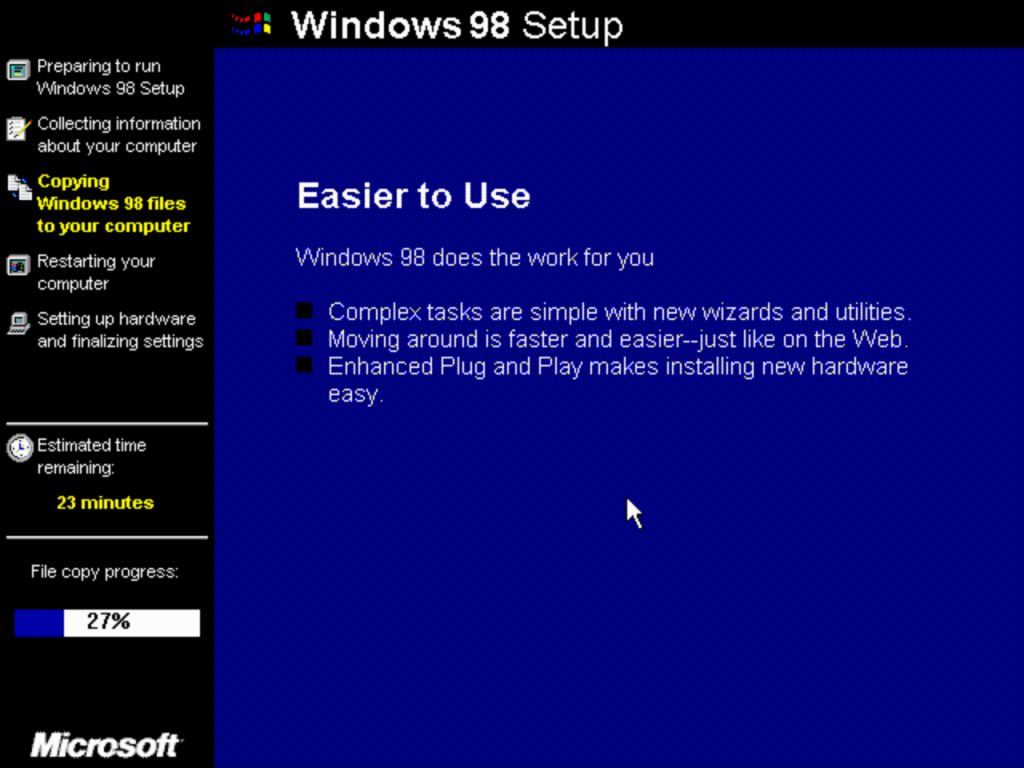
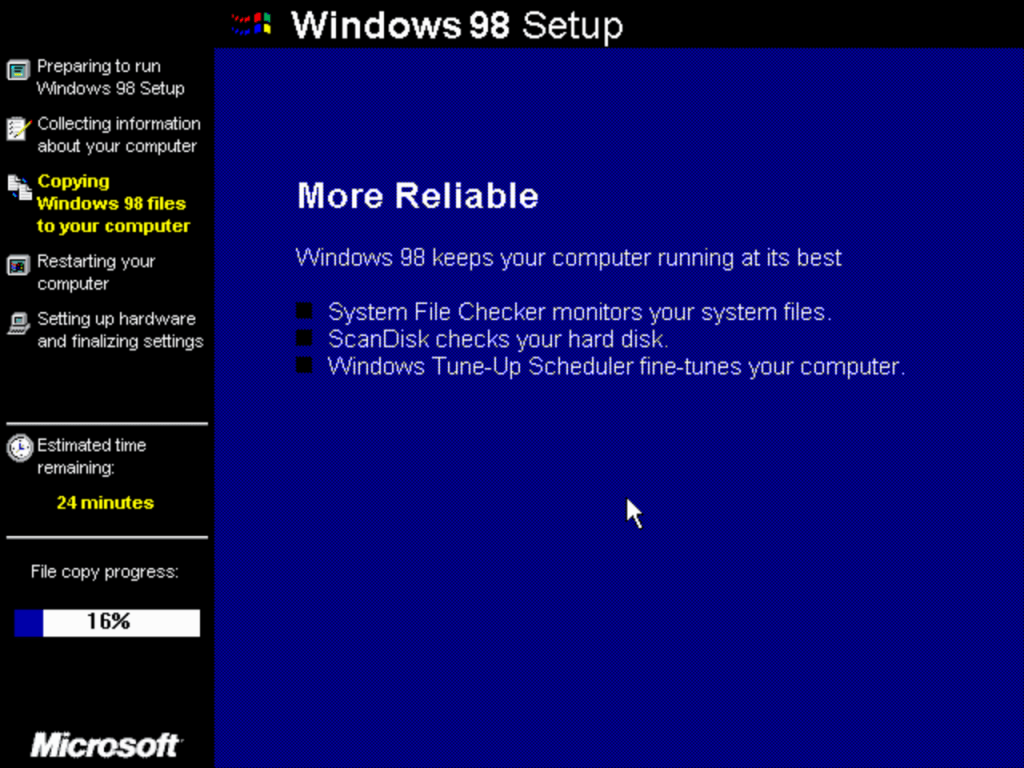
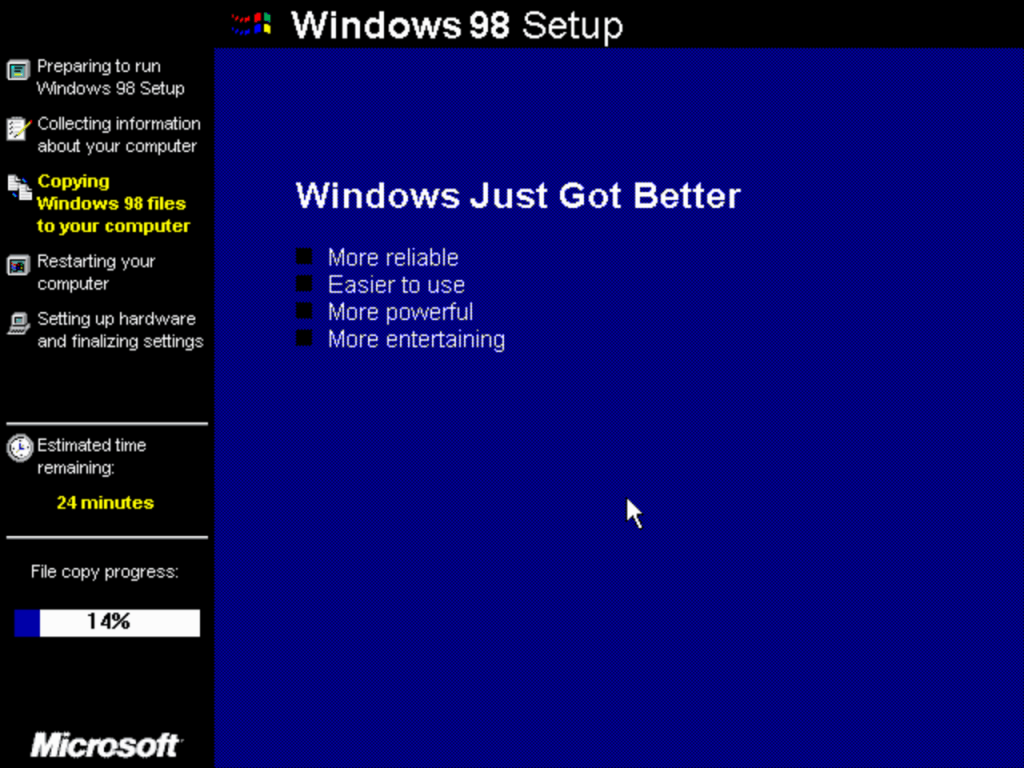
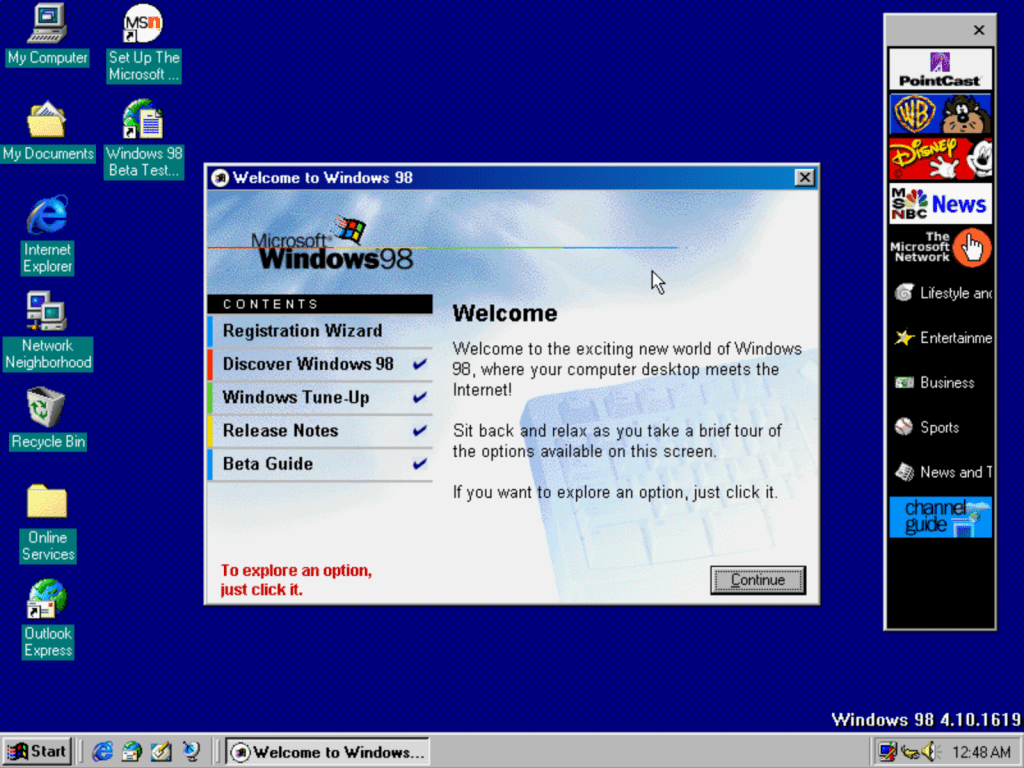
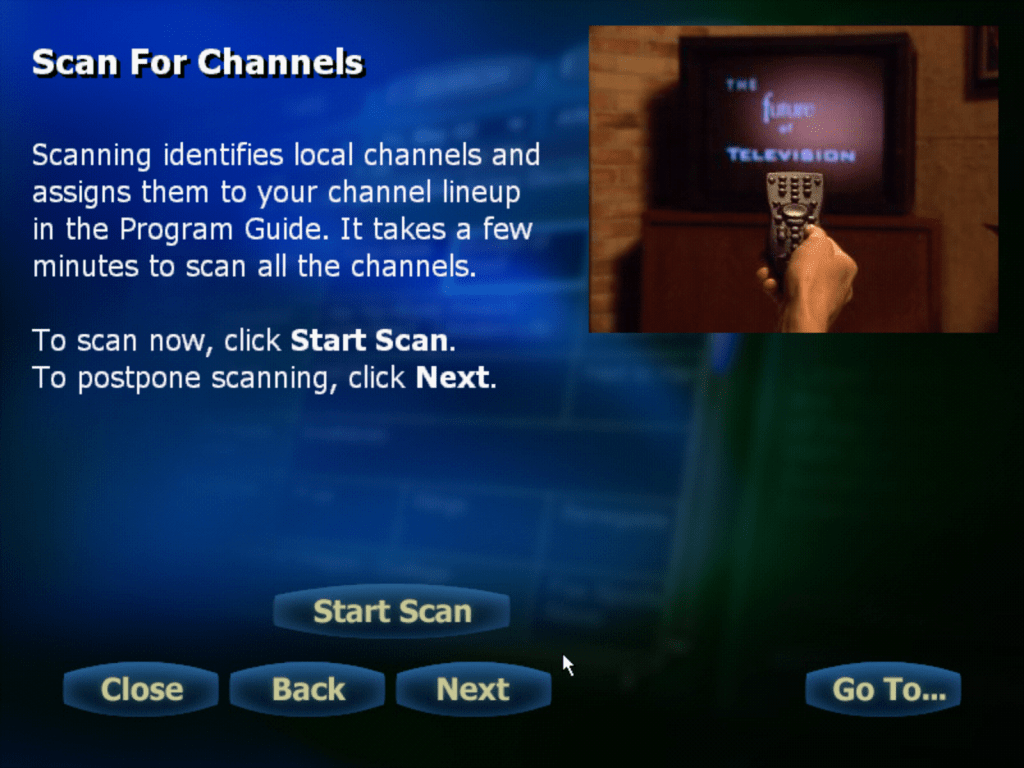
Initial installation, looks very similar to the released product. The welcome program comes with an extra item dedicated to the beta guide which details whats been added in this beta phase.
Desktop
Booting for the first time
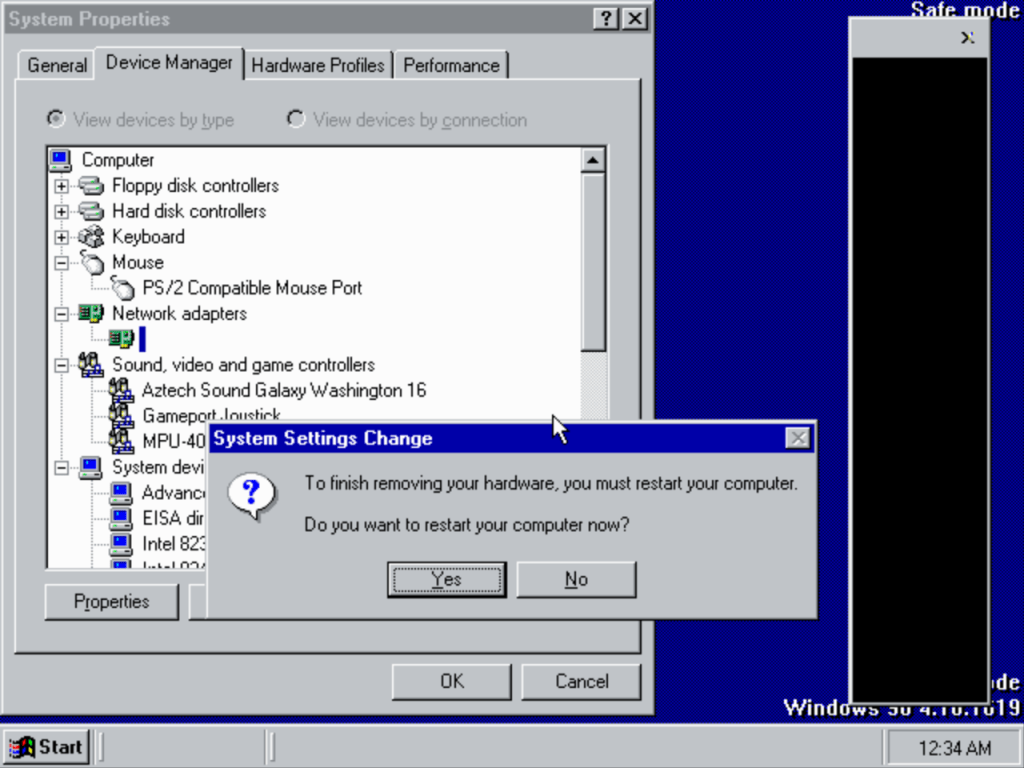
This build seems to have issues booting up in normal mode due to a botched device driver instillation when the OS was installed for the first time. To rectify this you will need to boot into safe mode and uninstall the corrupt device, in this case this was the network adaptor which was missing its hardware title. I’m not sure if this is an issue specific with this build or if its due to the hardware PCem is emulating (Could be with the emulator itself)
Tutorial
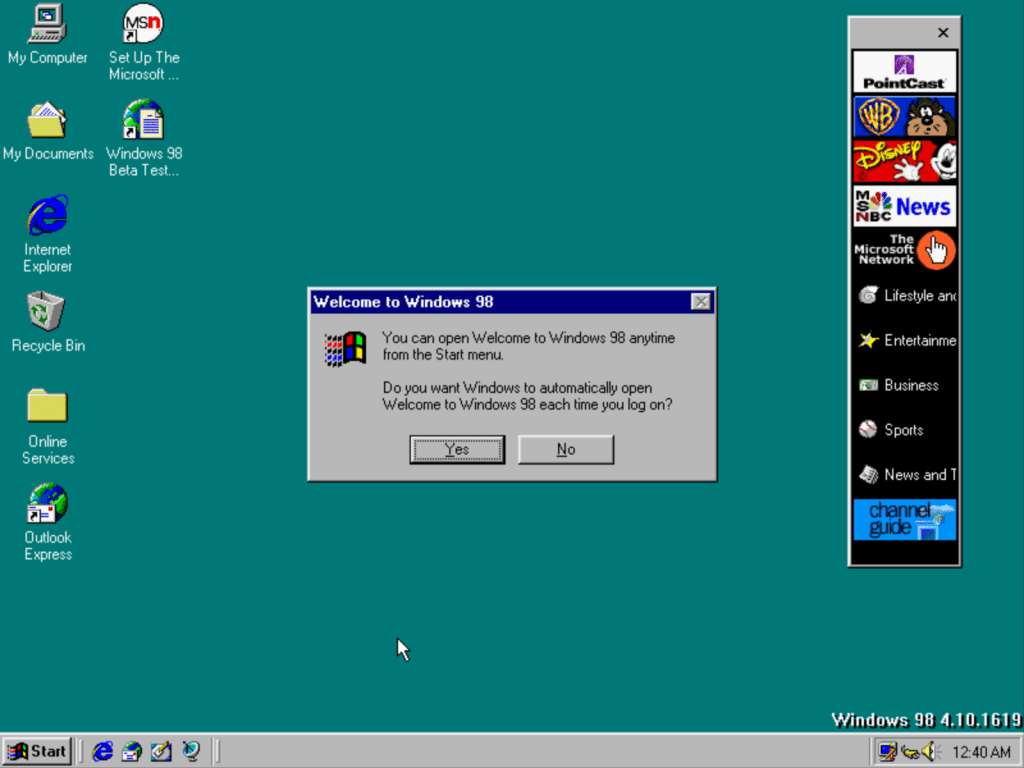
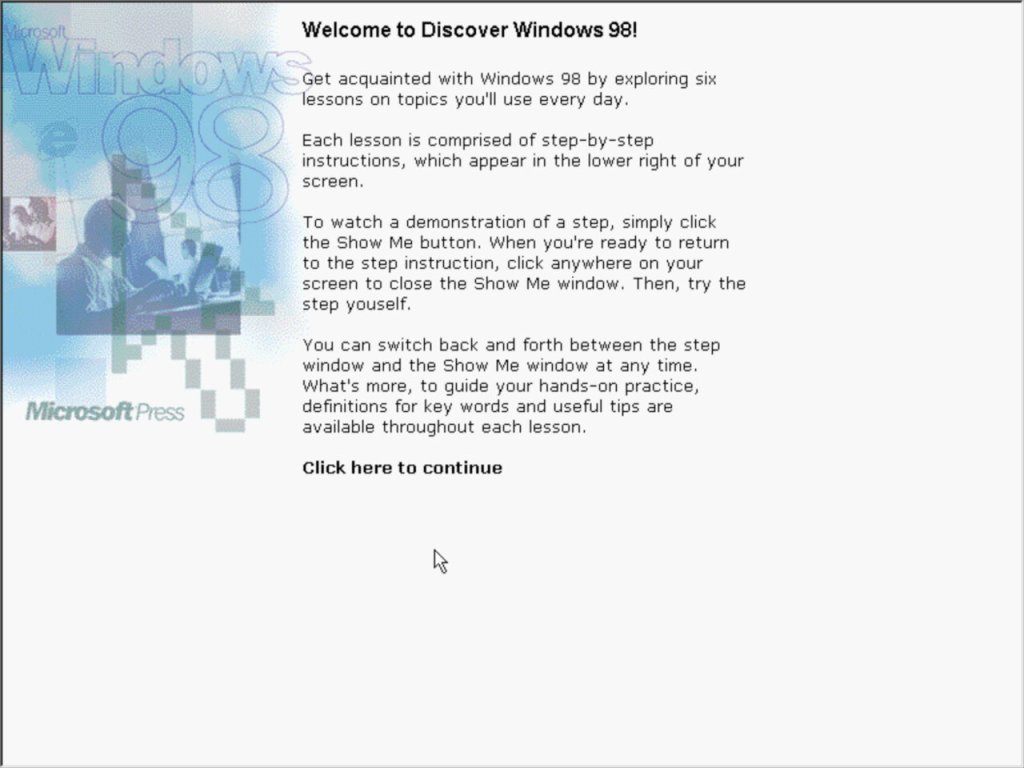
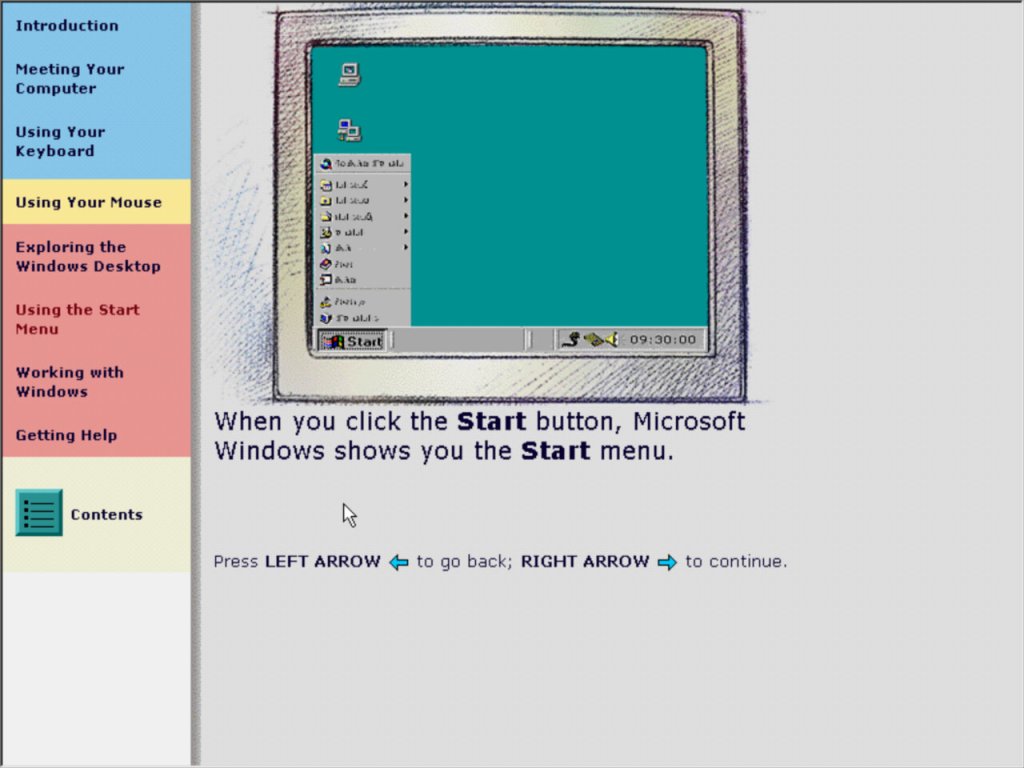
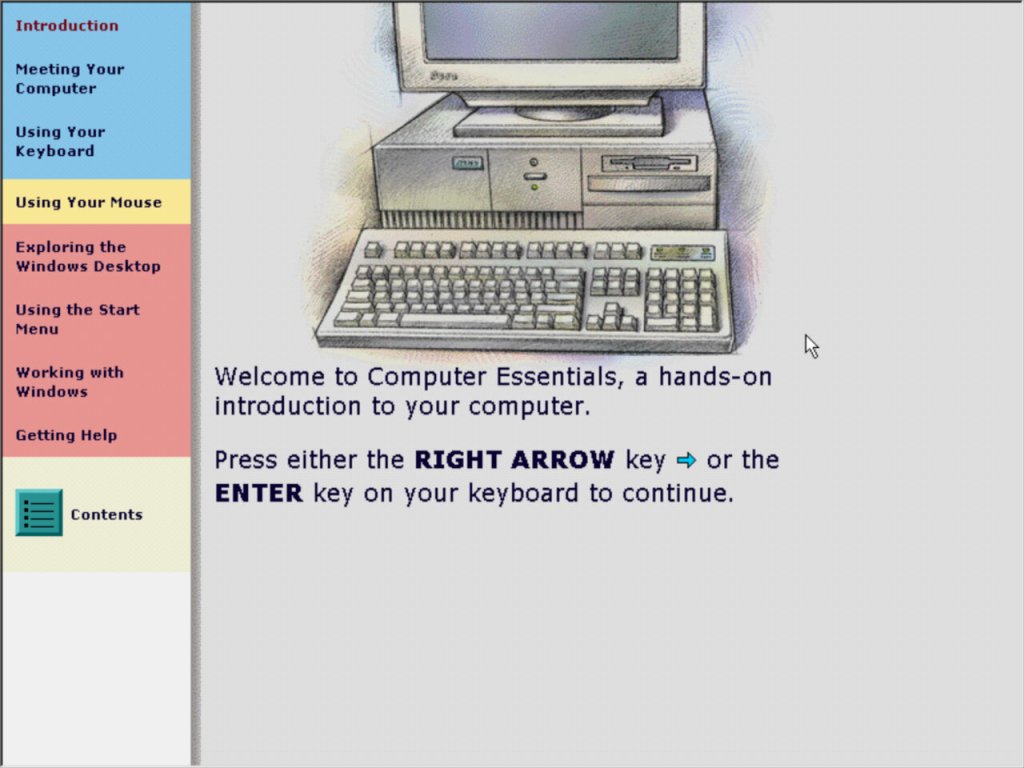
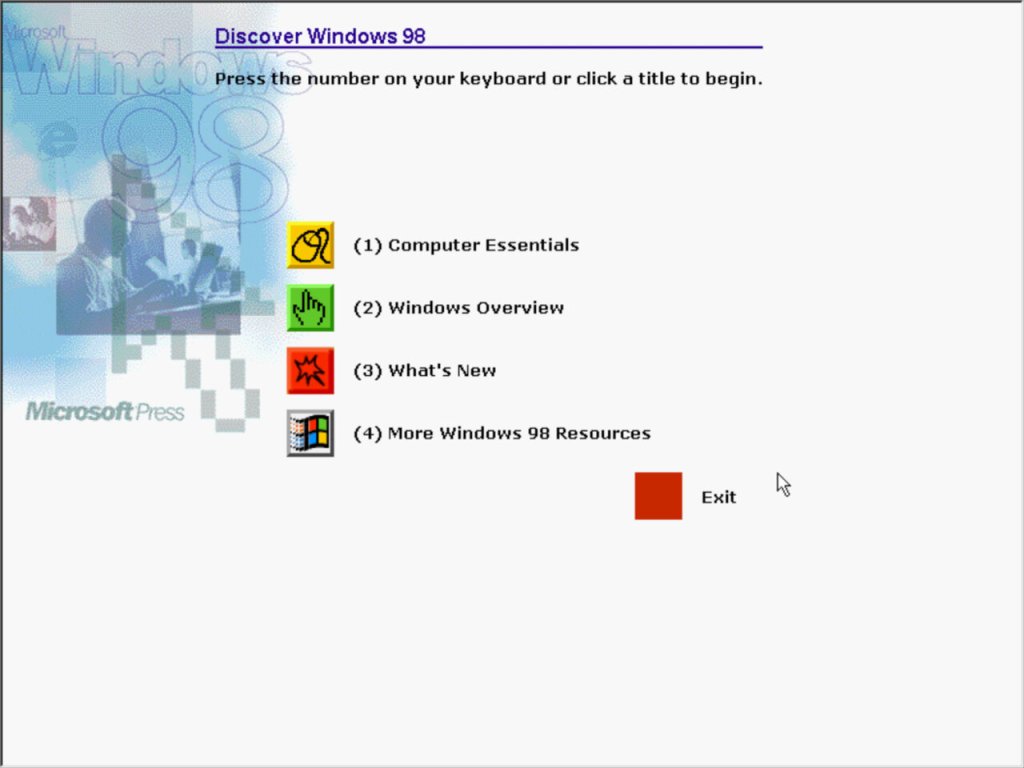
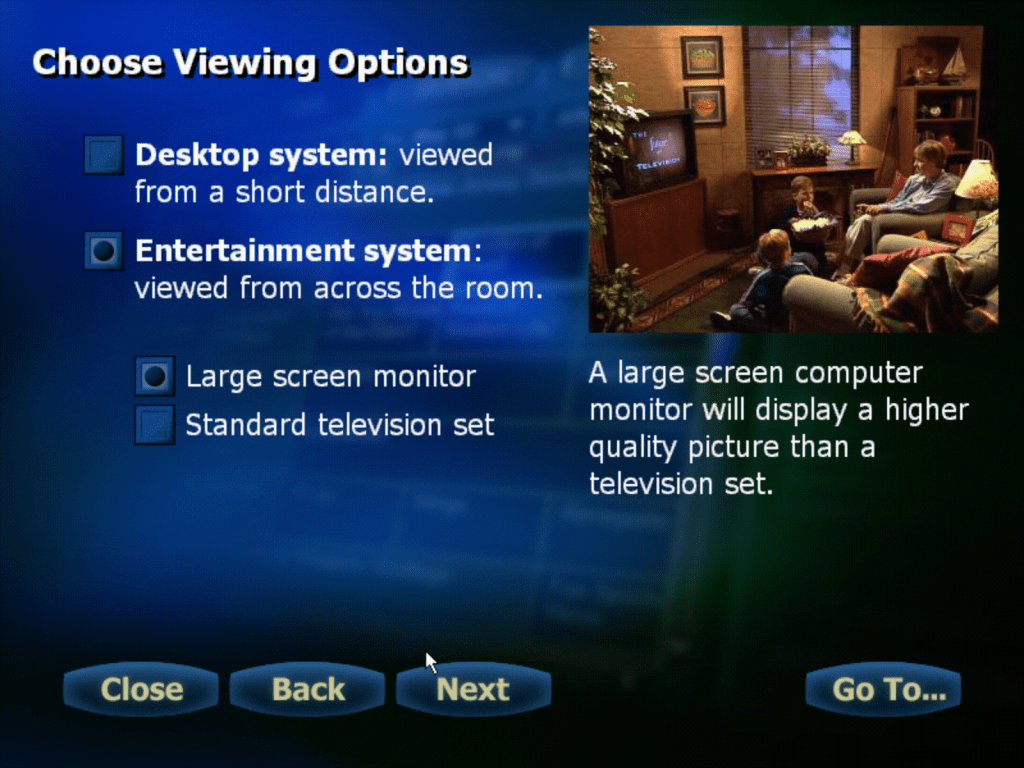
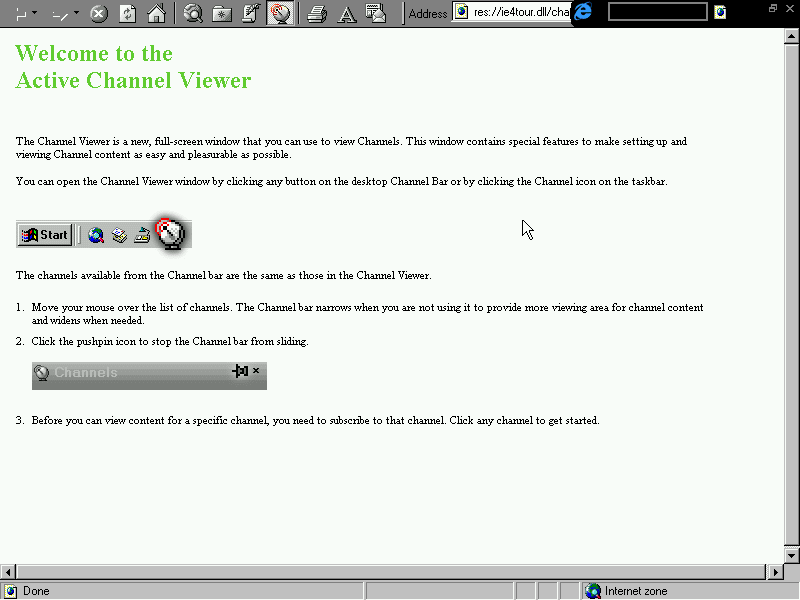
When Windows 98 boots for the first time, a welcome screen is shown giving the user an option to start a tutorial on showcasing the new features of Windows 98, and a section for users who are new to Windows itself. This is stored on the Windows 98 CD and is required to be inserted to run the tutorial. In this build there are some differences with the images and layout used from the final build.
WebTV Windows
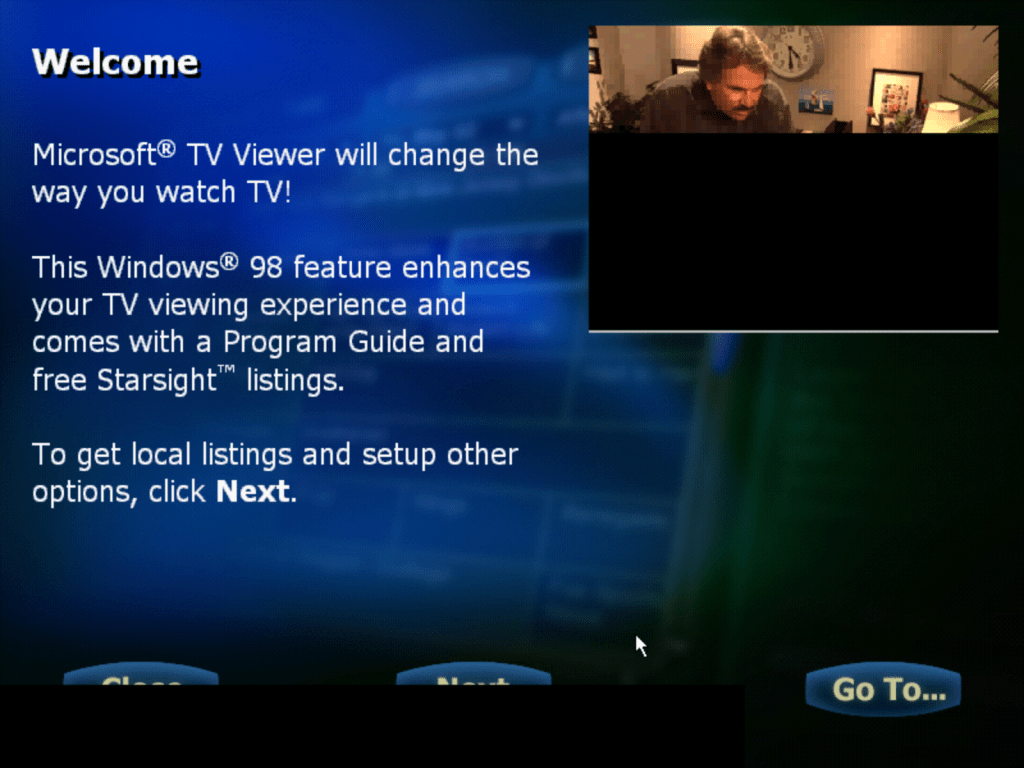
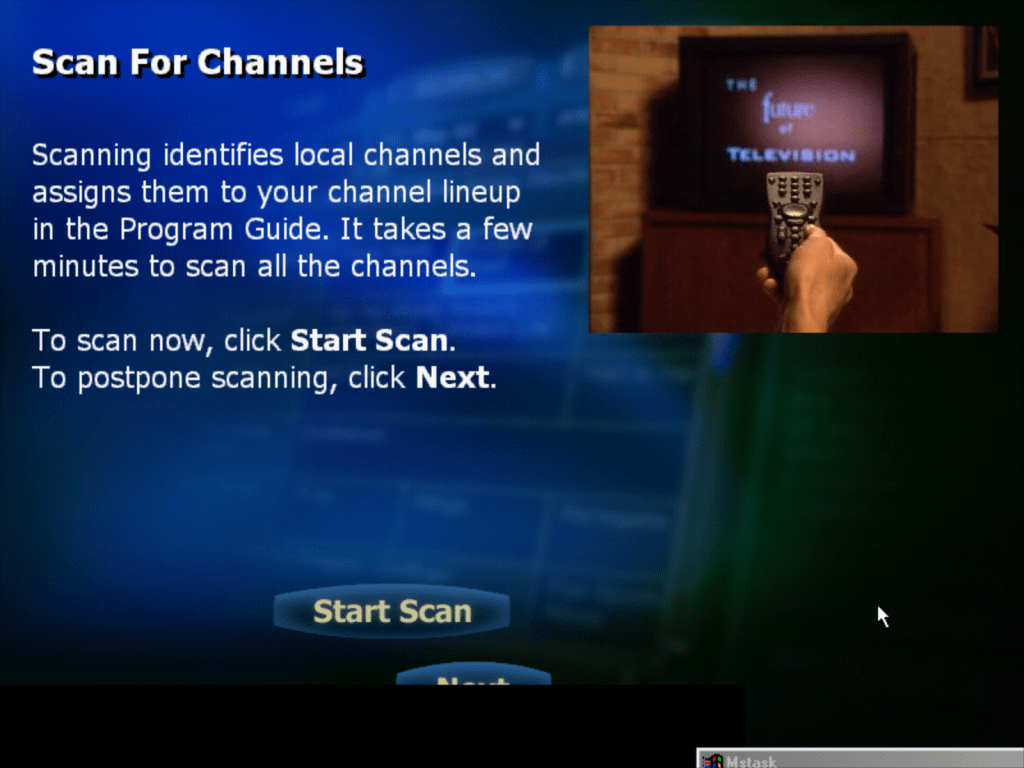
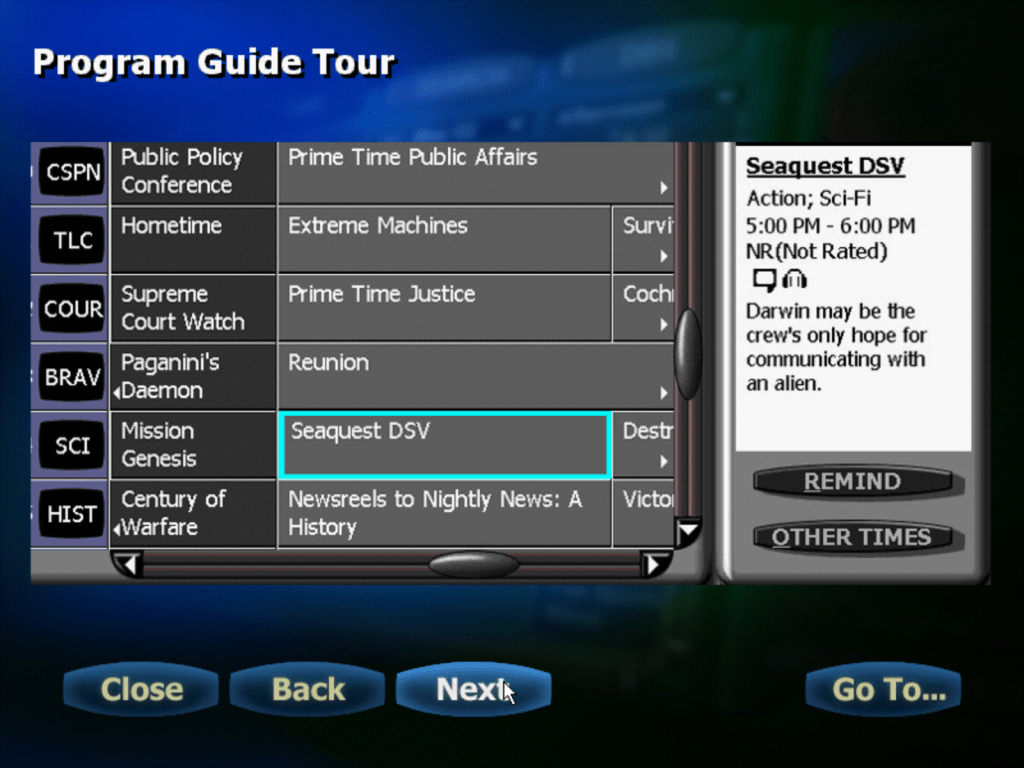
Microsoft acquired WebTV and was intended to be used as an early precursor to the media centre applications as seen in Windows XP Media Centre edition. WebTV for Windows was to bring the WebTV guide interface to the desktop using the computers TV tuner. A TV Guide would be offered which delivers TV listings over the internet, whilst using analogue TV (Digital TV wasn’t widespread yet, US wouldn’t launch its digital terrestrial works from late 1998 onwards and cable slightly later)
Wavetop was a protocol to receive data from terrestrial broadcasts and was an early form of interactive TV. Web pages would be transmitted between the VBI of the analogue signal and would be related to the program being broadcast. A competing system was Intel’s Intercast
Internet Explorer
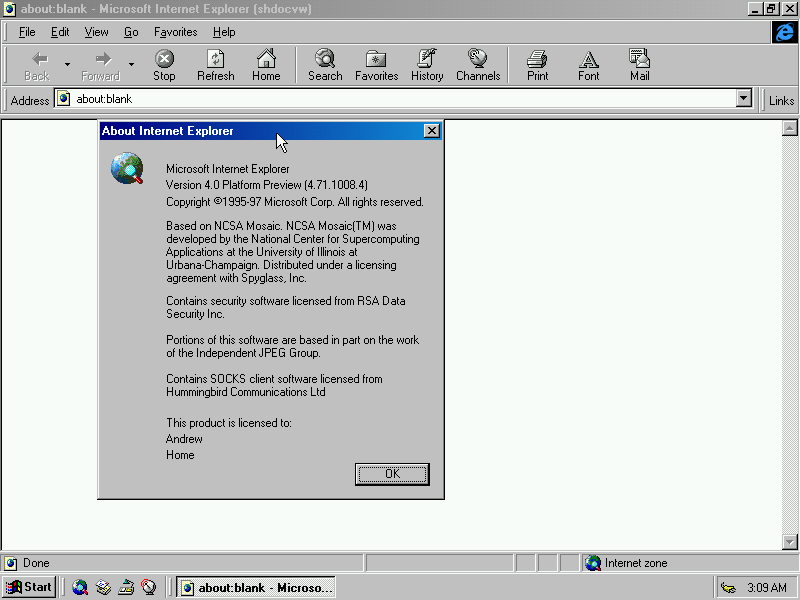
Internet Explorer 4 is bundled with the operating system and was integrated into the explorer shell.
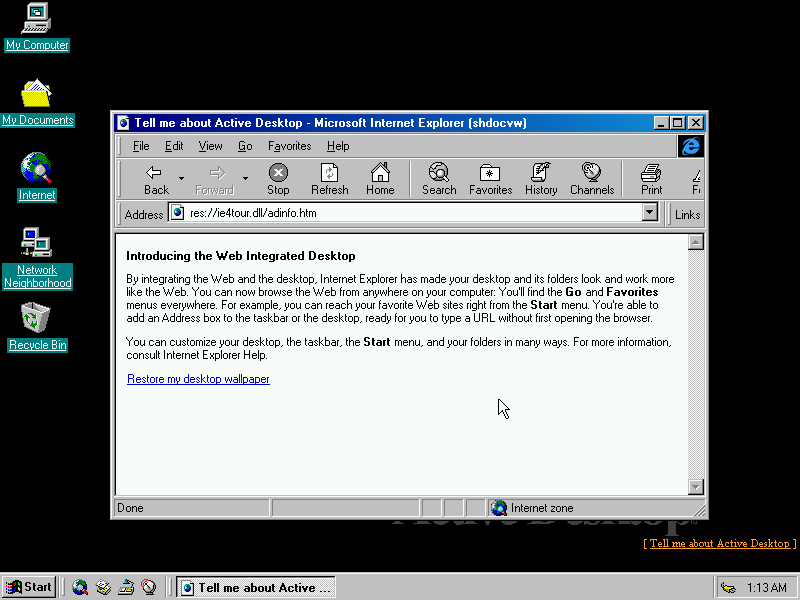
Active Desktop
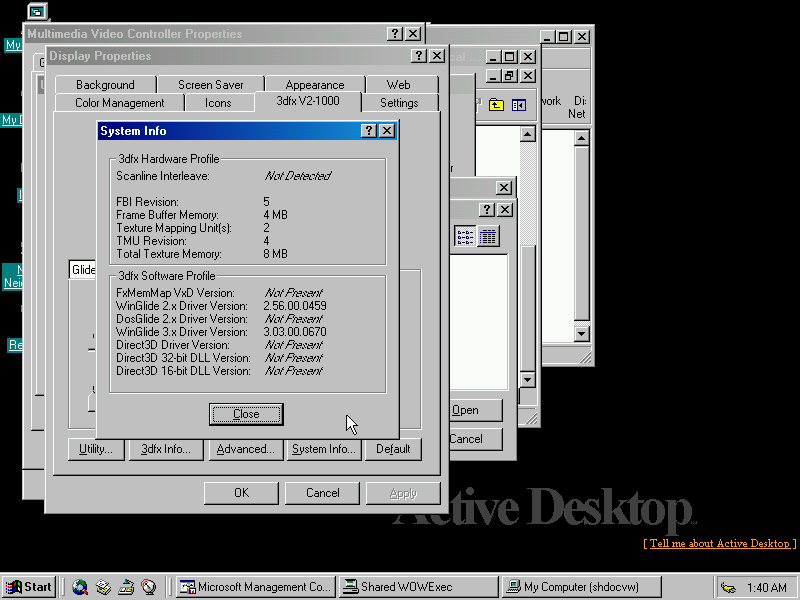
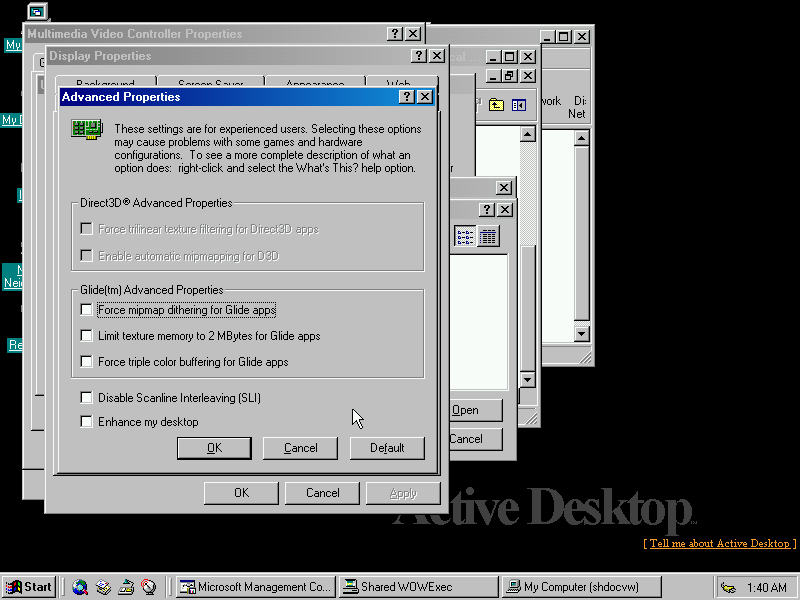
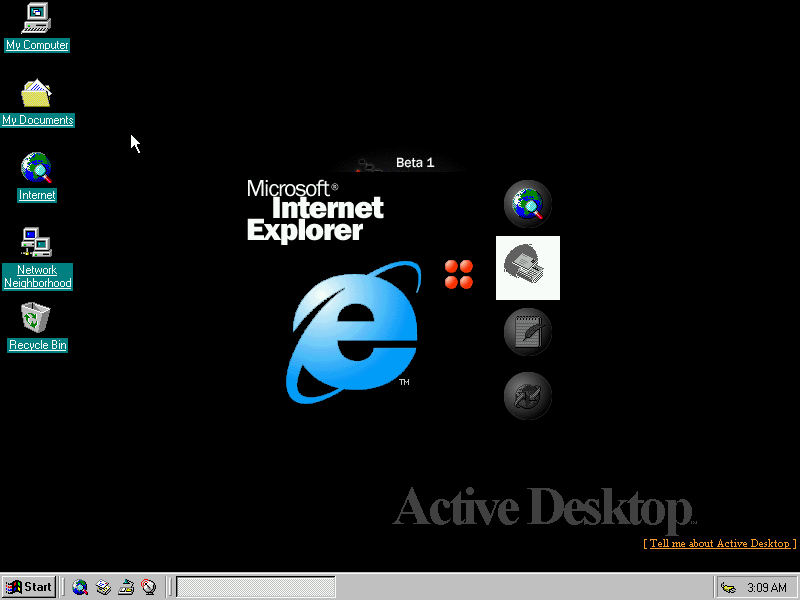
Active desktop was a feature that allowed a webpage to be set as a desktop background, with clickable hyperlinks.
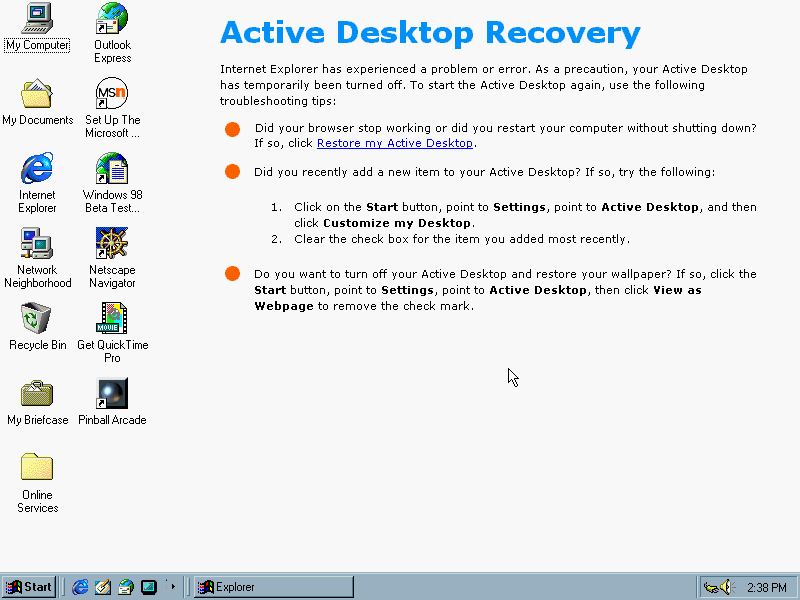
If explorer crashed whilst active desktop was enabled, an active desktop recovery page was displayed instead which gave the user the option to re-enable the active desktop, this was to prevent explorer from crashing repeatedly should the webpage be the source of crashing.
Windows Explorer
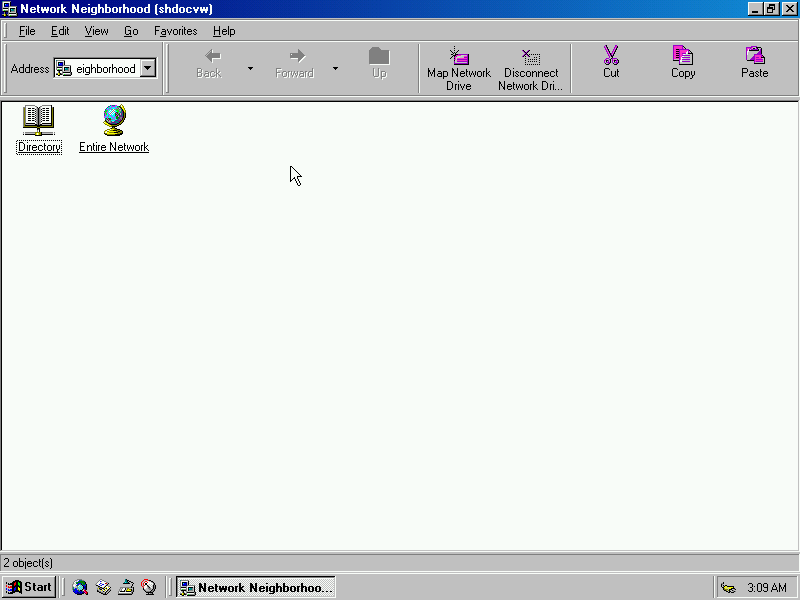
Windows Explorer was updated to be remodeled giving folders a web like view which was meant to be more visually appealing to the end user. In practice this made the explorer shell more sluggish and buggy, taking longer for the computer to rendered the explorer page. This could be toned down to a basic interface view, but the explorer shell would still be rendered in Internet Explore.
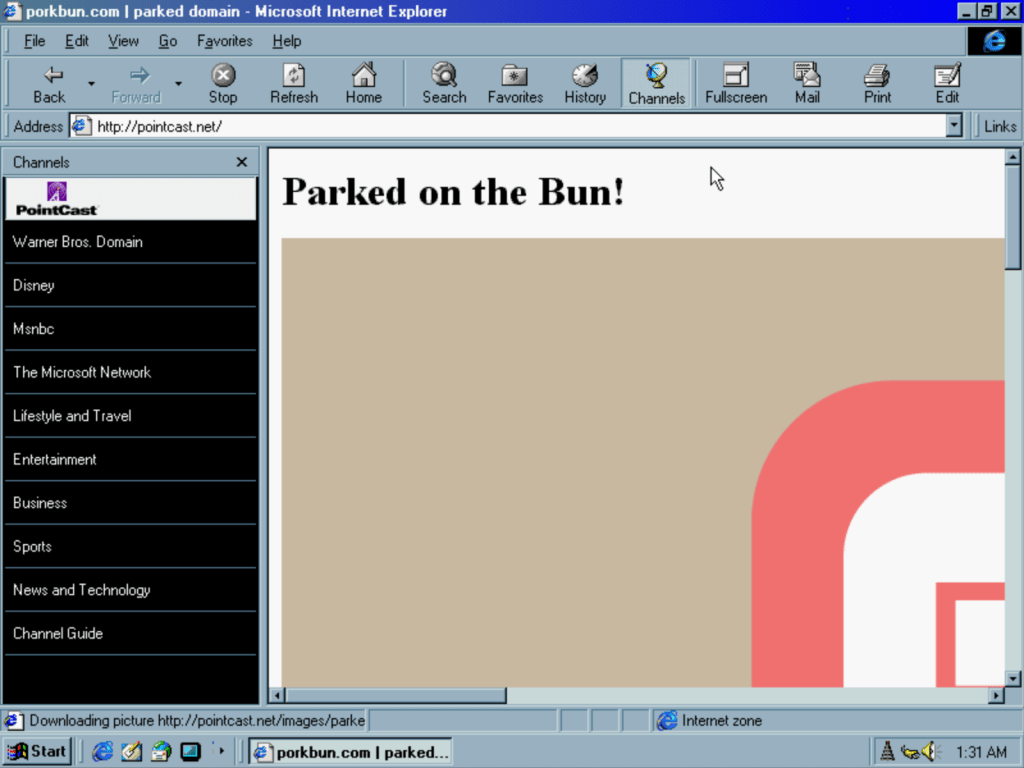
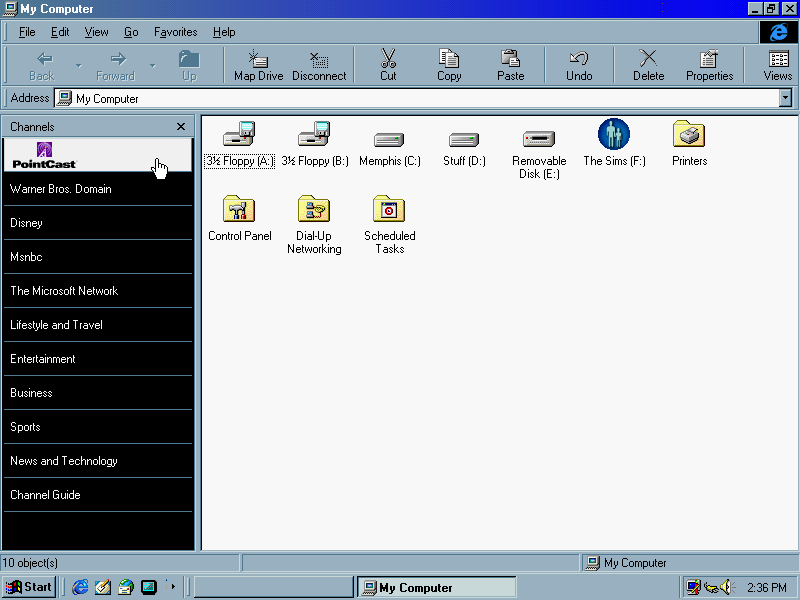
Internet Channels
Channels could be opened within a web browser such as Internet Explorer. These acted as an earlier method of RSS where website updates are pushed to the user, rather than having the user checking the website manually
Using theoldnet.com, we can try to pull these websites as they appeared in 1998, which this browse should have no issues rendering. Unfortunately these links seem to be special active desktop links that load an exclusive page which the internet archive has not had a chance to index.
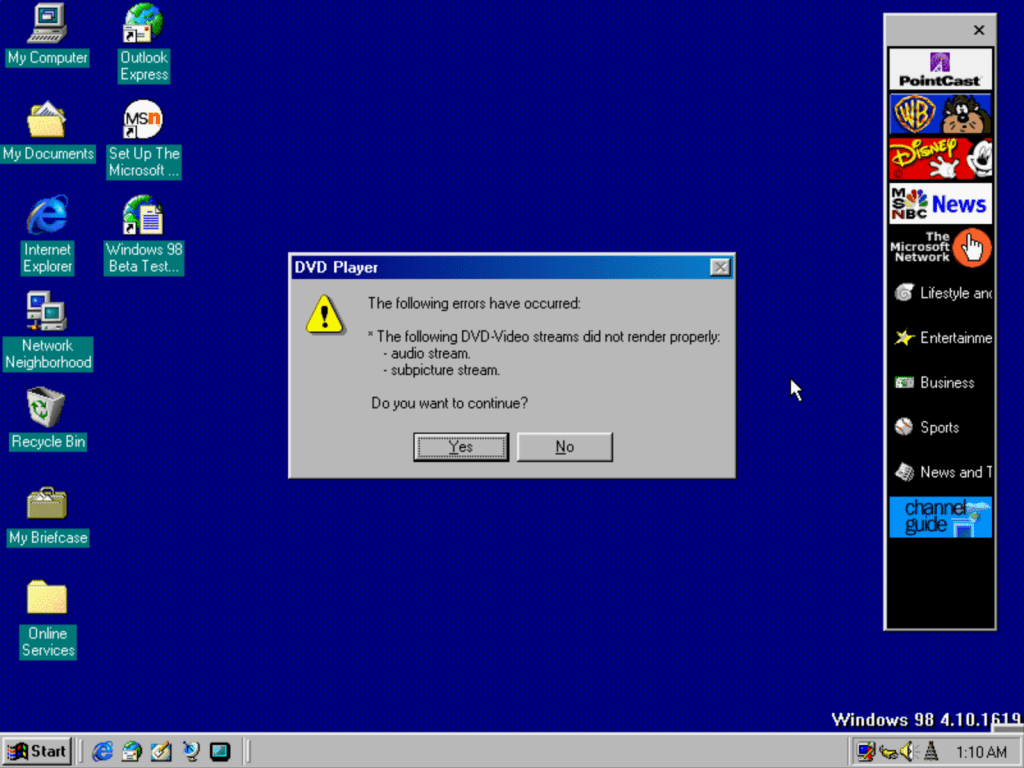
DVD Player
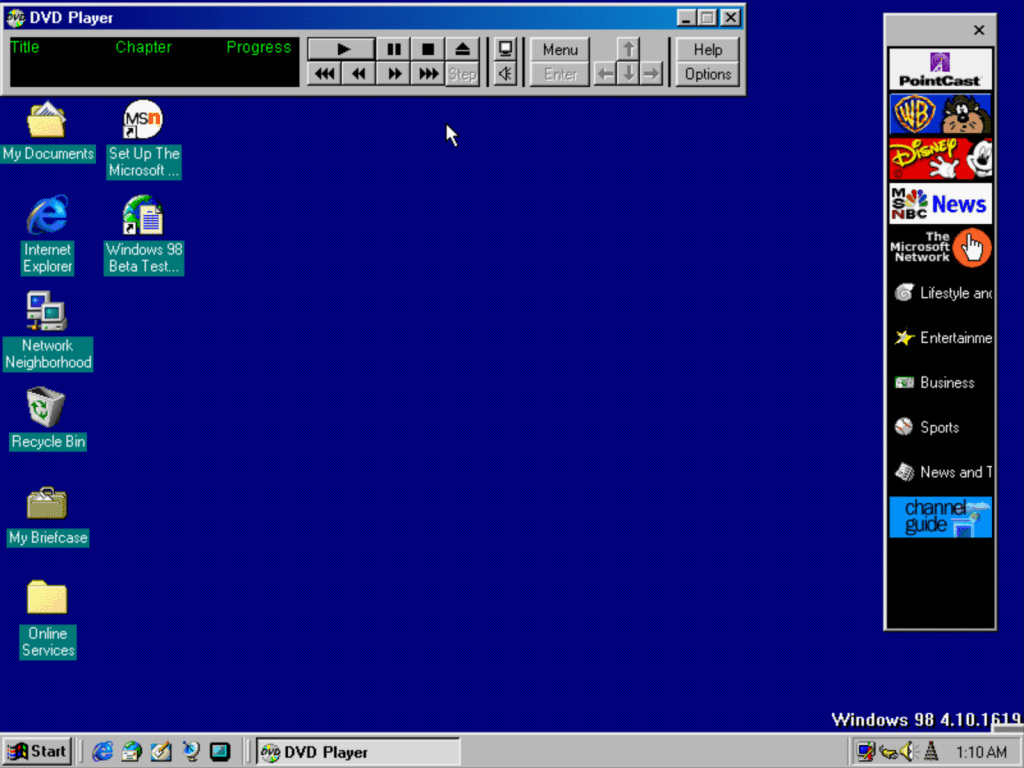
This build features a standalone DVD player application, however this requires a dedicated MPEG2 hardware decoder since CPUs of the time could not decode in real-time. Some video cards also featured partial MPEG2 acceleration and would feature their own DVD player software such as Cyberlink PowerDVD
No hardware MPEG2 decoder detected
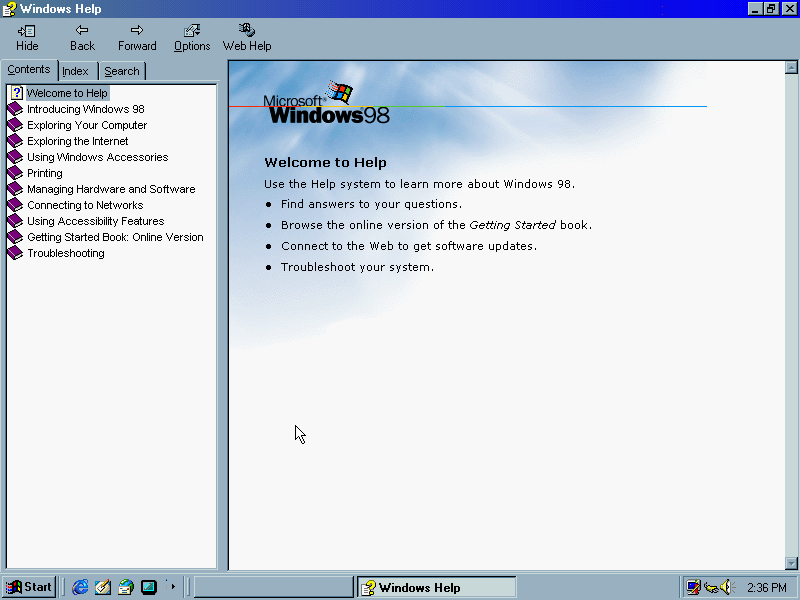
Pressing F1 bring up the Windows help, which provides an HTML based help interface. Third party programs can also use this help system.
My Computer, with the channel sidebar enabled.
When Windows explorer crashes whilst active desktop is enabled, the recovery screen is enabled in the event of the web page being the source of the issues. The user can then manually restore the active desktop.
PCem Specs
Motherboard: Intel Advanced/ZP
Processor: Intel OverDrive MMX 200Mhz
Video: ATI Video Xpression (Mach64 VT2)
3D Accelerator: 3DFX Voodoo Graphics 3D Accelerator
Sound: Aztech Sound Galaxy Pro 16 AB
Mouse: Intellimouse PS/2 (Allows scroll wheel to be used)
Bromley areas (former Cable&Wireless) were running this guide up until 2002, where it was replaced by Bromley CR3
Not all customers in Bromley were running this version of software, ex-Videotron customers were stuck on CR1 software due to the poor network conditions that meant the area could not support two way communication, meaning no interactive or broadband support. They received a rebranded version of CR1 but without the Liberate browser.
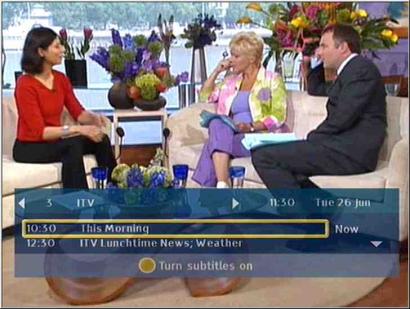
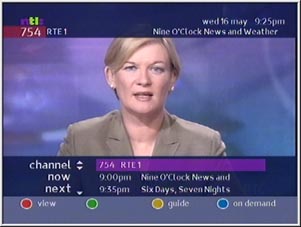
Now and Next bar, surprisingly its transparent
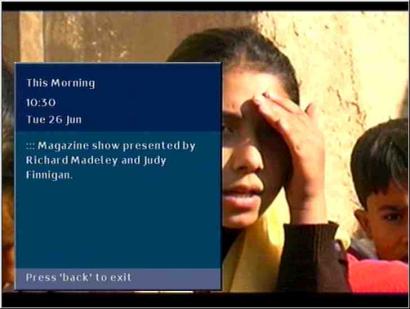
Viewing program information
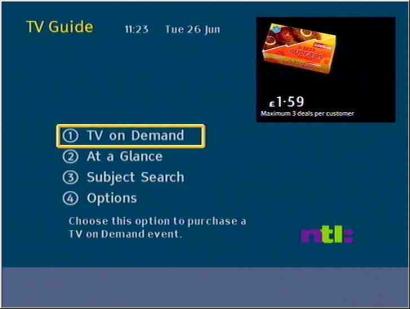
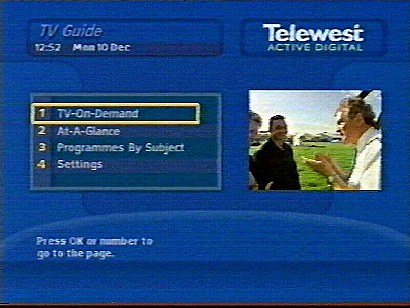
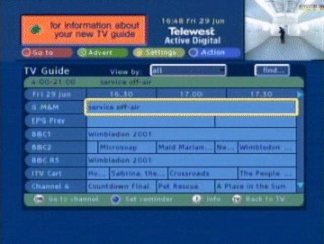
Main TV Guide home screen
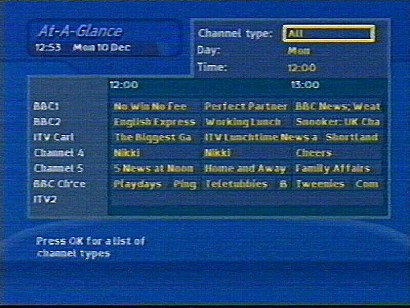
Main TV guide EPG, channels can be filtered according to their genre, and programmes can be filtered by the day and time slot.
Subject search, similar to the A-Z listings, allows you to find a program based on its genre
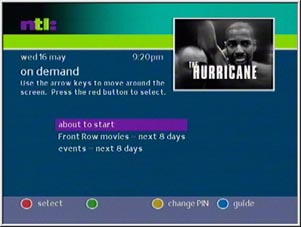
Ordering PPV events
The settings area, where favourite channels can be managed, and the picture output preferences can be changed
Interactive home screen, since this was a web page loaded from the server, it could be updated independently from the EPG. Interactive services were non functional in ex-Videotron areas (parts of London)
BBCi home screen, looks similar to the Kingston version
TV Email, each customer could have a selected amount of email address to use, and could be accessed from the TV service.
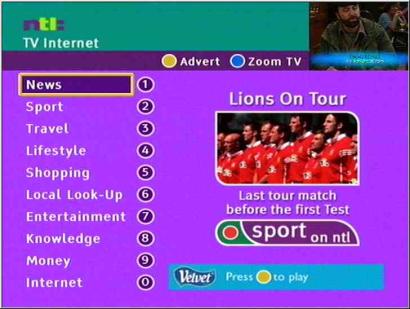
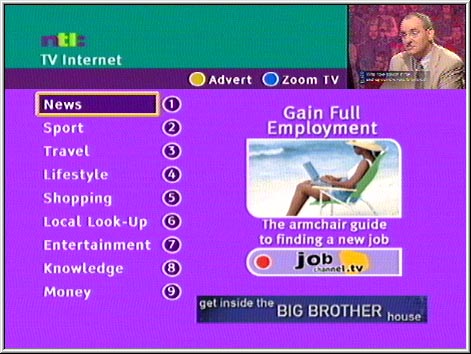
TV Internet, was the main interactive portal for other services hosted on the ntl platform
Telewest software looks to be an earlier build from Dec 2000, whilst the ntl is a later build from Jun 2001. notable differences is the support of subtitles
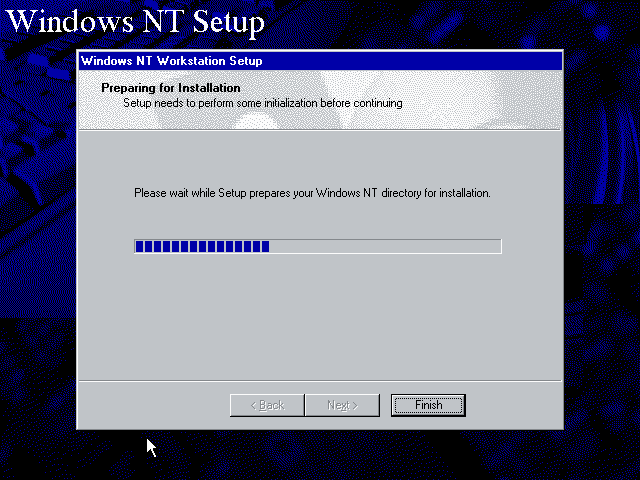
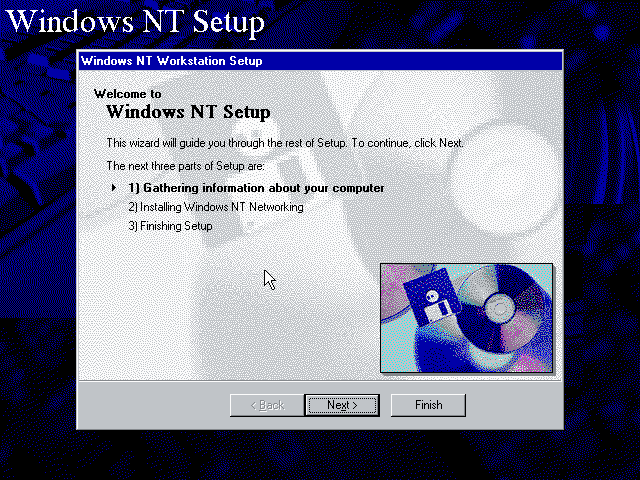
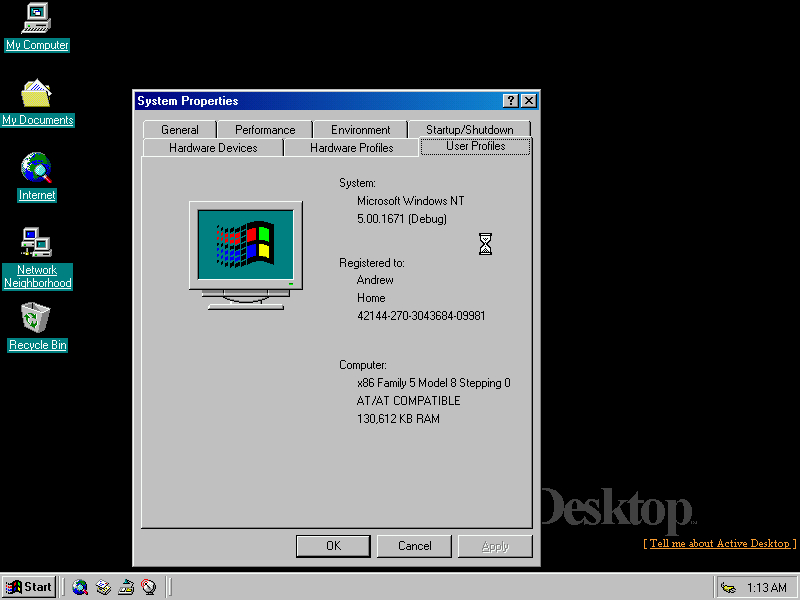
NT 5 was to be known as Windows 2000, the successor and replacement for Windows NT4. Designed to be an enterprise focused operating system with the consumer counterpart being Windows 98, and later Windows ME. Both of which use an updated Windows Explorer shell with a webpage like interface.
Install
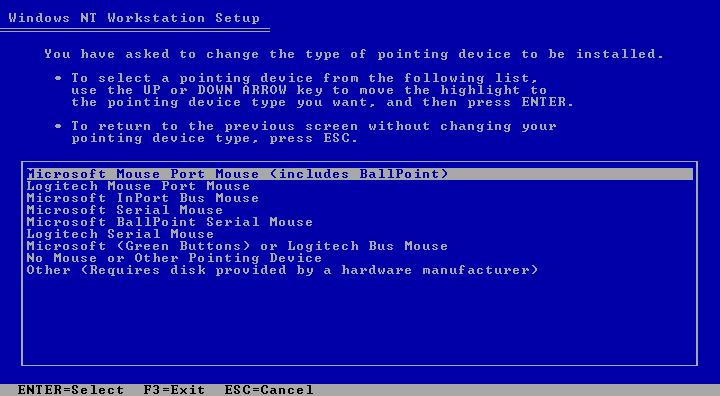
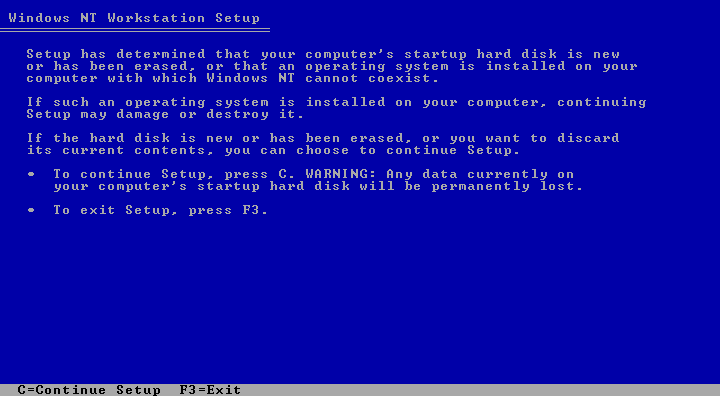
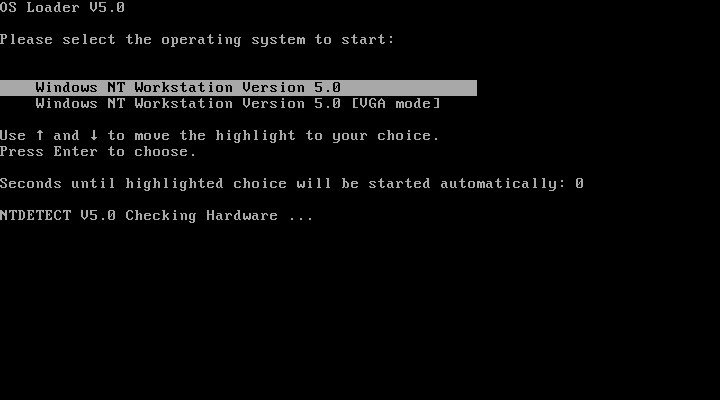
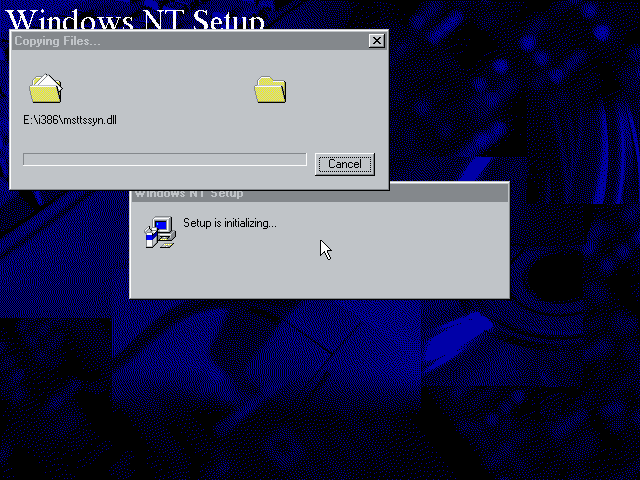
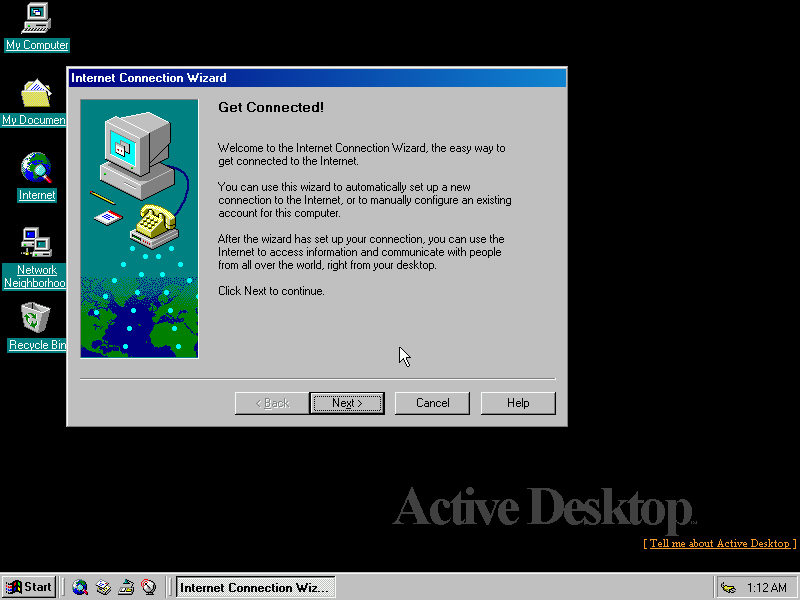
The first stage of the install is where you select the volume to install NT5 on, and you are given a choice of which peripherals your computer will use. The install disk is bootable so providing your BIOS supports CD booting, you don’t need a boot floppy disk
Second Stage Install
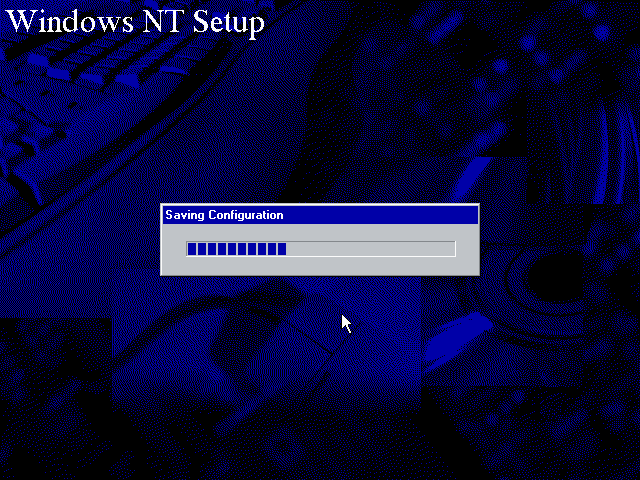
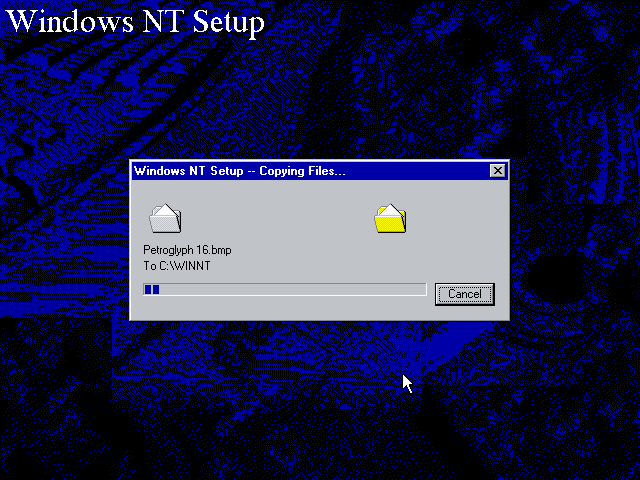
The second stage of the install details with personalization and uses a graphical interface which appears different in the final release. Windows will ask for both the User and the company/organization name. From here you can specify any additional components that need to be installed.
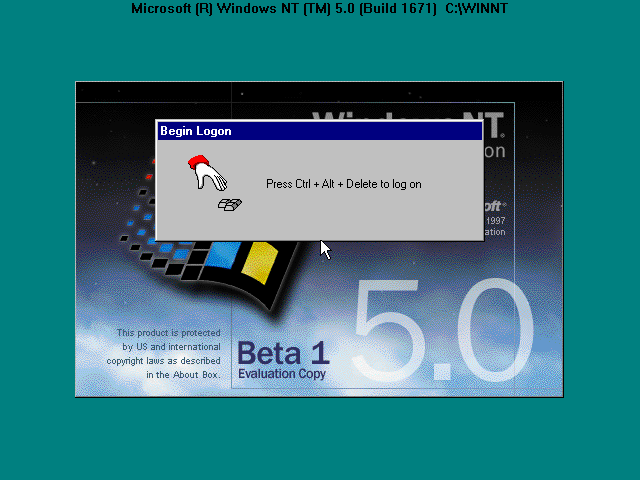
The login screen, very similar to NT4
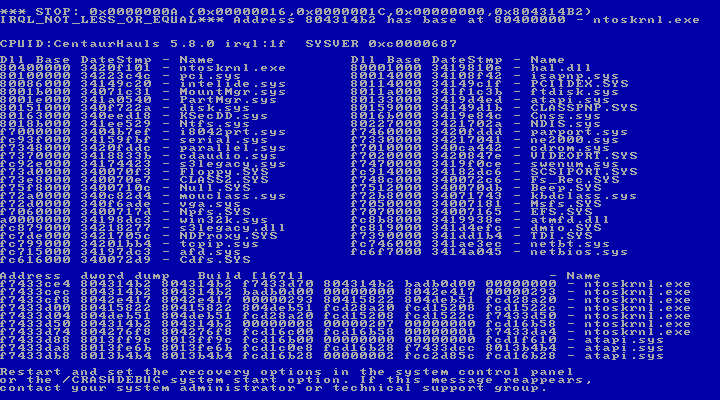
BSOD already and we haven’t got to the desktop yet. This is typically a bad sign and searching online didn’t yield much. Still we can boot in safe VGA mode without any issues.
I first tried to remedy this by removing any additional devices from PCem, the sound and network card was removed, along with the 3DFX Voodoo card. This still resulted in a BSOD
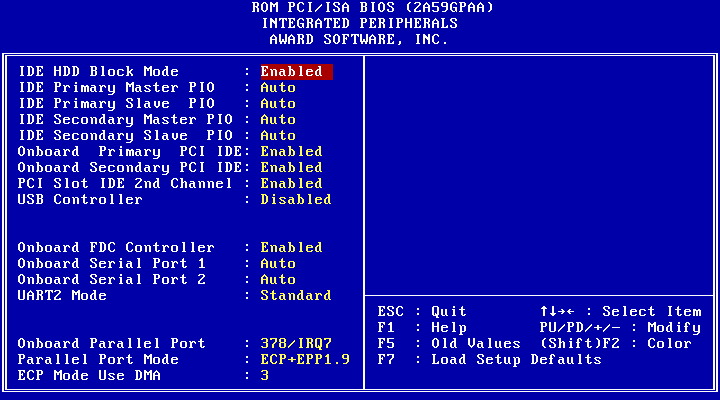
Eventually I found somewhat of a resolution, which was to disable the motherboards onboard USB controller, which isn’t much use within PCem. Early motherboard that came with USB onboard were very primitive, and sometimes completely buggy. This combined with a beta operating system can spell trouble so its best to disable this. Funnily enough there is support for USB and 1394 devices in this build.
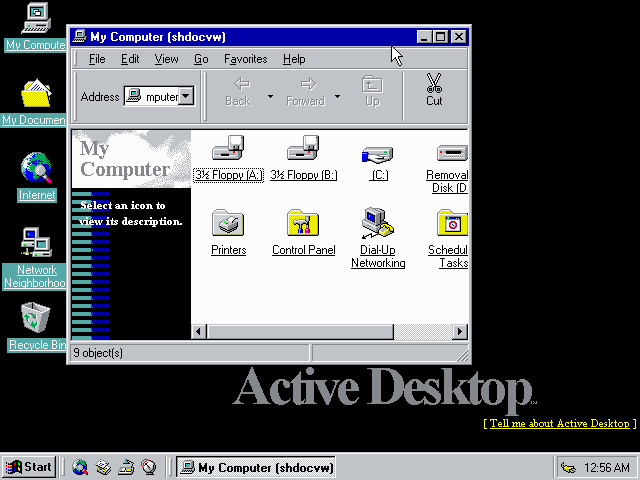
The actual desktop which enabled active desktop by default. Everything has a webpage like interface with folders and buttons being links, by default you only need to click a folder one to select it.
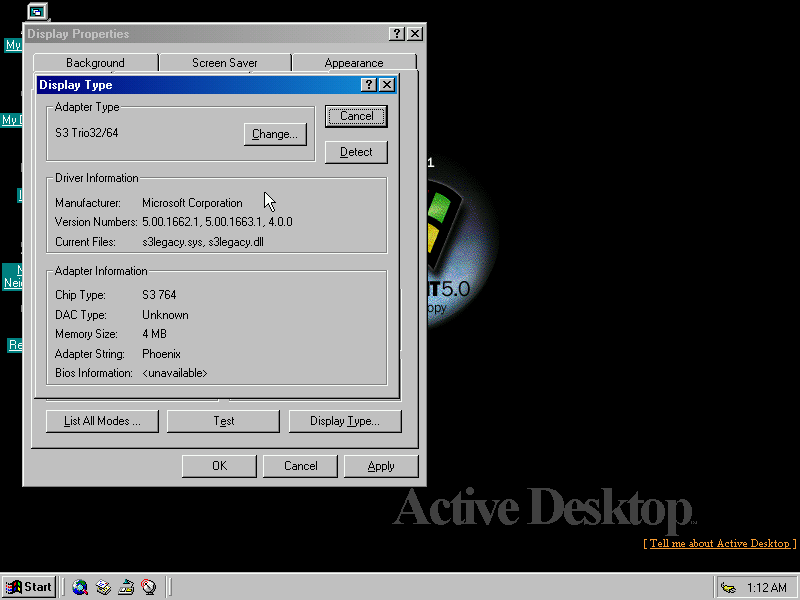
This build did pickup and install a few device drivers by itself, but did not pickup the soundcard since I had disabled it on the account of the BSOD earlier.
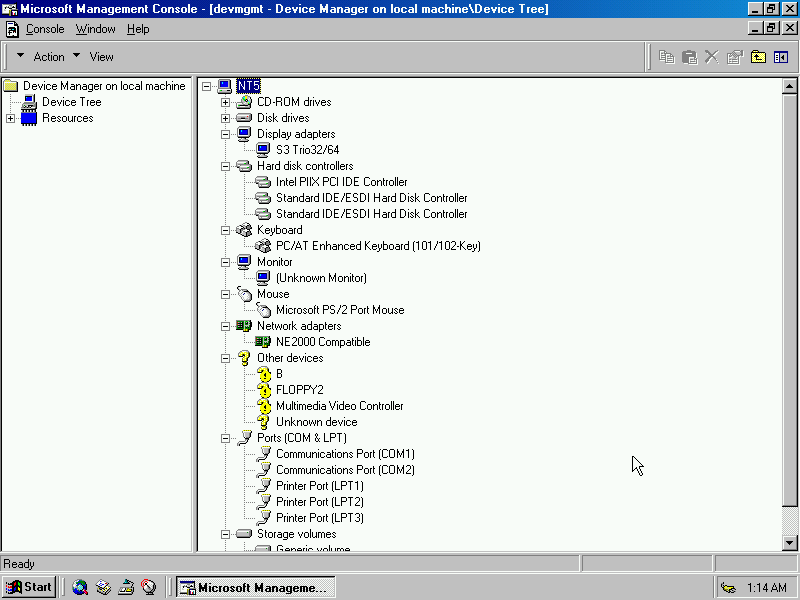
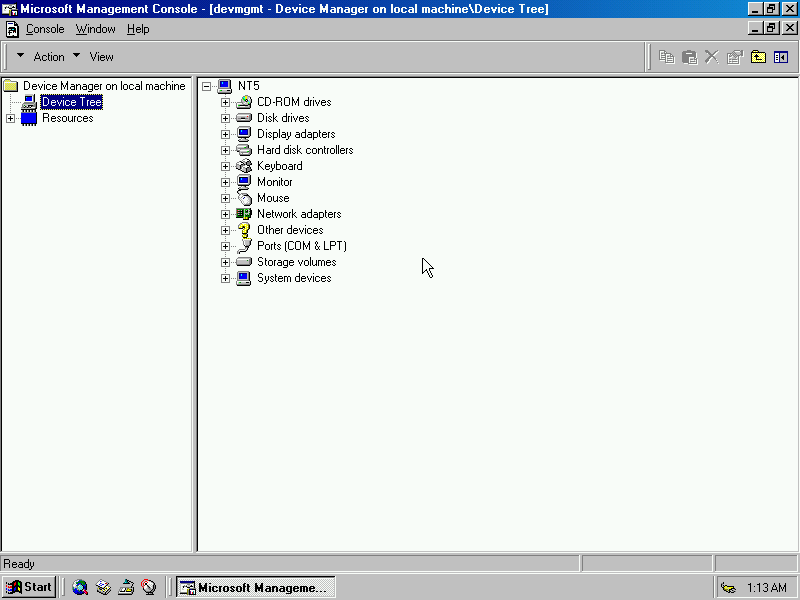
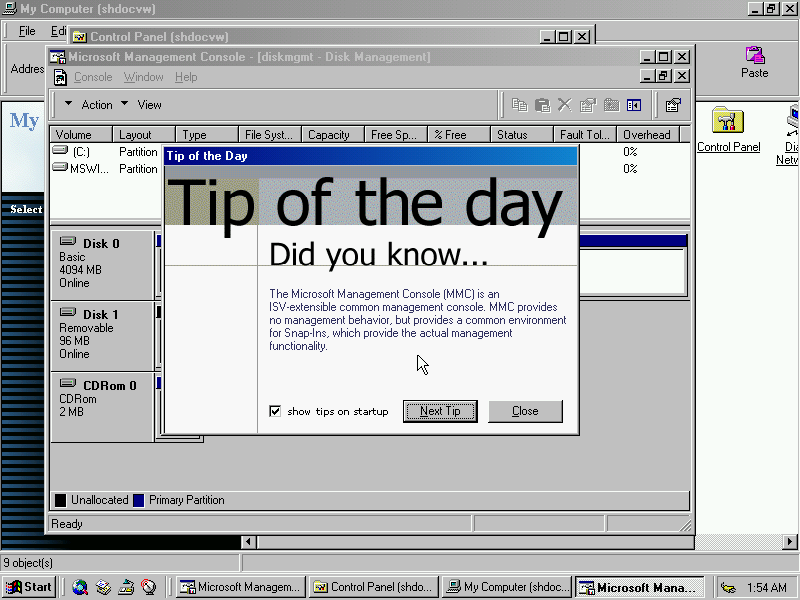
This is an early form of device manager that is used to display a list of hardware devices that interact with your computer. There are a few quirks in this build, with some random error dialog boxes popping up that seems to relate to the management console.
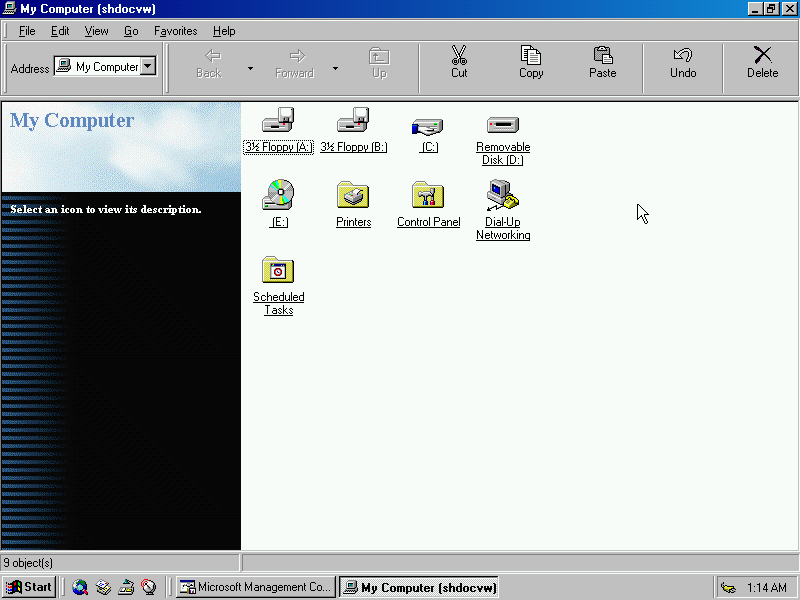
The My Computer window, with an early sidebar design. Also note the navigation bar design and spacing
Installing the drivers
3DFX
This isn’t part of the operating system, but I figured I could show part of the 3DFX interface since I had intended to try running glide games on an old NT based operating system. Despite running the 3DFX install utility, games would refuse to detect the accelerator card, and looking in device manager indicated it had a problem loading the driver for the device.
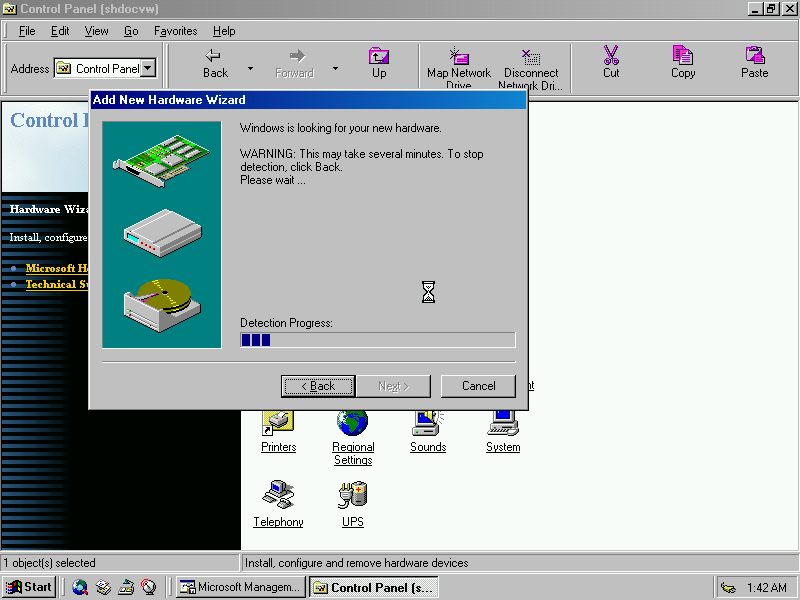
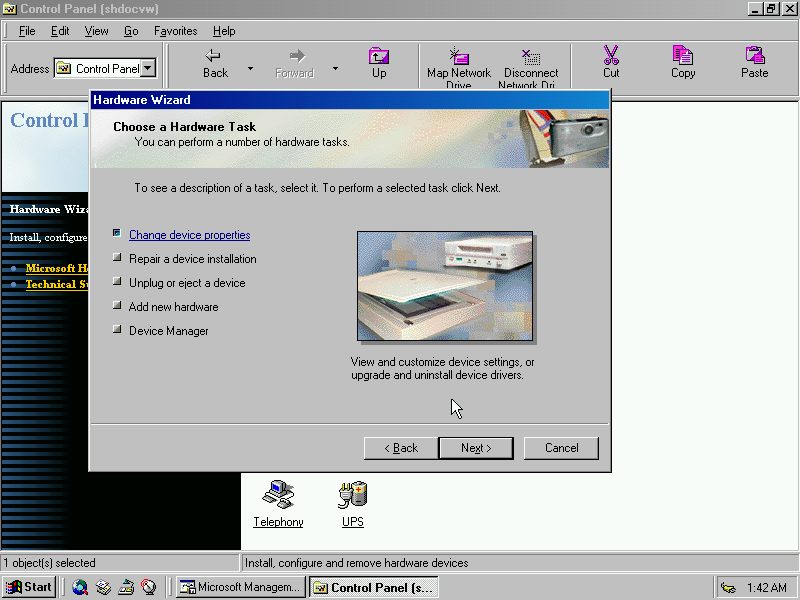
Hardware Instillation
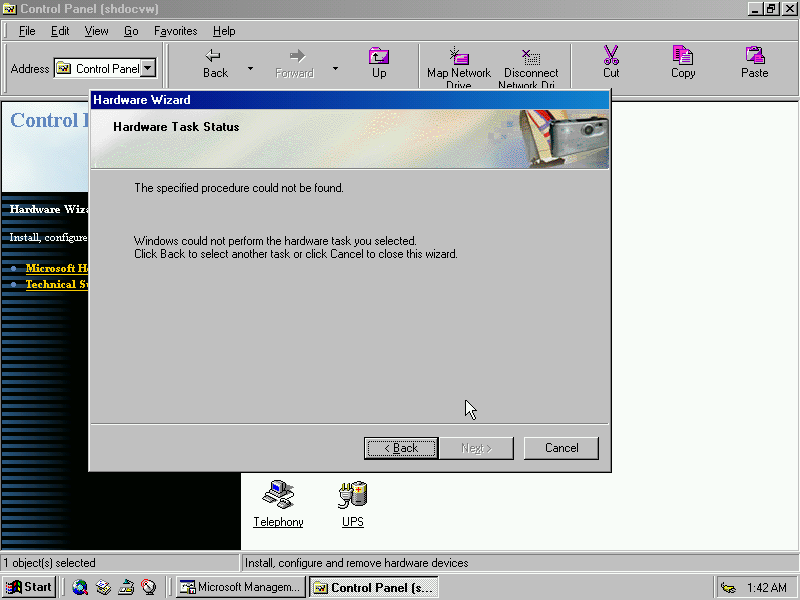
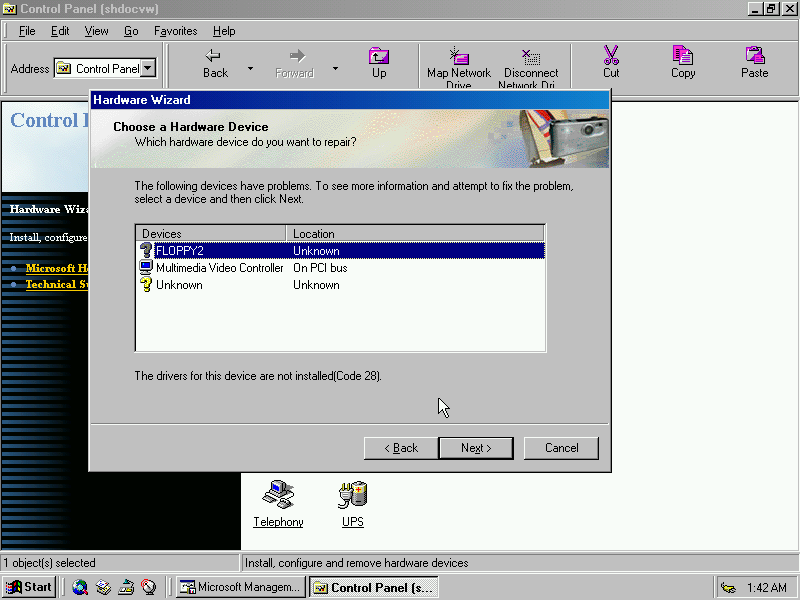
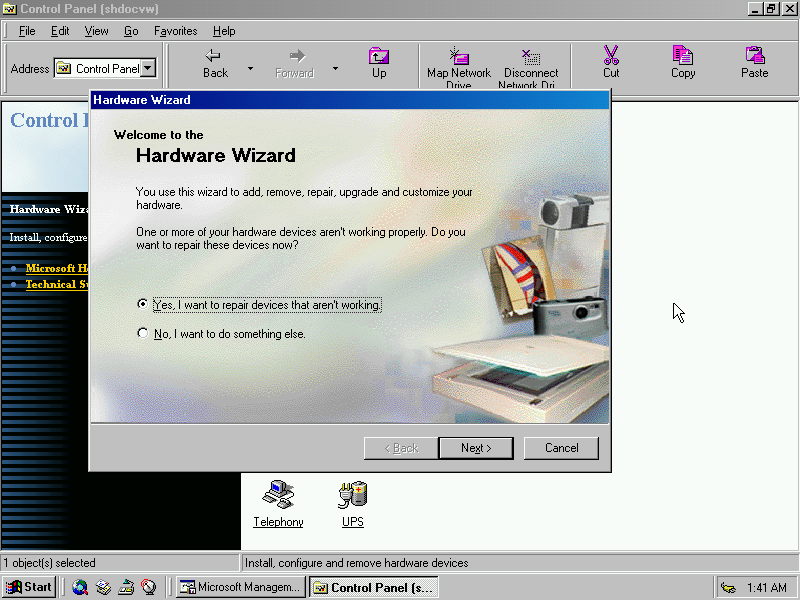
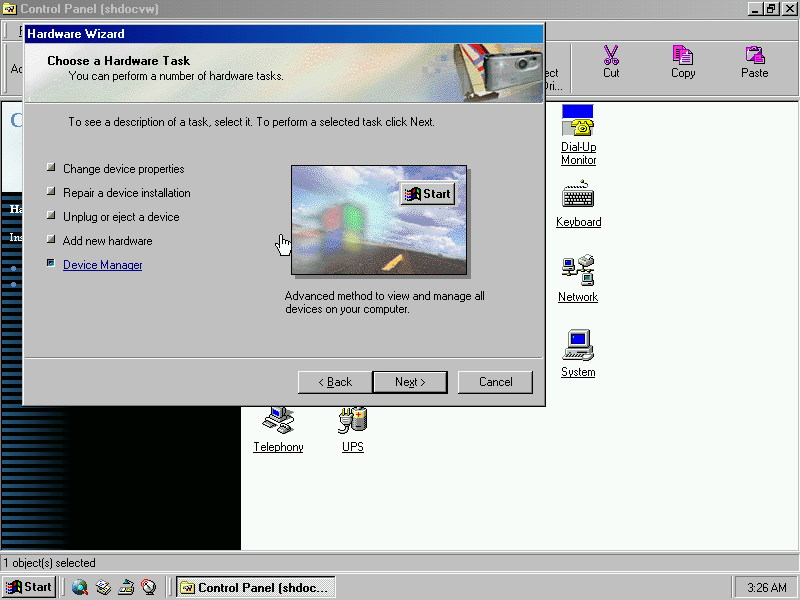
Trying to add a soundcard, and failing. A new wizard like user interface is supposed to make device hardware instillation more easier but it seems to be buggy in this build.
Disk Management
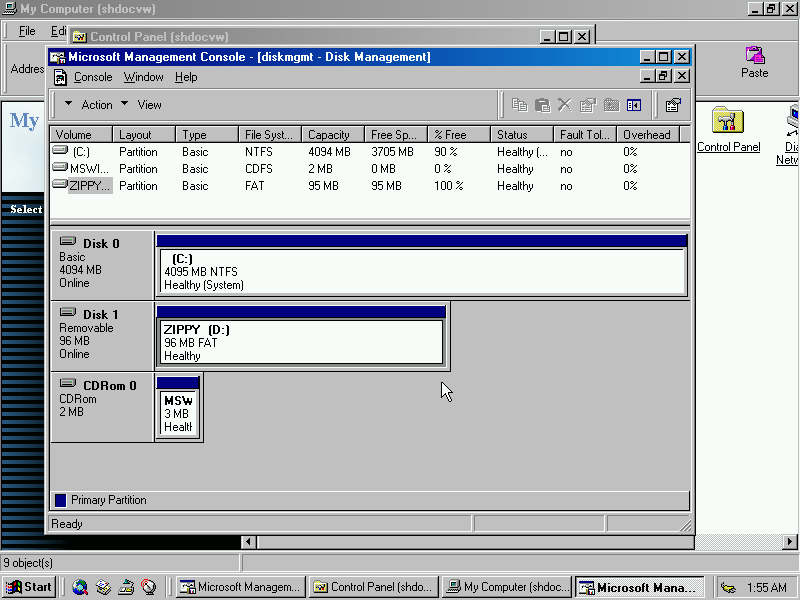
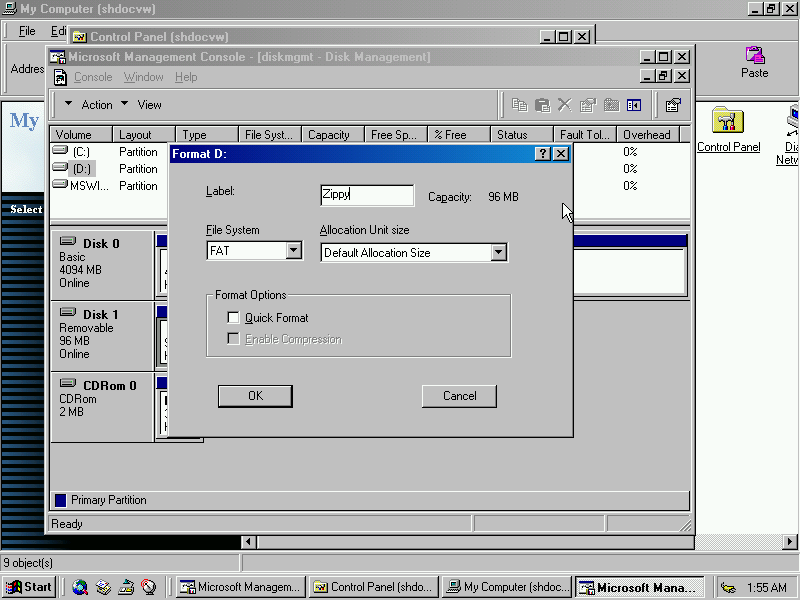
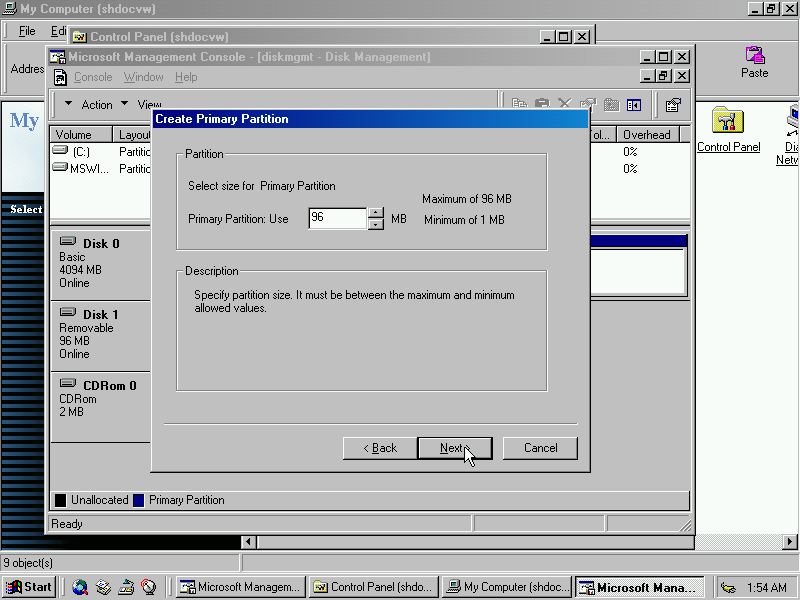
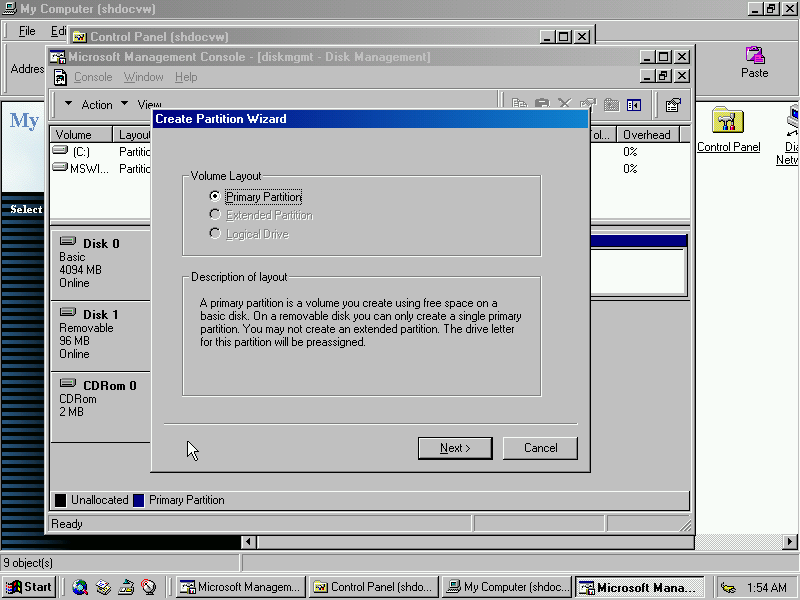
Trying to format and mount a zip disk. At first I couldn’t get Windows to mount the disk image I already had until I released these old builds of NT lack FAT32 support of which the drive was formatted as.
Internet Explorer
Internet Explorer 4 is bundled with the operating system and is a major component providing the functionality of Windows Explorer. Like Windows 98 it has support for active desktop and channels.
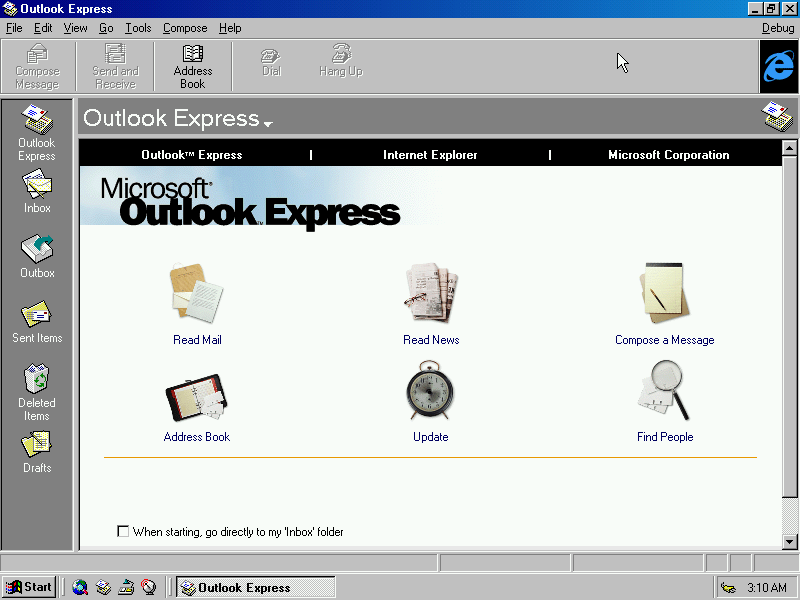
Outlook Express 4 that is bundled with the operating system
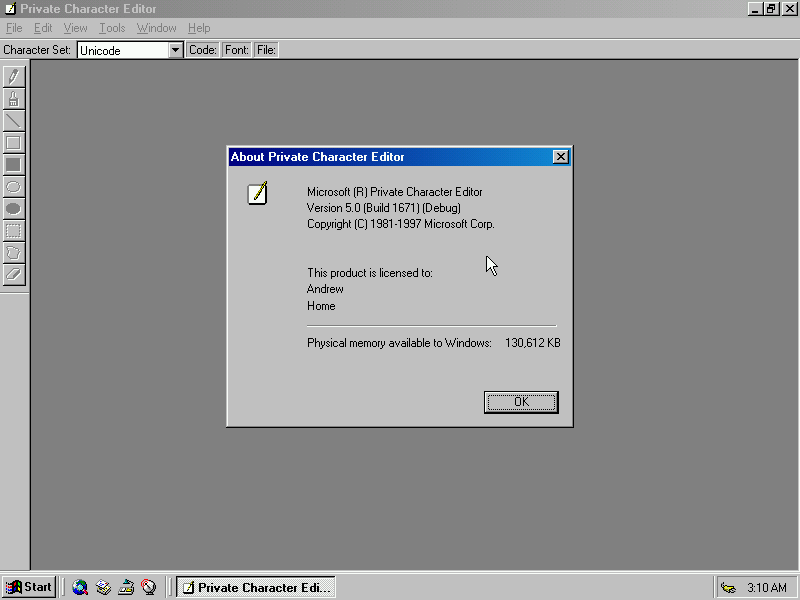
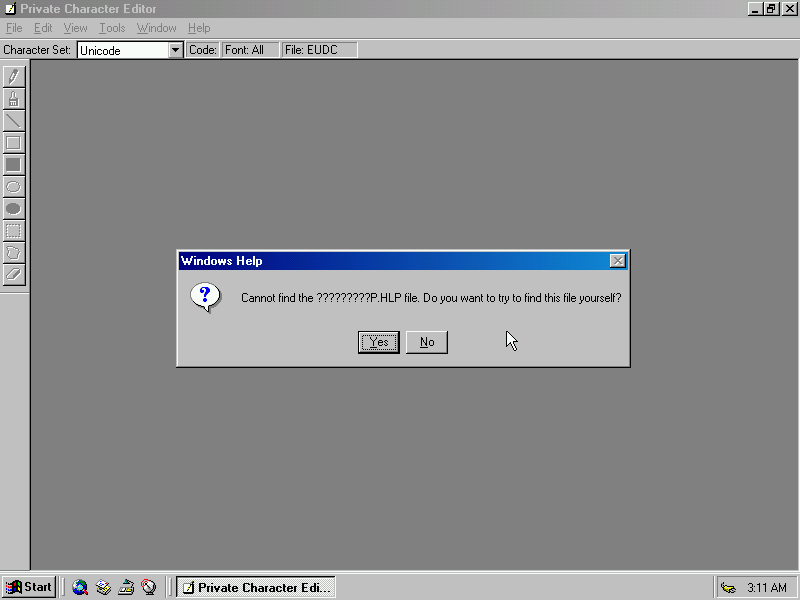
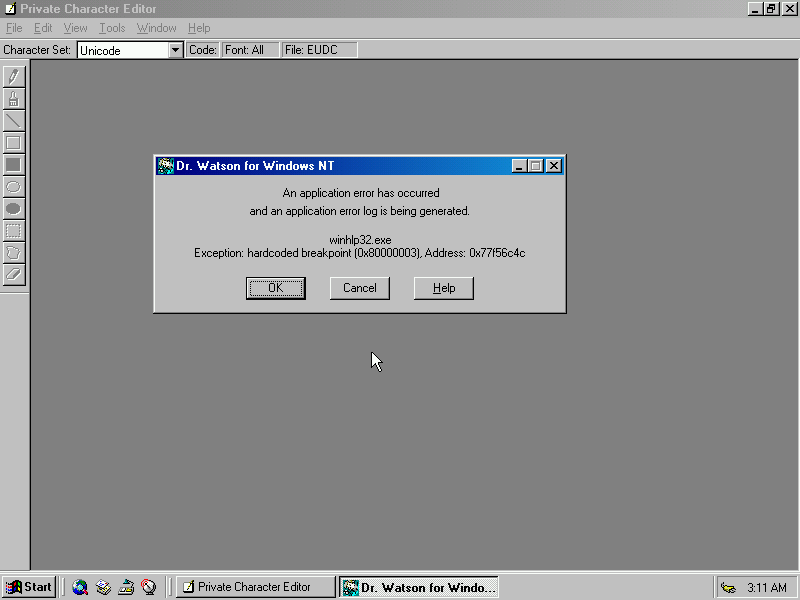
Private Character Editor
Not sure what this is supposed to be, some sort of character map editor? Seems to crash a lot.
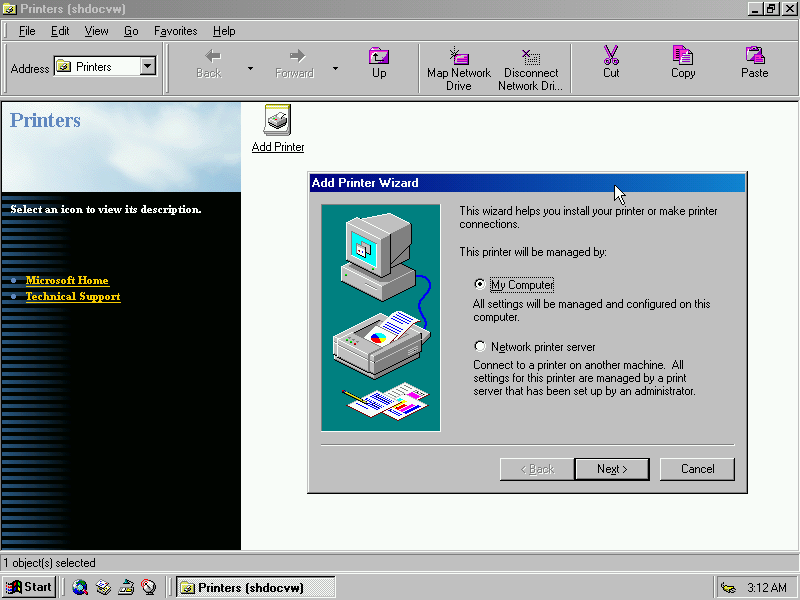
Printers
The printer interface has been slightly altered, using the updated Windows Explorer engine
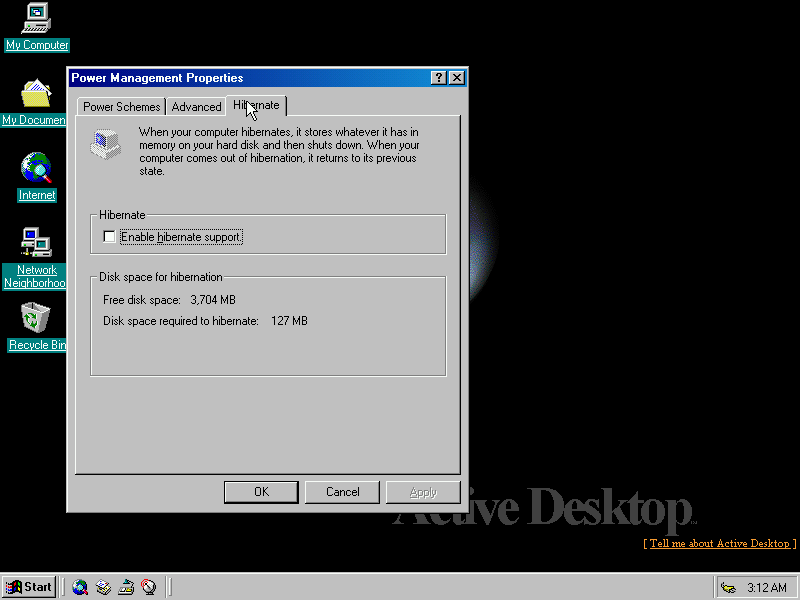
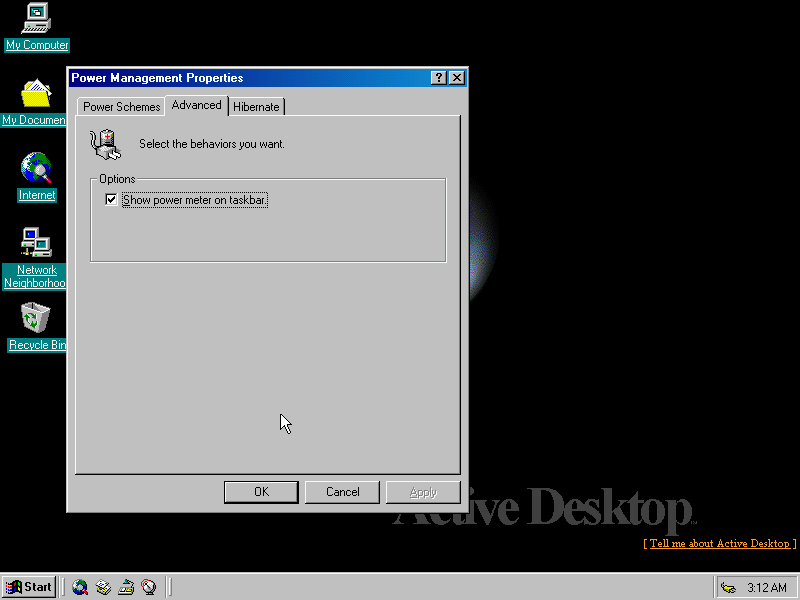
Power Management
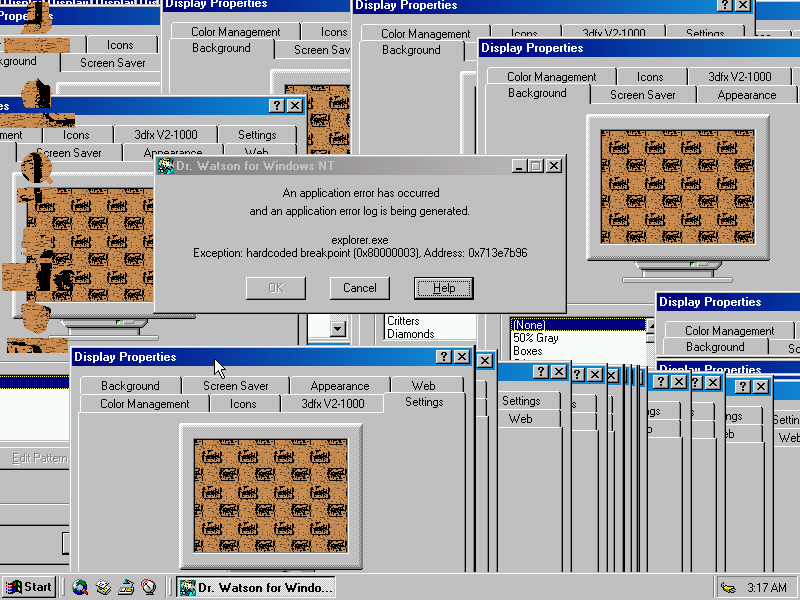
The result of trying to change the background wallpaper when you have active desktop enabled, Windows explorer crashed
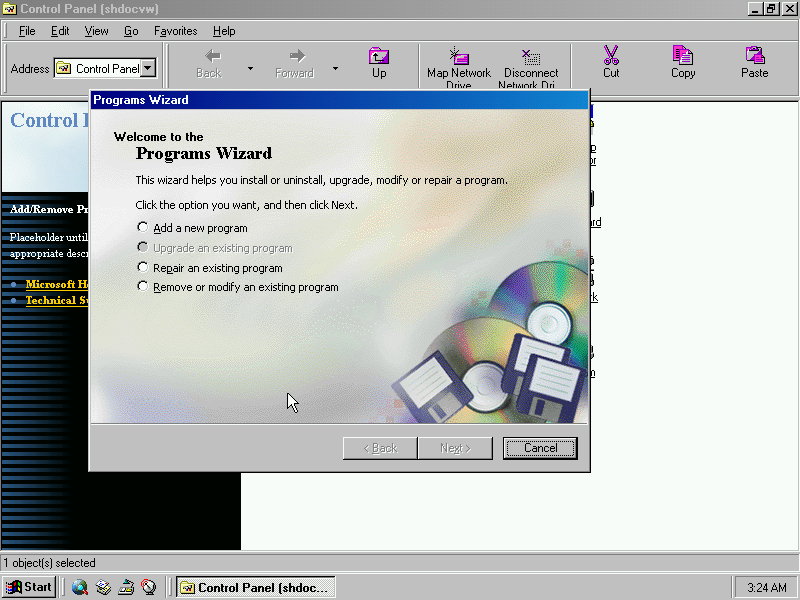
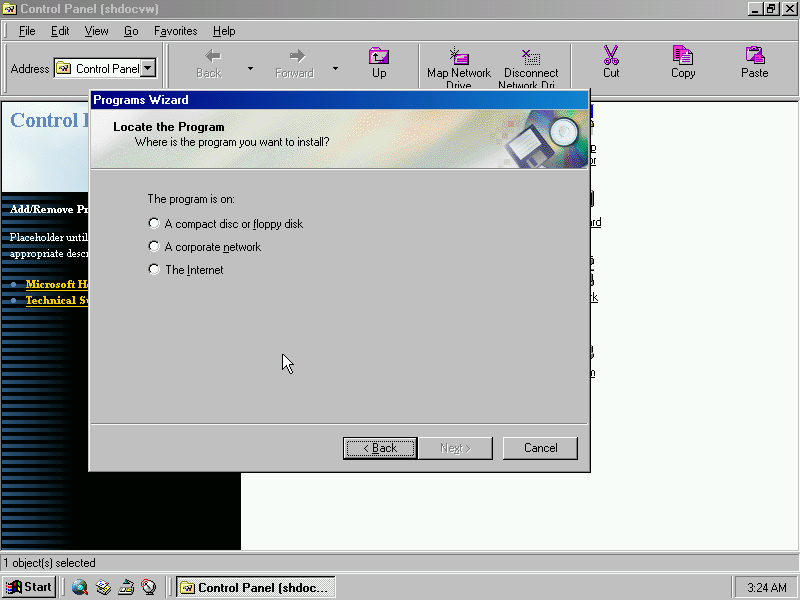
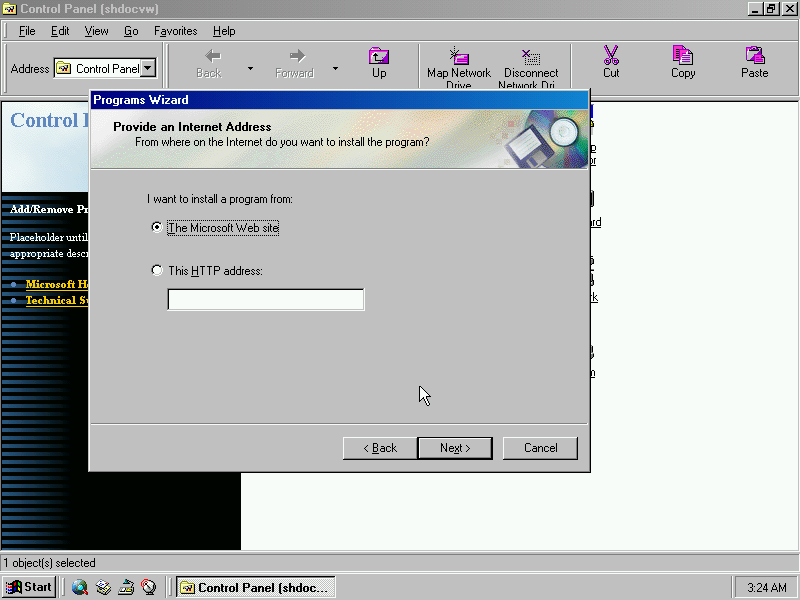
Add Program Wizard
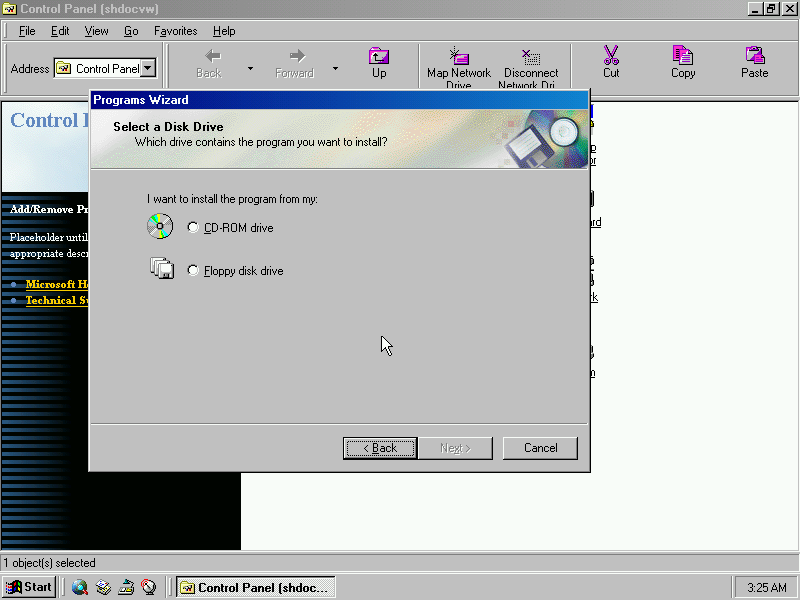
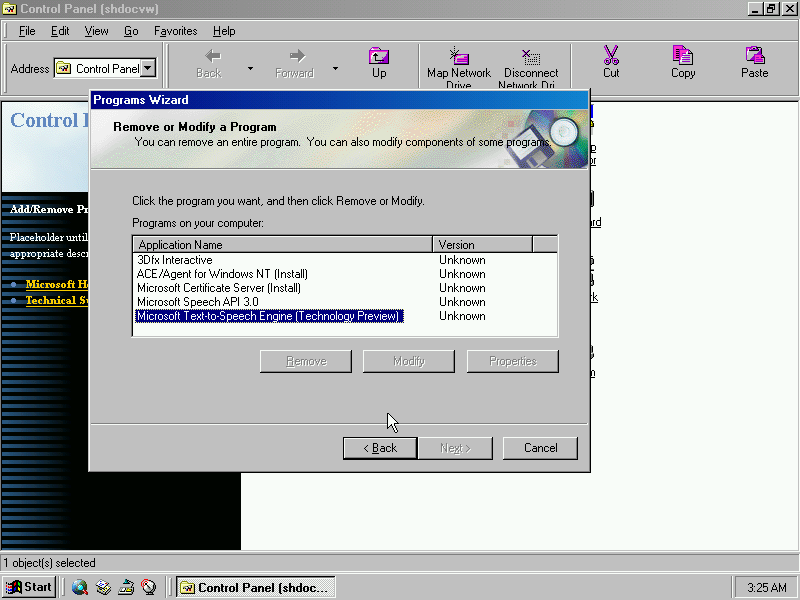
Looks like Microsoft had also intended to simplify the program install process, like the hardware wizard this takes you through a set of questions to install new software.
Removable Devices
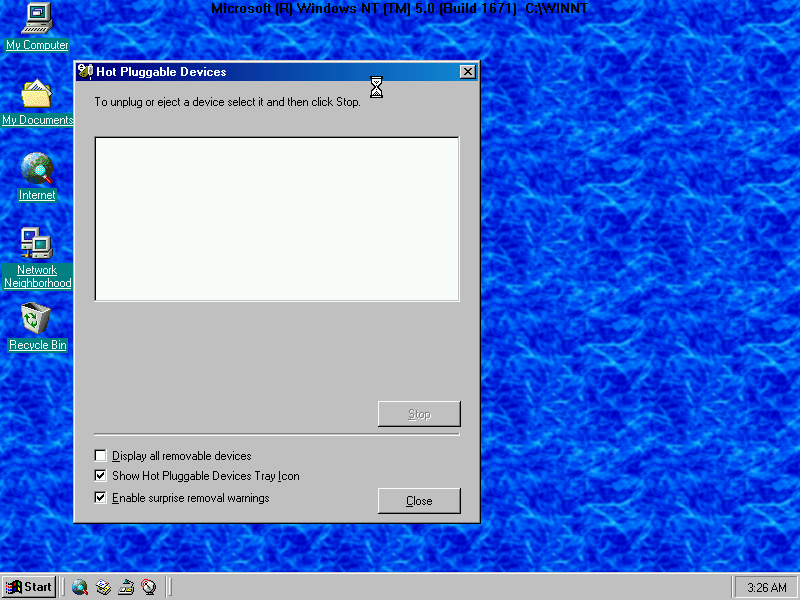
Windows features a device removal option that would allow you to stop a device, ready for it to be removed. That was probably intended for USB devices
Conclusion
Whilst I had intended to do more with this operating system, I found it too be too unstable and unfinished for general use and with lack of the ability to install 3D graphics and sound drivers limited what would be installed.
Telewest redesigned their digital TV service in 2002, which saw the TV Guide software undergo a complete rewrite and redesign of the user interface, similar to what ntl undertook with their Bromley TV service.
Like ntl the TV guide was written entirely in Liberate TV middleware, and the entire interface is rendered using the Liberate browser. In contrast, the previous Telewest software used an EPG system developed by Pace, with the Liberate browser being added as a separate component what had to be loaded.
This meant the customer had to wait for the Liberate browser to load before they could access the interactive service, and on screen interactive prompt were not possible since the interactive stack was not running whilst the customer was watching TV.
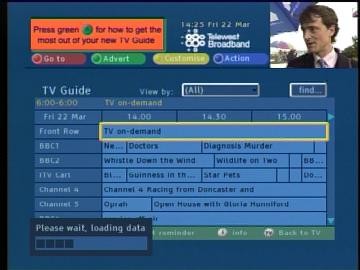
Viewing TV on Demand listings
The Liberate middleware was upgraded to 1.2, which featured several programme and feature upgrades to the HTML browser used, one of which was the ability to use a mosaic style screen with different video feeds .As mentioned earlier, the Liberate intake now runs constantly, allowing for ‘press Red’ functionality to be used on TV channels, this was essential since Sky and ITVDigital had implemented similar interactive prompt features. These would also be instrumental for the upcoming Big Brother and Wimbledon 2002 interactive services, where customers could choose from different angles and feeds through the use of interactive, of which was not possible with Liberate 1.1 (The mosaic feature mentioned earlier)
A reminder alert for an upcoming program
Also new addition was the mini TV guide feature, where a small screen of the channel the customer was currently watching is displayed whilst the customer browses the TV guide or interactive. The exception to this is when they are browsing the On demand TV section, where the box changed to a Front Row preview channel, the reason being this was to allow the box to get up to date PPV listings rather than rely on cached data, and to do so it was necessary for the box to tune into a specific frequency that carried this data, preventing the use of mini TV.
A weird design decision since Telewest already had a functioning return path due to the internal DOCSIS modem inside the Pace box, why not use that to retrieve the PPV listings?
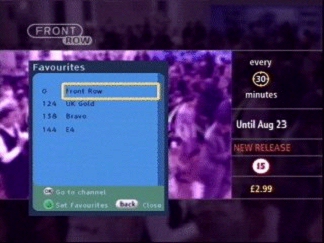
Adding Favourite channels
Viewing Favourite channels
Pressing reveals information on the selected program, and any program broadcast within the next 24 hours
View of the search and scan banner, known here as the Mini Guide like Sky you can view what’s on other channels
In 2003, a slight update was made to the interface layout, the Telewest Broadband branding is now in effect, and the layout is more square compared to the previous design.
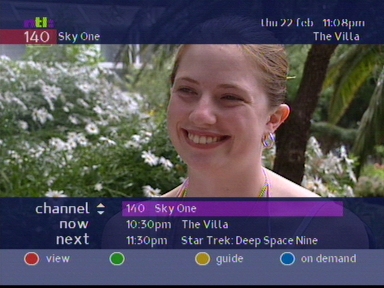
The now and next banner has changed little since the previous software version
Another shot, this time from the Ireland version of ntl
The main guide interface has had a rebrand, and the main layout has been updated
Navigation for the TV guide has been made easier, a list based view is used as opposed to the grid based guide that can be found on Sky and Virgin.
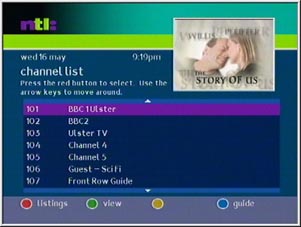
A list of available channels on ntl
Viewing more information about a TV program
Help information, shows the connection status of the stb
Shows a changelog and improvements made for this version
The diary is similar in concept to the TV guide, programs that are to be broadcast in the future can be entered here, and the stb will remind you when the program is about to start
PPV movies were provided by Front Row, similar to Telewest
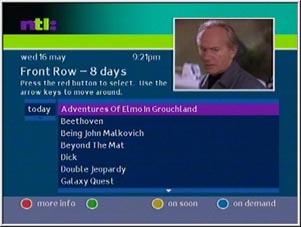
Front row listings
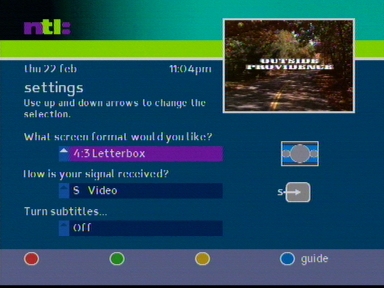
The settings page, you can change the screen settings such as the picture aspect ratio, the signal type (S-Video and Composite, with RGB being used in later STB revisions)
Early Pace Di4001 receivers outputted S-Video in place of RGB, newer models replaced this with RGB output
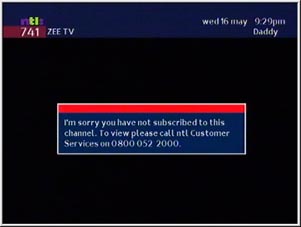
Message that appears when you are not subscribed to a channel or service
Interactive
Interactive was handled by a separate component known as the Liberate TV Navigator, which is the middleware used for the interactive services. The version used is 1.1, this early implementation was separate from the main Tv Guide, which mean interactive icons like the red button were not possible, since the middleware only runs when the Interactive button is pressed, this changed in later implementations, where both the TV guide and interactive functions are using the Liberate engine.
Interactive services were made available in this version, powered by Liberate TV navigator, these services were similar to the Bromley platform
Interactive home screen, these were microsites that were optimized for use on a TV
News section with different providers or channels
BBC news interactive
Unlike Ceefax, Digital text can render full JPEG and GIF images, like a web page
Looking at both the USB and the storage system of the Xbox, since they are both intertwined and there are differences across the major revisions of the Xbox 360
Background: Xbox Original
To understand the logic of the Xbox 360 storage, you have to look at the past. The original Xbox was one of the first consoles to include an internal hard drive as standard which allowed for storage of game saves, music that could be ripped from an audio CD, or DLC that could be downloaded from Xbox Live. For regular users this meant you did not have to worry about memory cards since the Xbox had plenty of internal storage for game saves and since this was on a hard drive rather than NVRAM like the Sega Saturn, which means saves could be lost should the internal battery die.
The hard drive in the Xbox was one of the more expensive components of the Xbox, and this was one of the reasons the Xbox never made any profit for Microsoft. This had to be addressed with its successor, With this in mind the 360 would be designed over two storage options:
A basic version that would mirror the storage options of the PlayStation 2/GameCube, where there would be no internal user storage, but an external memory unit would be used instead. The user would still have the option to add a hard drive should they run out of space on the memory unit.
A premium version that had an internal (or sideloaded) hard drive that brought all the benefits of the hard drive in the original Xbox.
Giving the end-user choice may have been a good idea in hindsight, but there were issues and limitations that followed for both the end-user and the game developers, which will be discussed later.
Type of storage available on the Xbox 360
Xbox Memory Unit: Offered from 2005 – 2010 and was the primary storage option for the initial core and arcade consoles, available in capacities up to 512Mb and designed to be plugged into the front of the 360. Internally uses USB like the original Xbox memory unit. These are not directly compatible with the 360 S models since they lack the ports, third-party adapters are available that allow these old memory units to be used on the S models. Datel are one such provider.
You cannot use an original Xbox memory unit on the 360, or vice versa. Even though they both use USB and are formatted to FATX.
For the early 360 models without a hard drive, the NXE made these memory units mandatory, since portions of the dashboard are now stored on this memory unit since it exceeds the capacity of the onboard flash. The hard drive-equipped models will simply store this on the drive itself.
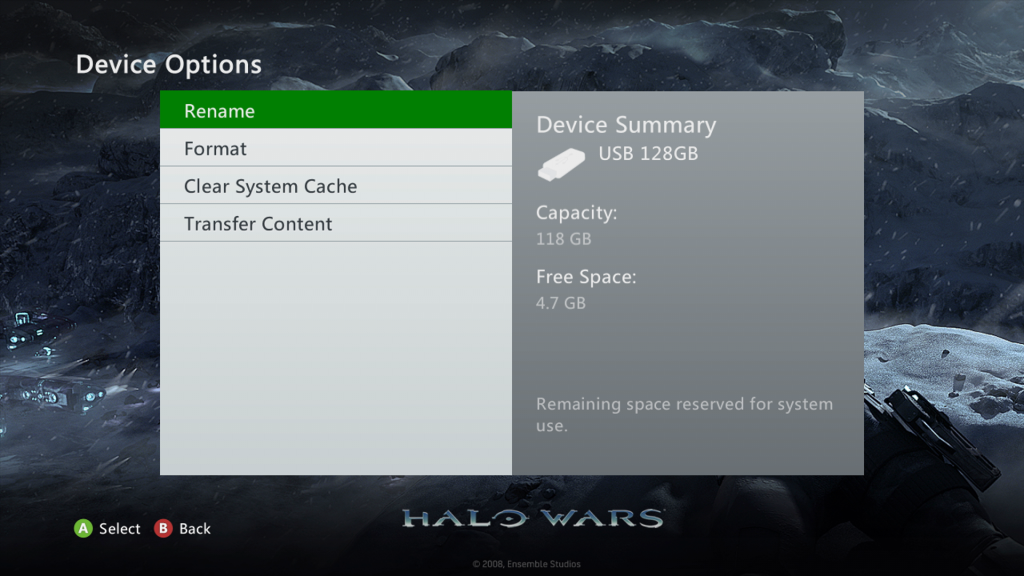
USB Mass Storage: This option was introduced around 2010, before the launch of the S consoles. You can connect a USB memory stick or an external hard drive and use it as additional storage for game saves, DLC or for games themselves (both downloaded and installed from the DVD disc). When first introduced you were limited to 4GB of storage, this was later increased to 16GB, then 32GB and then to 2TB following the release of the Xbox One.
Not all devices can be used, USB flash drives that are not fast enough will not be approved for use, since the Xbox 360 performs a speed test when initializing the storage. This is because some games may malfunction if they cannot access the data fast enough.
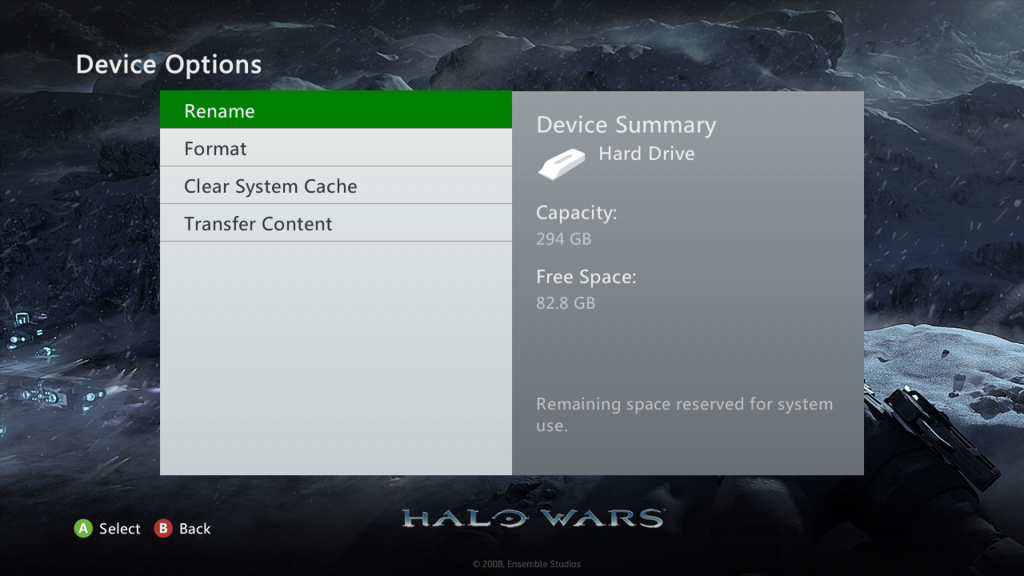
Xbox Hard Drive: Generally the most popular form of storage since its fast and easy to set up, but there are some caveats. First was the hard disk design changed from the original models to the S model, whilst the drives are the same internally and could open the case and manually swap the drive over. This is because the hard disk enclosure was redesigned, on the original models the hard drive was connected either on top or on the side depending on the orientation your 360 console was in, whilst the hard drive for the S model was designed to slot inside the console itself.
You cannot use your own hard drive since it has to be formatted and partitioned using Microsoft proprietary format, and Microsoft has not officially released a formatting tool. If you wish to use your own HDD you must softmod the console, or reflash the hard drive itself to make it appear as a Microsoft drive, for which you are limited to 500GB capacity as this was the largest hard disk Microsoft had released for the 360.
The hard drive is the only storage medium that allows for backward compatibility for original Xbox titles, since these games were reliant on using the hard drive for caching and user storage. These games will not run if the Xbox 360 does not have a hard drive. Some third party hard drives can also cause issues as they lack the partition 3 that stored the Xbox emulation and game data, this will need to be restored manually by the user and will allow original Xbox games to save.
Internal Flash storage: This was available for Arcade models released after 2008 that did not come with a hard drive. These models have either 256MB or 512MB of internal storage that was used for the dashboard, which became essentially when the NXE dashboard was released. Memory units and hard drives could still be used for these models. With the release of the 360 S, the 4GB model came with internal storage that was really a USB drive mounted internally to the console, like the Wi-Fi adaptor. This internal storage behaves like the memory unit. Some users have been able to modify and replace this internal storage.
HD-DVD: This addon also came with a built in memory unit, but was designed to be connected to the rear of the console and was intended to store a copy of the HD-DVD movie player.
USB Transfer Cable: Was intended to be used to move contents from one Xbox 360 drive to another but from looking at footage online it seems to appear in the storage section of the dashboard as a ‘Transfer Cable’ but its unknown if the Xbox can store files here directly or if its limited for copying only.
Storage Summary
Memory Unit
USB Storage
SATA Hard Disk
Capacity
Upto 1GB (512Mb per memory unit, upto 2 can be connected)
Up to 4TB, upto 2 can be connected at once
Upto 500Gb for an unmodified console
Speed
Unknown, less than 480Mbps
Up to 53MB/s (480Mbit/s) shared between different USB devices
Up to 150MB/s (1.5Gbit/s)
Availability
Original models only, S model requires an adaptor
All Models
All Models
Can be used for
Saves, Music, DLC, Apps
Game installs, Saves, Music, DLC, Apps
Game installs, Saves, Music, DLC, Apps
Game Installs: Xbox 360 games can be installed to the hard disc, which allows for faster loading times since hard drives are generally faster than the optical drive, and has the benefit of reducing the wear and tear of the optical drive, and the reduction of heat in the console since the drive can spin down. Thanks to this feature you will want to get the most storage avaliable for your 360, especially if you have a large game library.
It’s worth noting there are some games that are discouraged from being installed this way, such as Halo 3 as that game will cache data to the hard drive regardless, and will load data from both the DD and hard disk simultaneously. It is claimed that installing this to the hard drive would see a reduction in performance (Although the dashboard still lets you install the game). But if you install the game to USB storage instead, the game has access to both the USB image and the cached data on the hard disk, which should yield a noticeable improvement over just running it from the DVD drive.Allegedly this issue was not fixed for the game’s on-demand version, which is downloaded to the Xbox hard drive regardless, you will possibly want to install Halo 3 to USB storage, even if you have plenty of space on it your 360 HDD. Further Information
Maximum Storage: Theoretically the maximum storage for the Xbox 360 is 5.505TB, with a 500GB SATA HDD, two 2TB USB drives/HDD and two 512MB memory units, along with a 4GB internal flash memory assuming a basic S model is being used. I’d say that’s enough for the entire Xbox 360 game library.
USB Ports
The number of USB ports vary on the different models
Launch Consoles
USB 1 – Rear of the console
USB 2/3 – Front of the console, hidden behind the flap
USB 4/5 – Used for the Memory units
USB 6 – possibly used on later revisions for internal storage
S Consoles
USB 1/2/3 – Rear of the console
USB 4 – Kinect port
USB 5/6 – Front of the console, hidden behind the flap
USB 7 – internal used for flash storage for 4GB S model
USB 8 – internal, used for WiFi adaptor module (Why not use PCI express?)
The later E revision removed one USB port at the rear, and comes with a hard drive by default negating the need for the built-in memory unit.
Good idea to run Kinect games off USB storage?
USB has limited bandwidth which is shared across the different devices that are connected, in the case of the S models this included the internal Wi-Fi adaptor. This could potentially cause issues when running games that use the Kinect sensor which uses the USB bus, and a USB external drive. There is a theory below that the Kinect/rear USB port has its own dedicated controller/bus, which gives its own bandwidth.
Are all the USB ports the same?
No, or at least there are certain devices that can only be connected to specific ports:
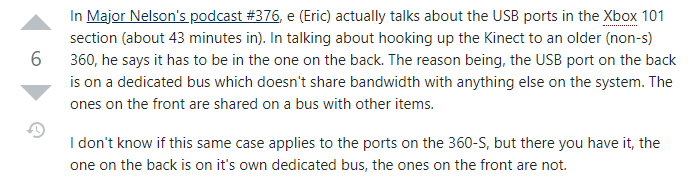
Kinect – original 360 models: the rear USB port was designed to run on its own bus, intended for a device connected that has the full bandwidth that USB2 can provide which is why Kinect can only be connected to this port for the original models, the other USB ports seem to share bandwidth possibly along with the memory units which was referenced on an online podcast (Major Nelson, sadly the link is no longer active and does not appear in the podcast archives.)
Memory Unit Adaptors
Although the S models lack the memory unit ports on the front, Datel released a USB to memory unit adaptor that was intended to connect a memory unit to a PC to transfer and backup save files. The side effect of this was the memory unit can be used on the S model XBOX 360, despite Microsoft not officially supporting it. However only the front USB ports can be used, and the icon varies depending on which port you connect to. The left USB port appears as Memory Unit A, whilst the right appears as Memory Unit B.
This may mean the USB ports are hardcoded by the kernel and would explain why they do not function on the rear USB ports.
Microsoft decided to channel the spirit of Sega and released an addon in 2006 to add HD-DVD playback support to the console, but does not allow games to boot from the drive. This is for video only, Microsoft never released games on the HD-DVD format (If only they did, some games took up three dual-layer DVD’s). The drive connects to the console via the rear USB port and features two USB ports on the read of the drive itself, allowing for the wireless adaptor to be mounted and connected to the rear, and a free USB port for another accessory (But not Kinect, since that won’t function behind a USB hub). This drive also features an internal storage device that the user can access and was intended to store the HD-DVD playback software, and possibly any files the HD-DVD disc might save. From this we can conclude there is a four-port hub internal to the drive, one for the drive itself, another for the built-in memory unit and two for the rear USB ports.
Miscellaneous observations
USB: I have noticed some differences in behavior between the front and rear ports of my Xbox 360 S, specifically with USB Memory stick when you turn it on. Sometimes if the flash drives are plugged into the rear and you turn it on, the 360 will not detect or mount the drive and you have to unplug and connect the drive before the 360 will recognize it. This never happens when you leave them plugged into the front. However as of 2021 this seems to have been rectified, so maybe a dashboard update has resolved this issue? Also, the rear USB ports are recessed into the case, and some flash drives might be too thick or large to fit in, which requires a short extension cable.
External Hard Drives: Use of external hard disks is recommended due to the speed and capacity they provide (external SSD’s can also work but will be heavily bottlenecked, and might be limited by the power that USB2 can provide) However I would advise avoiding the cheaper external hard drives that you will see on Amazon or eBay, purely because they are dumb in the sense that they do not spin the disk down when the Xbox 360 is powered off. They will keep the hard disk spinning constantly despite the host device being powered off, wasting electricity and reducing the lifespan of the hard disk if not properly ventilated, essentially they are a false economy. A lot of the branded drives (Western-Digital/Seagate/Samsung) external drives do spin the drive down when the host has powered off and reactivate when they detect the device being powered on.
Some 2.5inch drives and SSDs are capable of being bus-powered, whey they only require the use of a single USB connector to provide power.
Xbox 360 Consoles & SKU’s
Xbox 360 Core: Launch entry level model – No internal flash user storage, no hard drive included but can be added later, memory unit required for NXE update,
Xbox 360 Arcade: Replaced the Core model, No internal user storage, No hard drive included but can be added later, memory unit required for NXE update.
Xbox 360 Arcade (Jasper): Same as previous Arcade model but with 256MB onboard user storage, no hard drive included but can be added later, Can take the NXE update without any additional storage needed, 512MB version later available
Xbox 360 Pro: Launch premium model, Shipped with 20GB/60GB hard drive which is required for it to boot post NXE dashboard, No internal flash user storage
Xbox 360 Elite: Revised premium model, Shipped with 120GB/250GB hard drive which is required for it to boot post NXE dashboard, No internal flash user storage
Models from this point forward are Xbox 360 S
Xbox 360 S: Glossy black case (later matte), Shipped with 250GB/320GB/500GB hard drive storage, No internal flash user storage, Requires hard drive to boot
Xbox 360 S: Matte black case, Shipped with 4GB internal flash memory, No hard drive included but has a bay area for it to be installed, Hard drive not required to boot.
Xbox 360 E: Available in the same storage configurations as the S models (4GB flash or HDD)
NXE Update and storage: Because the size of the dashboard grew significantly with this update, additional storage was required in order for this dashboard to function. All Xbox 360’s have internal onboard flash memory, even the original core models and the ones shipped with a hard drive however this memory cannot be manipulated by the user. They contain 16MB of onboard flash which contains the dashboard kernel itself and the system software which is required for the 360 to operate. This was increased to 256Mb for the later arcade revisions so they could store the NXE update without the need of external storage. This 16Mb flash cannot be accessed directly by the user and was intended to be used for the dashboard itself
Science Explorer was a piece of software I remembered back in school which ran on RM Window Box PC’s (although it did not require it, able to run on 16 and 32 bit Windows systems). Designed as a learning tool for ages 7 to 11, it focused on a variety of different science subjects.
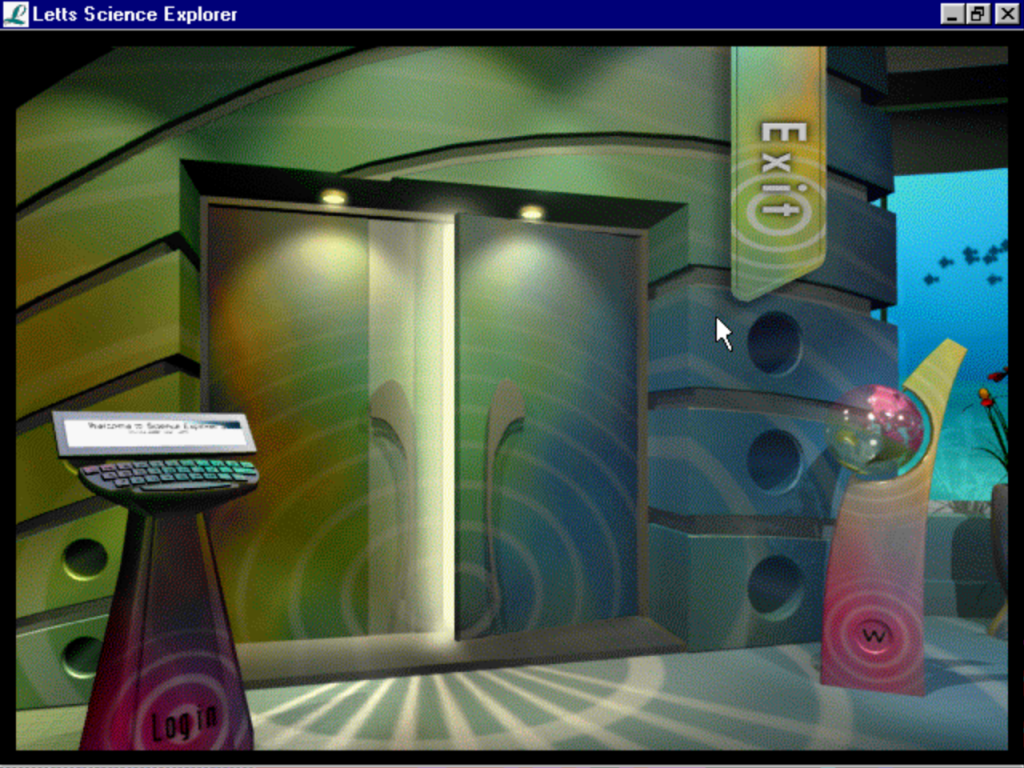
The user interface is reminiscent of early adventure games like Myst, it makes heavy use if CD-ROM technology to load pre-rendered 3D images that give the impression you are in a 3D environment, albeit with a heavily dithered colour palette. You are supposedly transported to a underwater science facility which provided learning activity related to science, with different sections dedicated to various subjects of science.
Whilst the software does install some files to the hard drive, Science Explorer is run mainly off the CD-ROM, since hard drives at the time had limited storage capacity. This means the software is constantly accessing the cd drive, A moderately faster drive is recommended since the program loads the images off the drive as the user navigates the facility.
Each user has their own account, which is accessed by entering their name which keeps track of what that they have learned, the subjects they have accessed and their test scores, however there are no passwords.
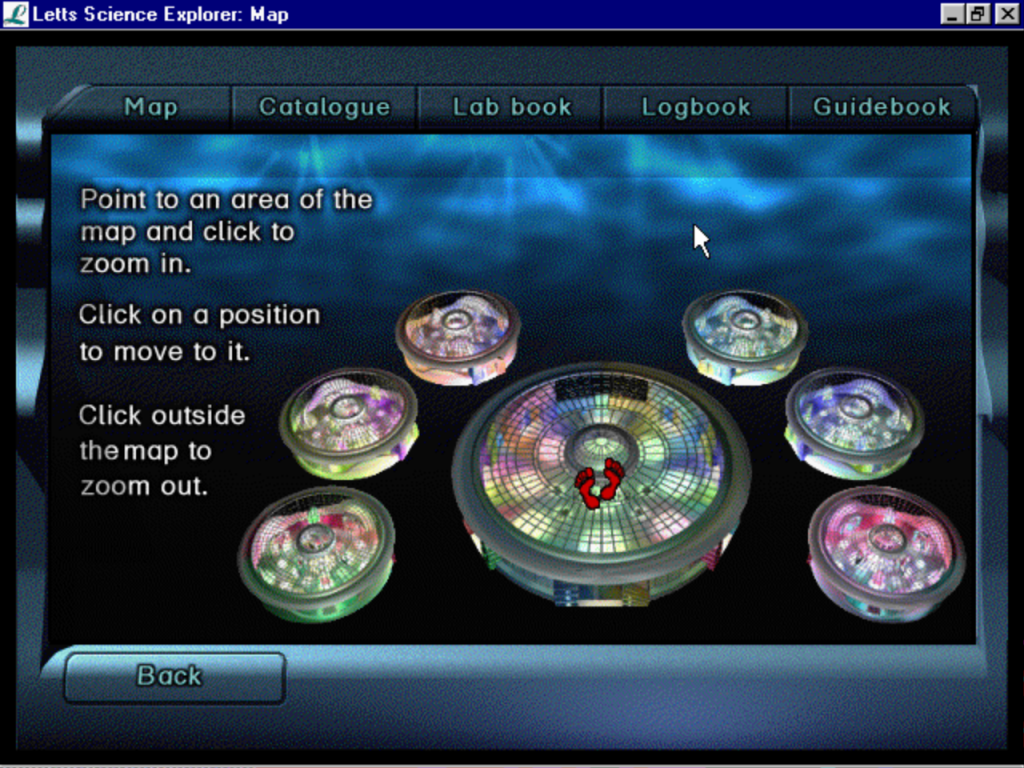
Map
User Interface: Like Myst you navigate thought the facility using the mouse, where the cursor changes to indicate the direction where you are going. Moving to a different area, the software loads a different image from the CD-ROM. You can teleport to a different area instantly (depending on the CD-ROM speed) rather than having to keep clicking on the screen to navigate, and you an jump to a specific component in the subject
Each subject has the same formula, a Briefing, Investigation and a Tell Me More
Investigation
An interactive exercise relating to the subject, this is like a practical exercise and can very depending on the subject. Either you have a problem to solve, or a test that you can carry out using various factors. One example was the sound insulation exercise, where you can discover which materials are better at insulating sounds of a different pitch.
Briefing
A introduction to the subject, the text on screen is narrated and is typically accompted by an image relating to the subject.
Tell me More
Gives additional information relating to the subject, may not be part of the curriculum but still interesting to know.
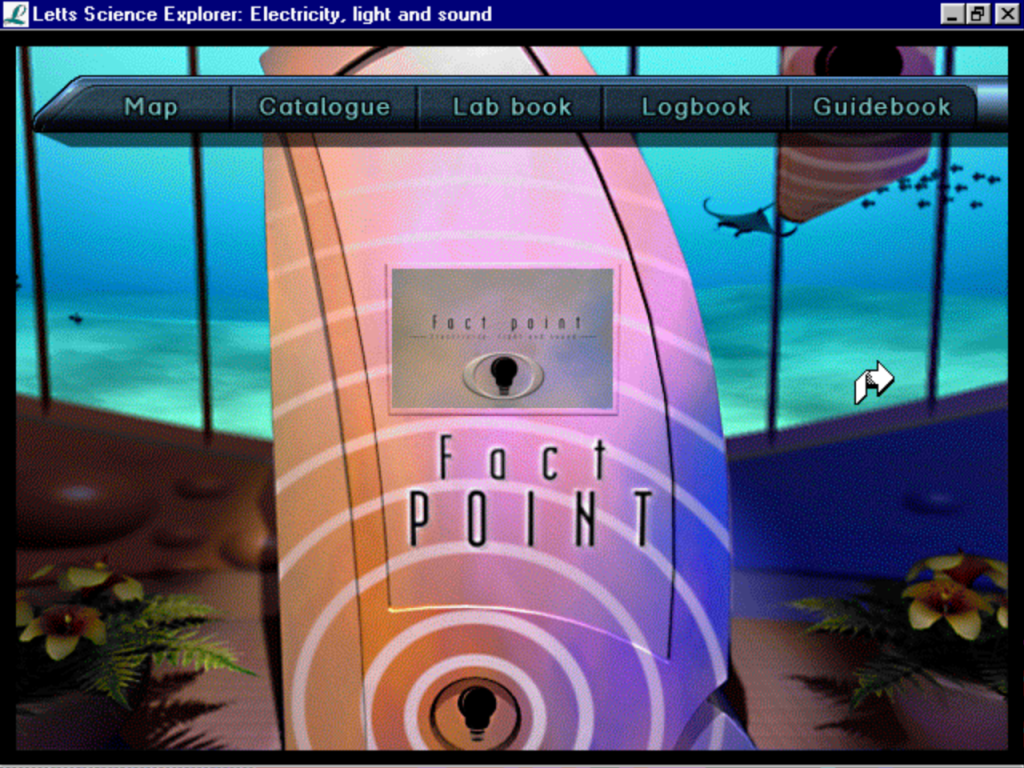
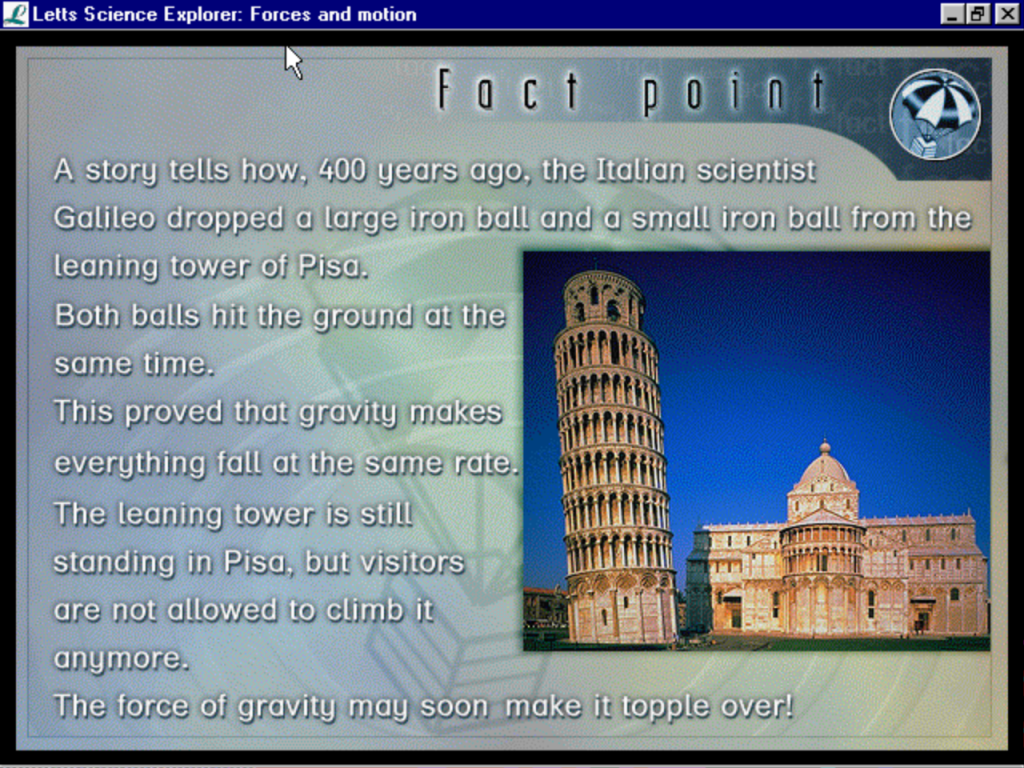
Fact Point
Gives a interesting trivia relating to the type of science.
Interesting, since this came out in the late 90s, where the tower of Pisa had been shut due to stability concerns. Thankfully they managed to stabilize the tower and was able to reopen.
Compatibility
Since this old software was designed to be run on Windows 3.1 to 95 & 98, it contains some 16bit components that prevent it from functioning on modern 64bit Windows systems. PCem v16 was used to emulate the Windows 95 environment that the software was designed to run on, which was running from a ISO image (PCem can access a physical CD-ROM drive on your host PC, but its slow and has a delay which leads to stuttering.
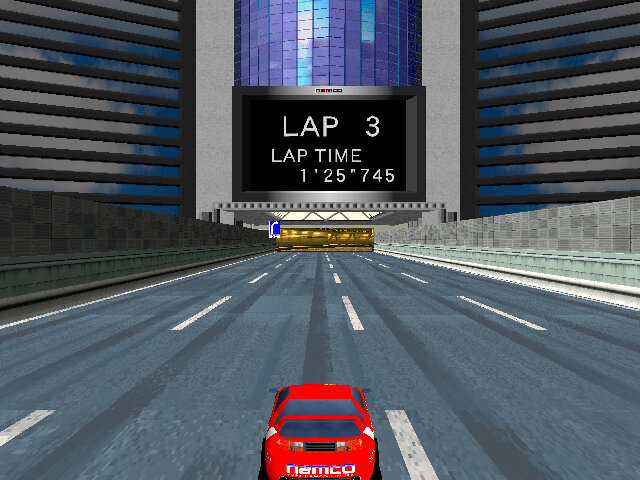
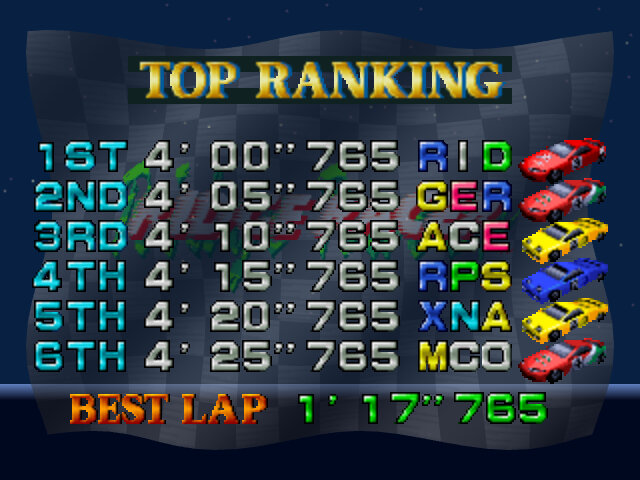
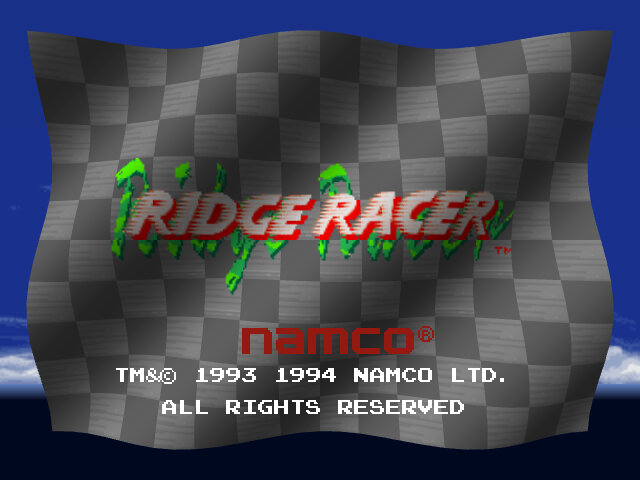
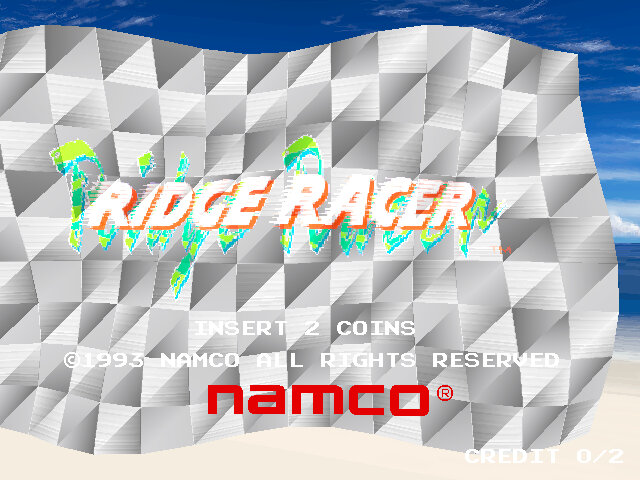
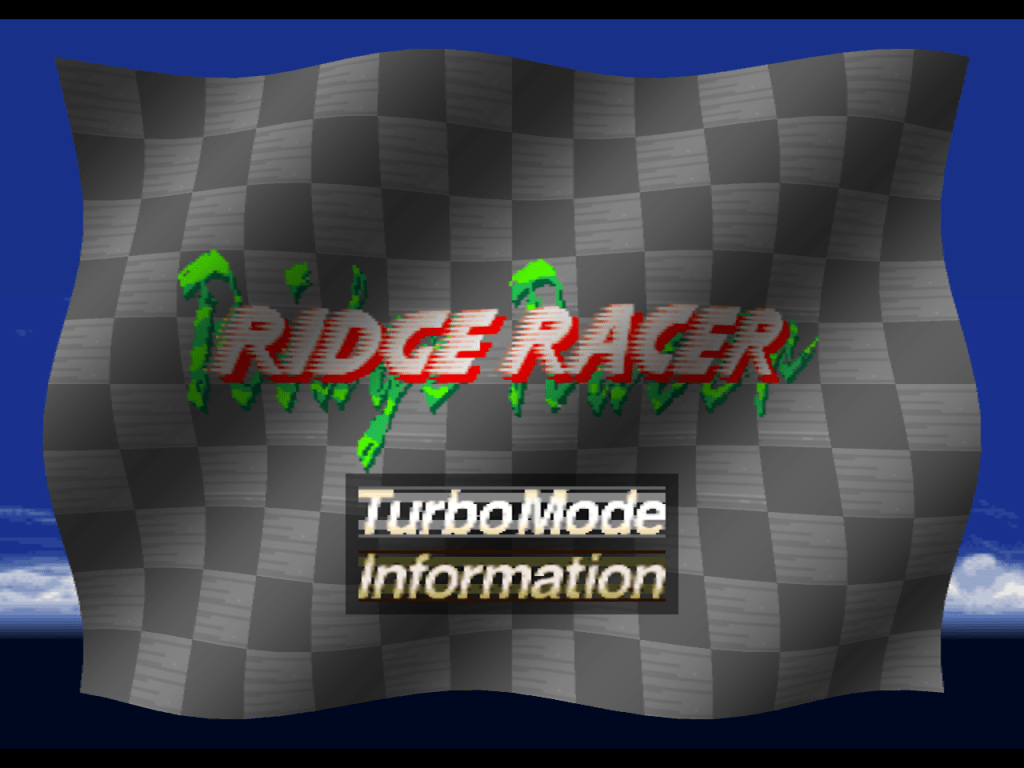
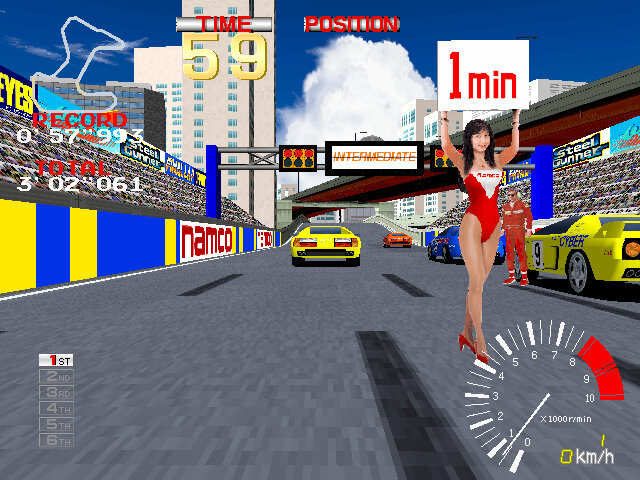
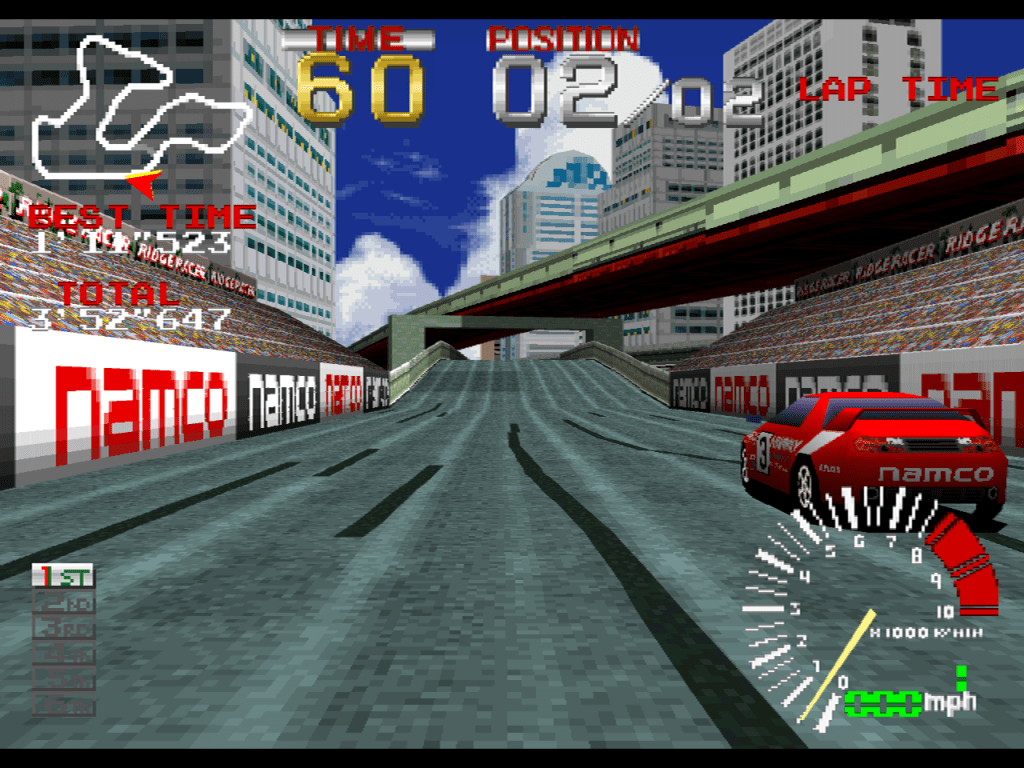
One of the first textured 3D racing games, and mostly known of being a launch title on the first PlayStation console. However it appeared a year earlier in the arcades. The arcade version runs on much more powerful 3D hardware, runs in a higher resolution, a higher framerate (60fps vs 30fps on the PS1) thanks to it’s Evans & Sutherland 3D hardware, which was previously used to power their simulations and CAD hardware.
Arcade
Released to the arcades in 1993 and running on the System 22 hardware, which was in direct competition with Sega’s Daytona USA and Midway’s Crusin USA.
PlayStation
The game was ported to the original PlayStation in 1994 as a launch title, and was considered to be an acceptable port of the arcade despite the downgrade made in order to run on the PlayStation hardware. The PlayStation port has support for the Namco neGcon controller, that allows the player to replicate analogue steering by twisting the controller as at the time the dual analogue controller wasn’t available.
Ridge Racer Hi-Spec
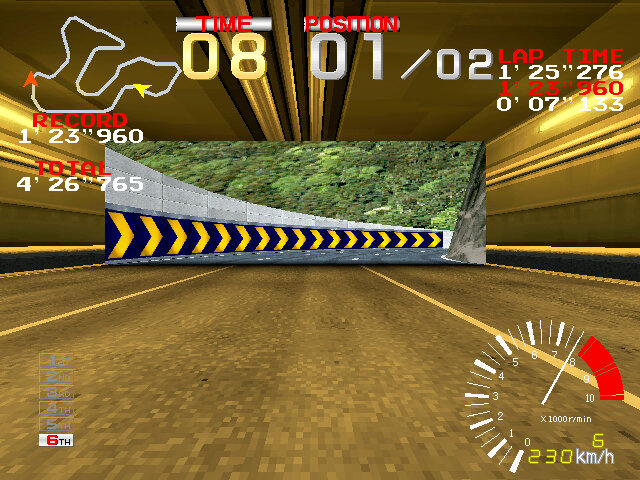
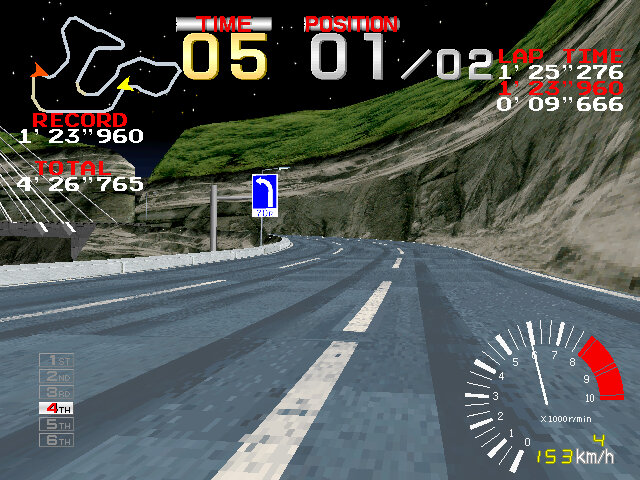
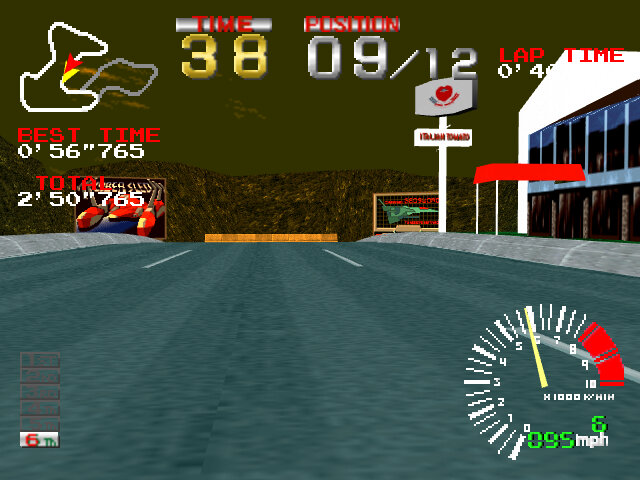
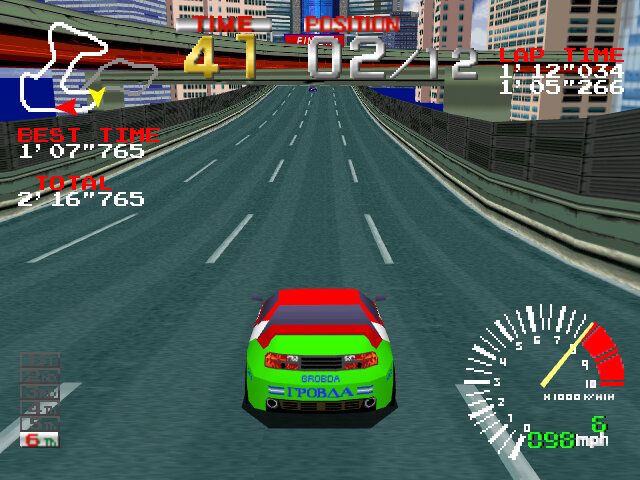
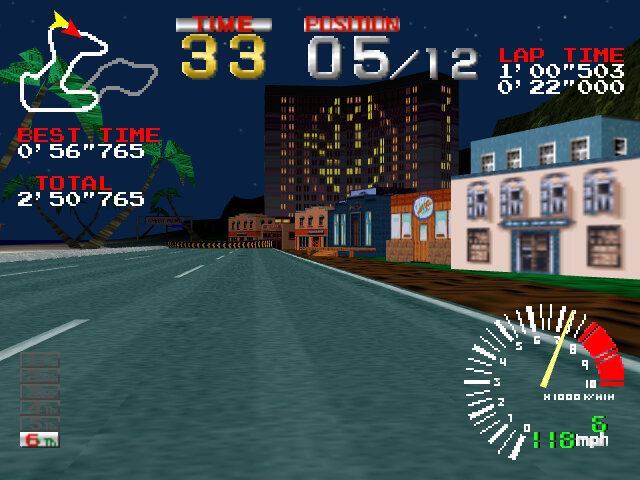
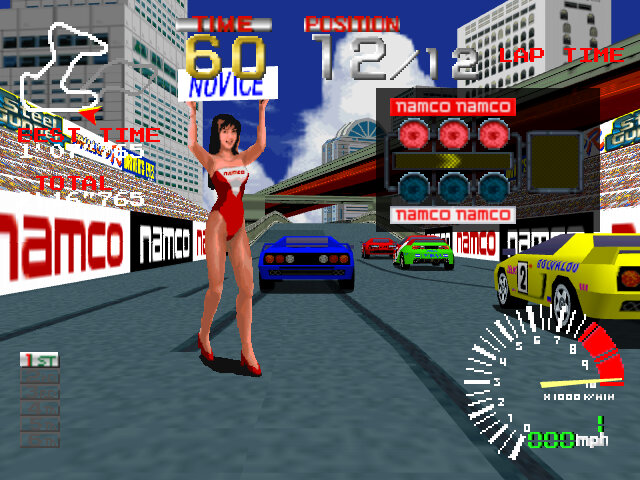
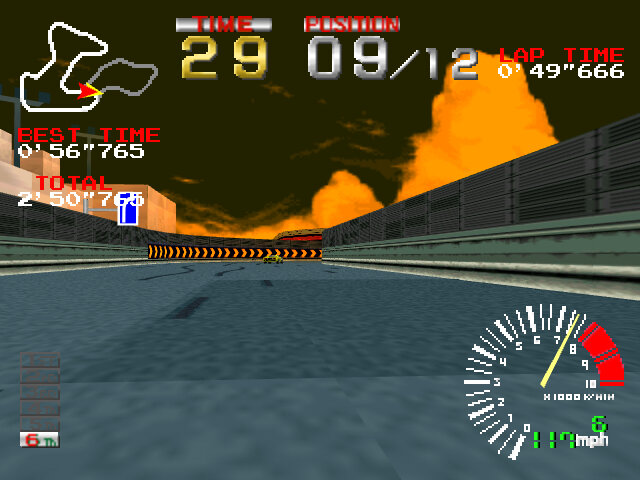
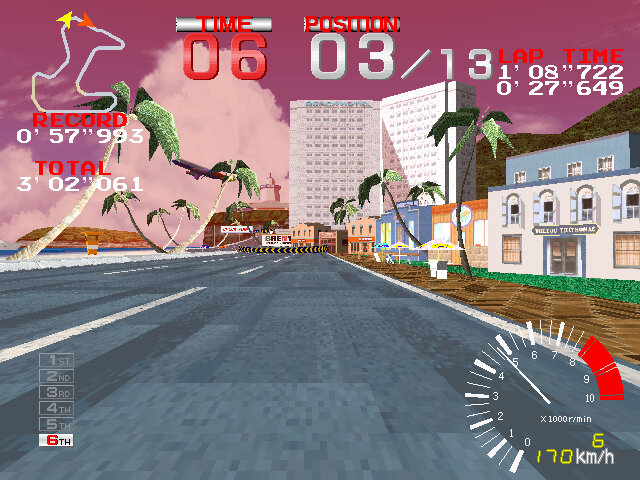
Runs in a resolution of 320×480 which is higher than the original release but less than the arcade version. The main attraction to this version is the 60fps upgrade and the gouraud shading, which enhances the graphics greatly. However there are only two cars on the track, with only 1 in time attack, and the texture quality has been reduced slightly. I had to disable texture filtering and display then unfiltered since it just looked like an N64 game. The polygon count of the cars and track may also have been educed, since the guide mentions optimised textures and polygons.
This build of the game was bundled on the Ridge Racer Type 4 bonus disc, and was not a standalone version of the game. It was meant to showcase a 60fps game on the original PlayStation hardware, and what sacrifices were needed no be made, as Namco were keen for later Ridge Racer titles to be running in 60fps. Ridge Racer V for the PlayStation 2 would be the first home game to be running at 60fps.
Zeebo
The game was ported to the Zeebo, a home console released in Brazil by TecToy and QUALCOMM, graphics have been slightly altered and the music is rendered entirely in MIDI.
Comparison
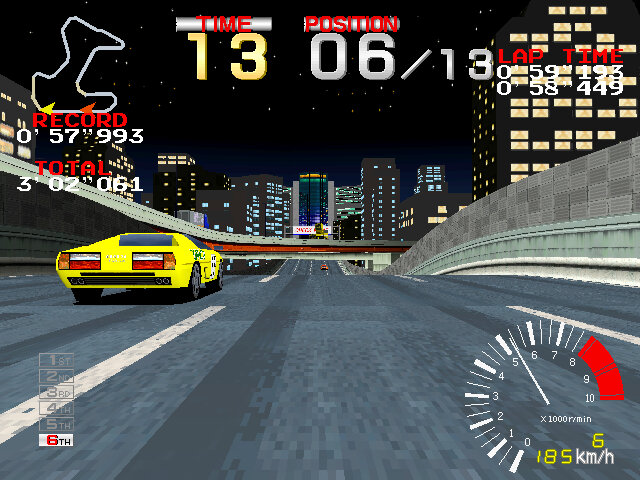
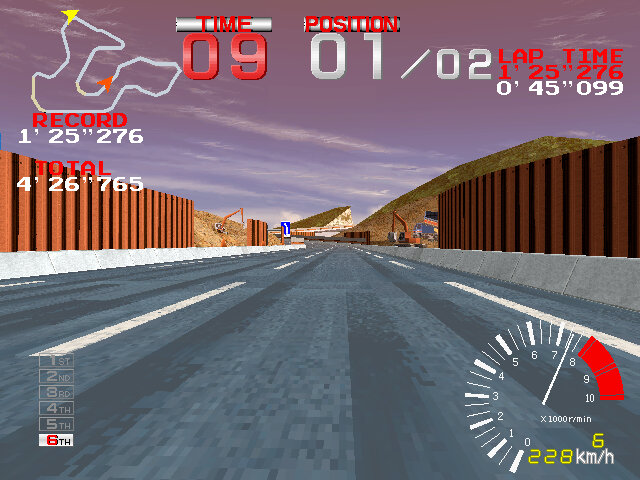
PSone on the left, using moderate enhancements in the Duckstation emulator with the Mame emulation of the arcade in the middle and the Hi-Spec version on the right, I wanted to see if I could get the PSone version to match the arcade in terms of image quality by upping the resolution to 640×480 and enabling texture filtering, something with System 22 lacked.
Arcade emulation seems to have issues rendering the flag, which is supposed to flap freely, maybe a physics issue with one of the Texas Instrument DSP?
The game isn’t a straight port and some design changes had to be made, the HUD has been changed around and the track objects have also changed. Some buildings have also been changed to be in line with the PSone limitations. On the right you can see the effects of the shading which affects the art style slightly, giving a more realistic look. The ground textures have also been altered.
It’s worth mentioning that System 22 also supported gouraud shading, but Ridge Racer did not utilise it until Rave Racer in 1995.
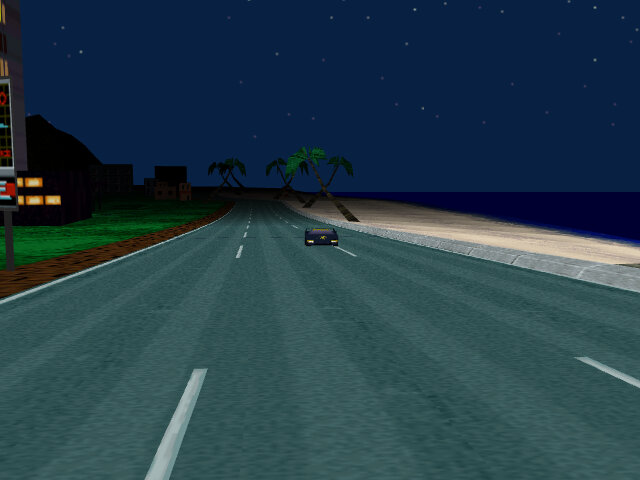
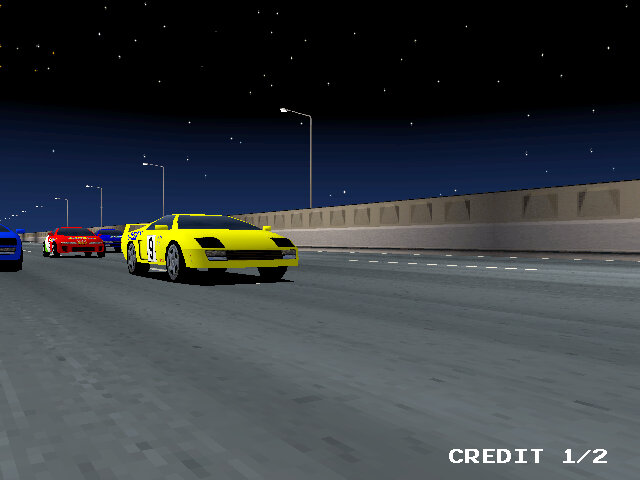
Sunset differences between the two ports, The Hi-Spec mode does not have a night time version.
PlayStationArcade
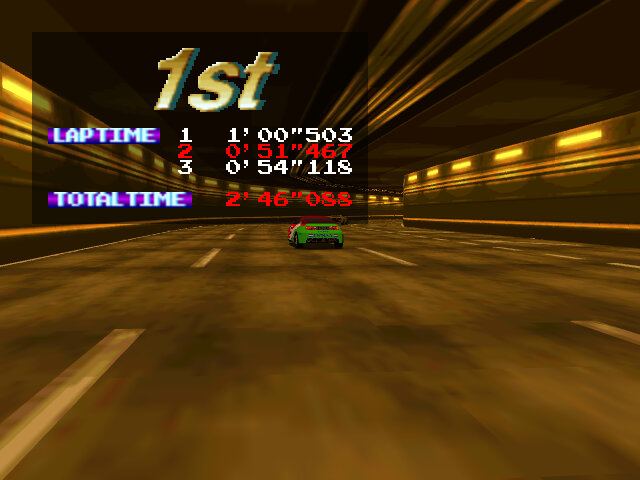
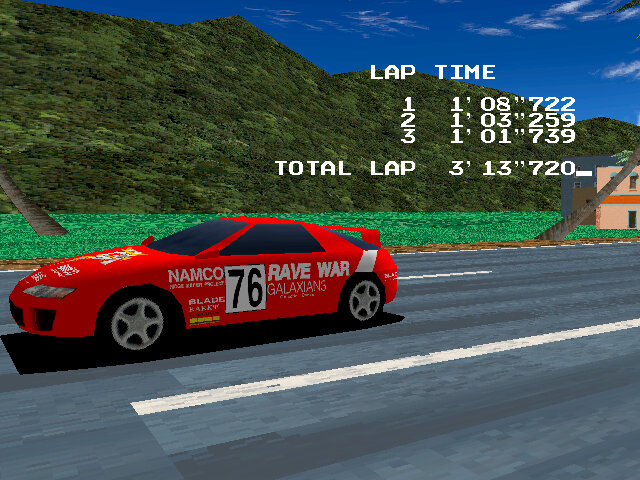
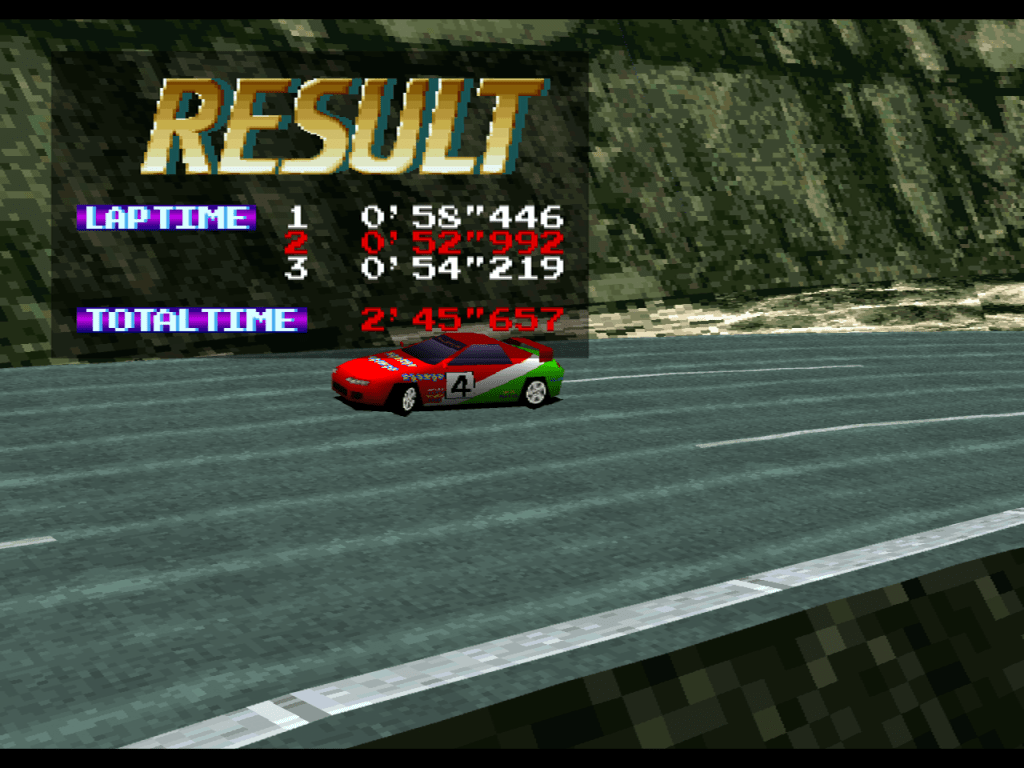
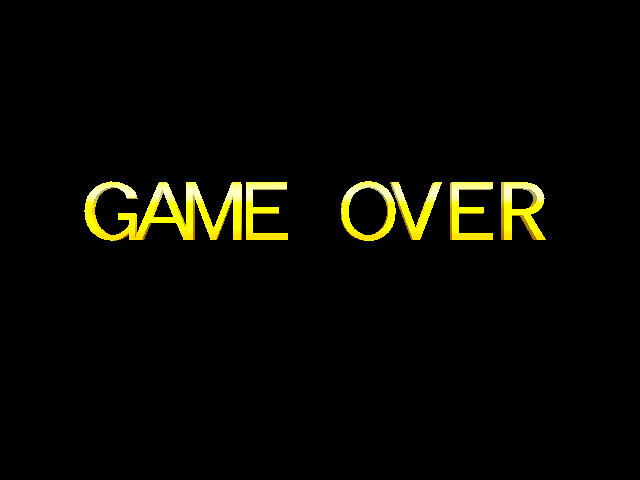
Game over is rendered in 3D for the arcade version, a static image on both PSone versions.
Comparison of the night sky, In the middle of a race the sun will set on the intermediate and time trials courses, to simulate a Le Mans race, the arcade shot is taken from one of the attract demos.
Boundary Break (Arcade)
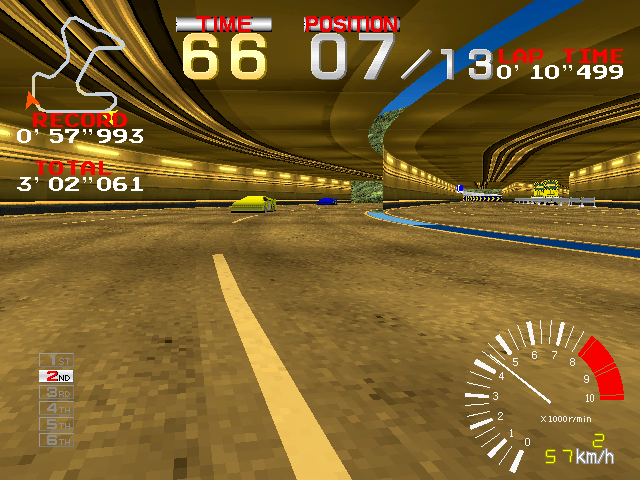
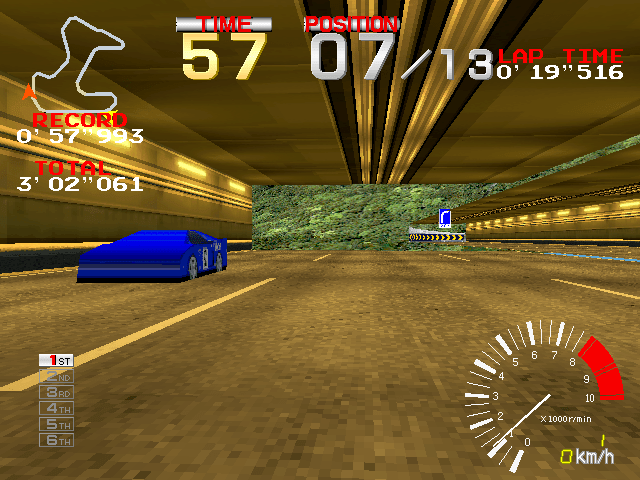
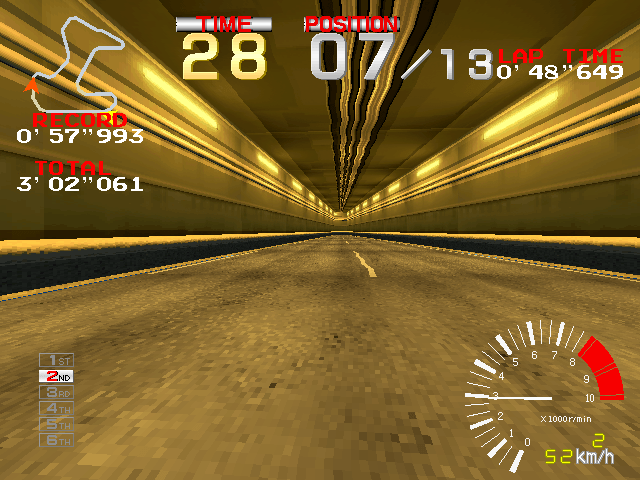
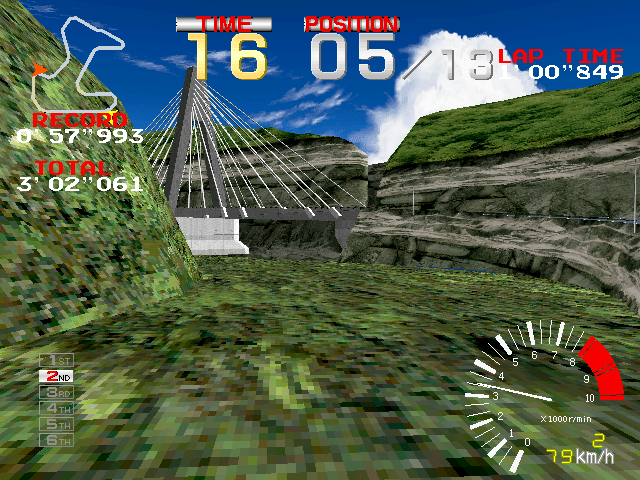
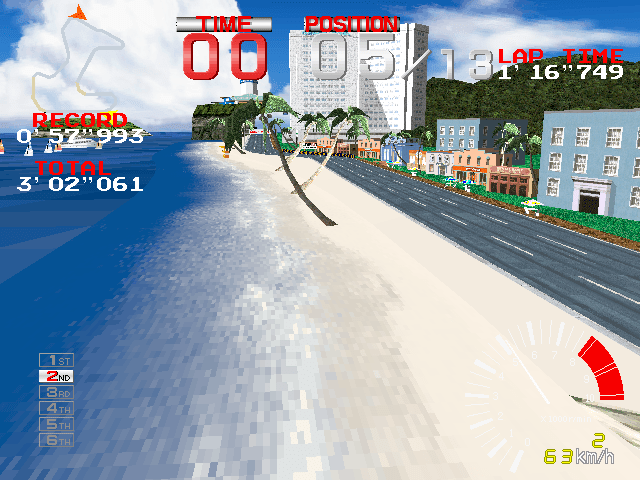
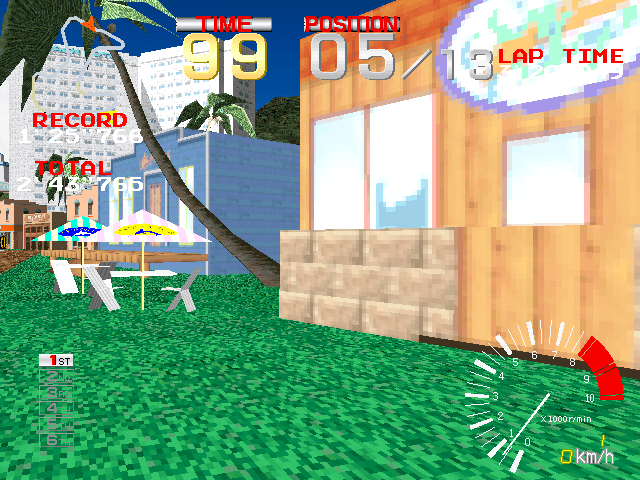
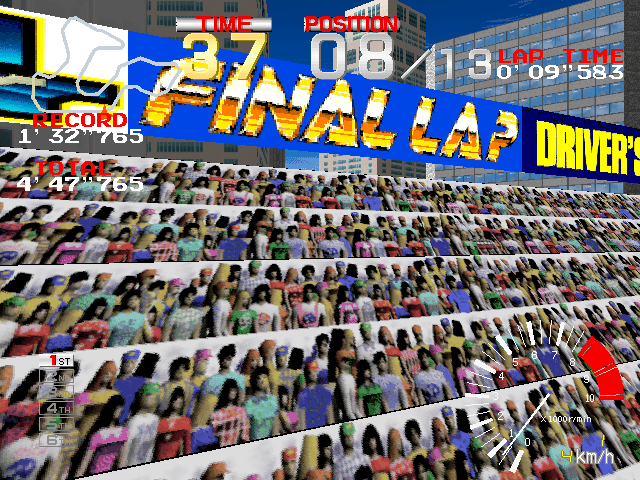
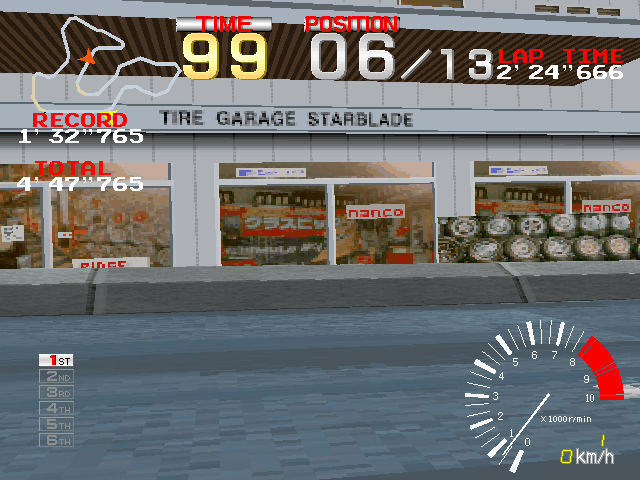
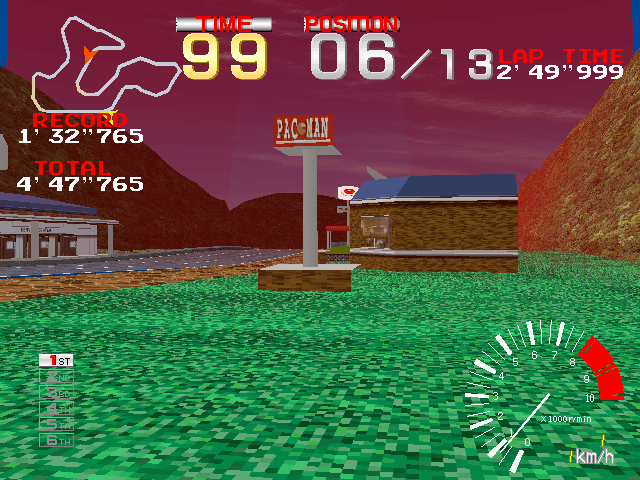
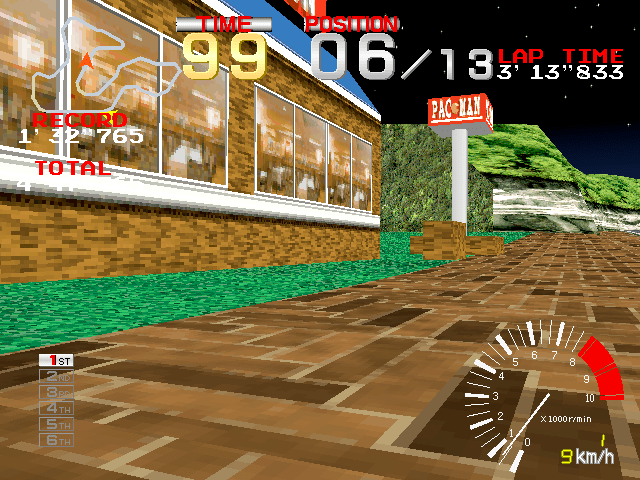
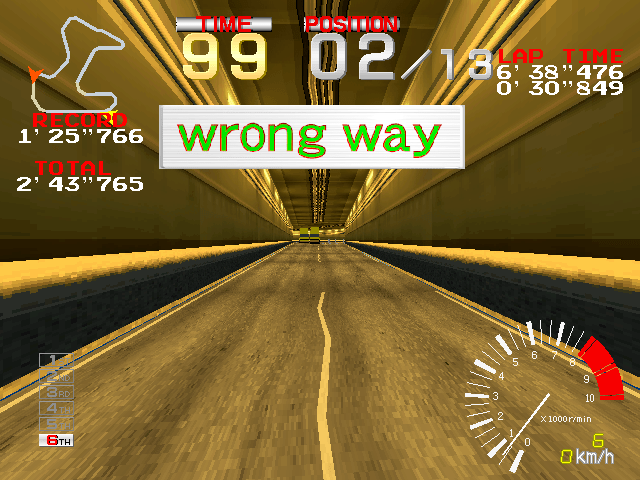
With the help of some cheats in MAME, we are able to disable the collision detection, allowing us to move outside of the track. This gives some interesting close ups of some in game environment buildings.
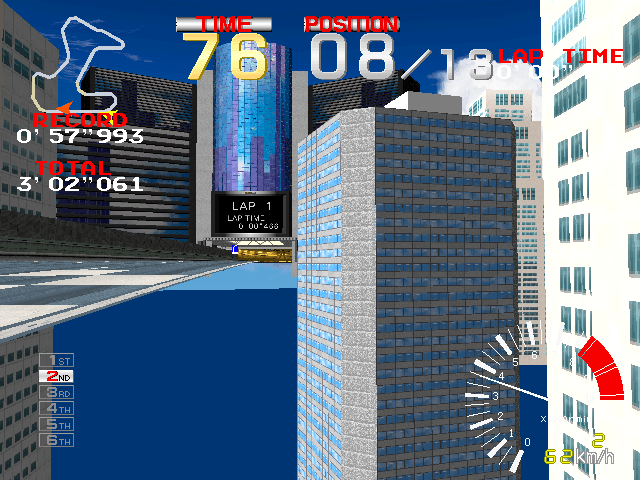
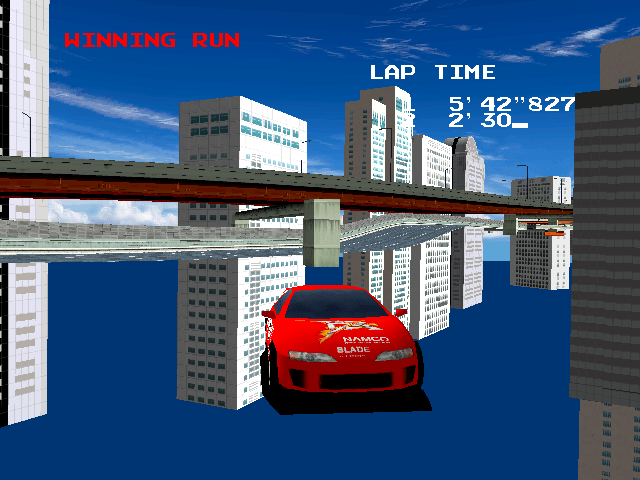
A look of the city from a different angle
In the first tunnel, there is a path that is blocked off and is inaccessible
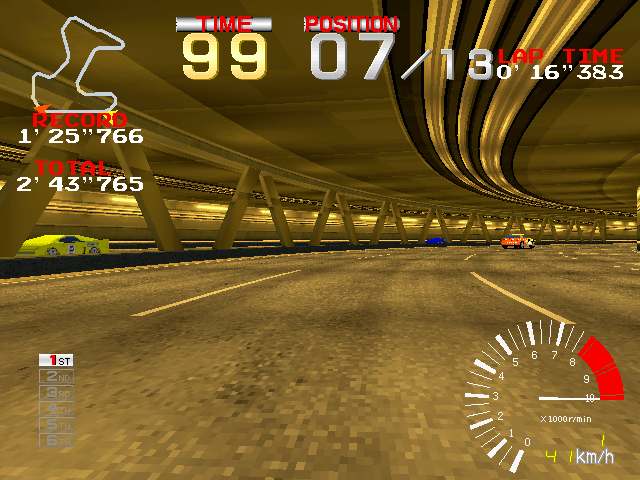
A closer look at the other tunnel, with a view of the cars, normally these aren’t directly accessible. Namco used lower resolution models of the cars, since you typically see these driving in a distance.
Another closer view of the cars, the tunnels ends abruptly to the outside, and the cars just disappear, and respawn at the other side after a few seconds.
Before the end of the tunnel, theirs an intersection to another tunnel, which leads to a dead end
The ground near the bridge, you can see the low detail textures, since System 22 didnt support texture filtering, giving a minecraft appearance
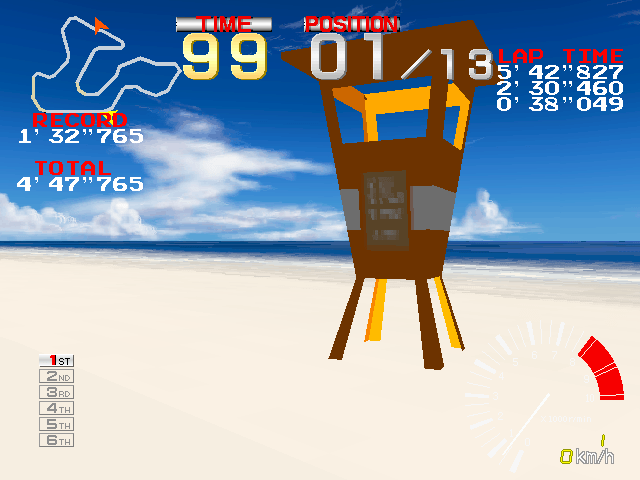
Another shot of the beach, sometimes if you break out of a track early on, your car remains on a higher evaluation allowing for a top down view for later sections of the game
A look at the buildings near the beach
A closer look at the crowd at the start of the game
Tire Garage Starblade, one of the shops near the overpass. Starblade was a 3D rail shooter
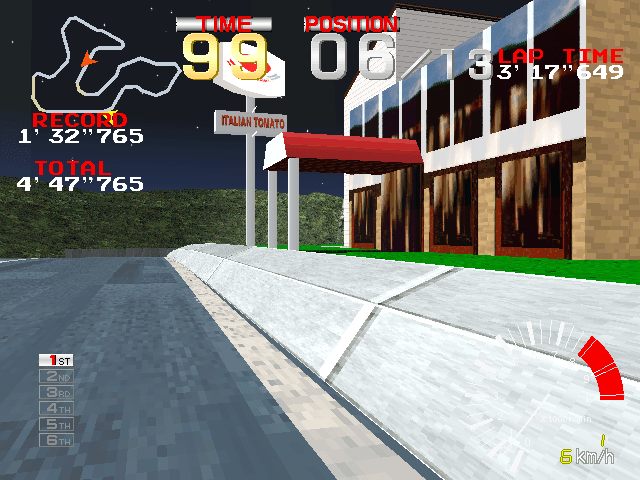
The buildings lack modelling towards the rear, since this view would not be available normally in the game. Also note the gap in the Sky where a bit of the blue sky is visible. Seems Namco displayed an overlay across the sky when it was night time, something the MAME emulator has issues replicating accurately.
Italian tomato, some sort of resturant or obscure namco game?
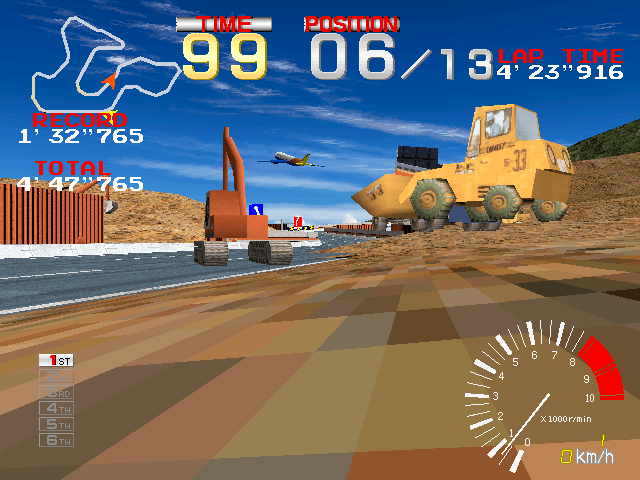
A closer view of the construction site, the trucks are levitating…
View of the city, some of the building’s are quite long
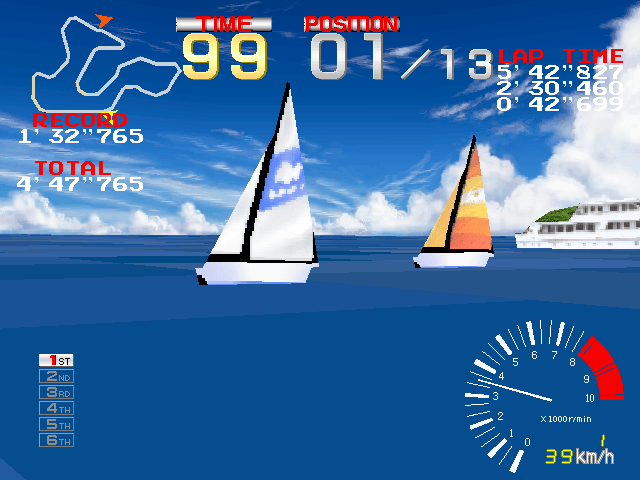
The boats in the beach section
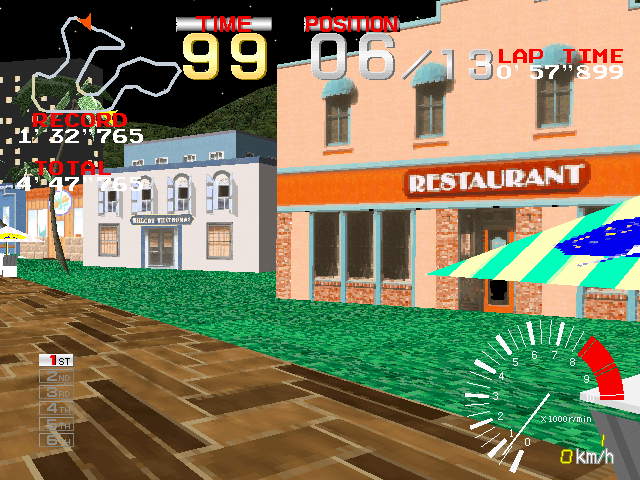
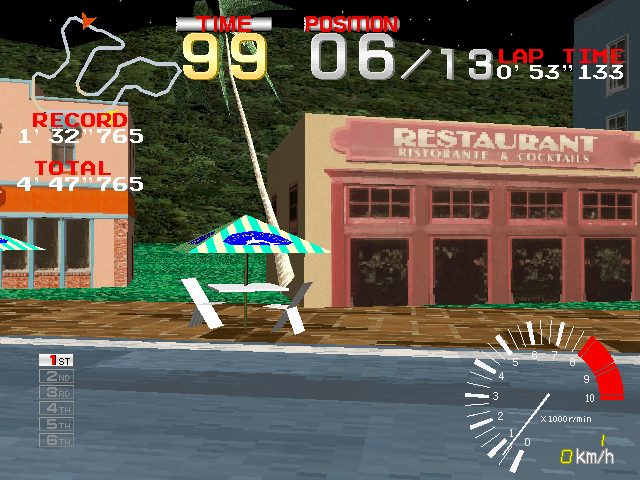
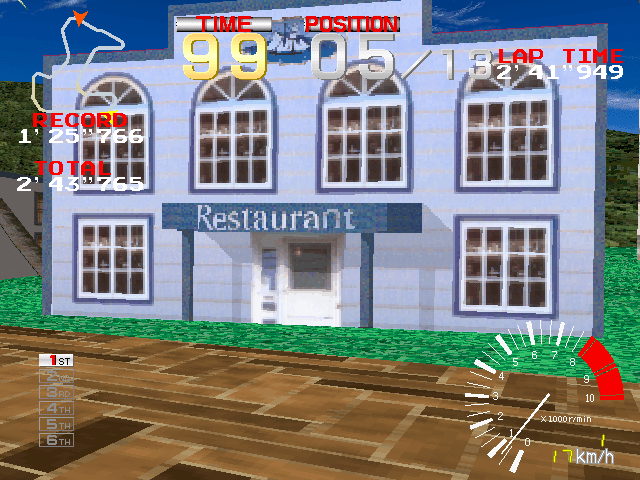
One of the many restaurants near the beech, this building appears multiple times. Also this game predates lightning effects, as the game is supposed to in night time mode but the building appear as if its daytime, however in the starting section, the buildings do change to a night time effect.
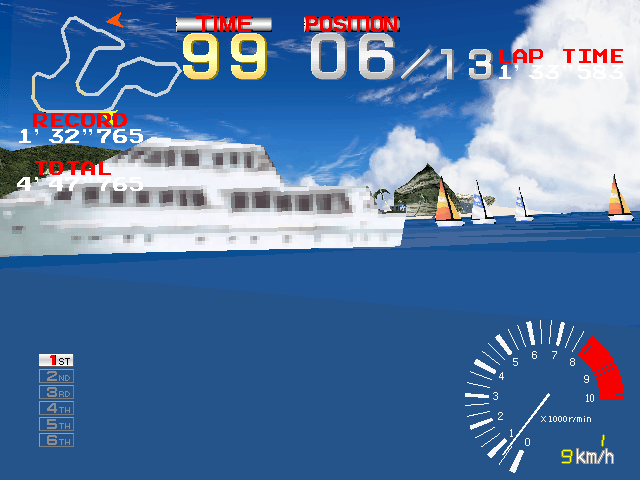
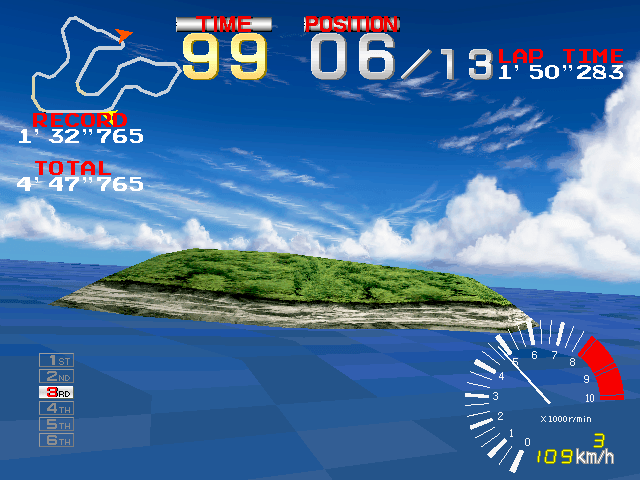
A distant island, near the marina
Another restaurant building
Alternative view of the dead end tunnel, I’d like to try and do this to the PSOne version.
Todo: Mjlonir emulator was capable of running the system 22 versions of Ridge Racer with graphics acceleration, but as it was based on an older version of MAME it suffered from a lot of emulation and graphics issues, and uses an outdated rom set. Vivanonno was another emulator that was worth a look at.